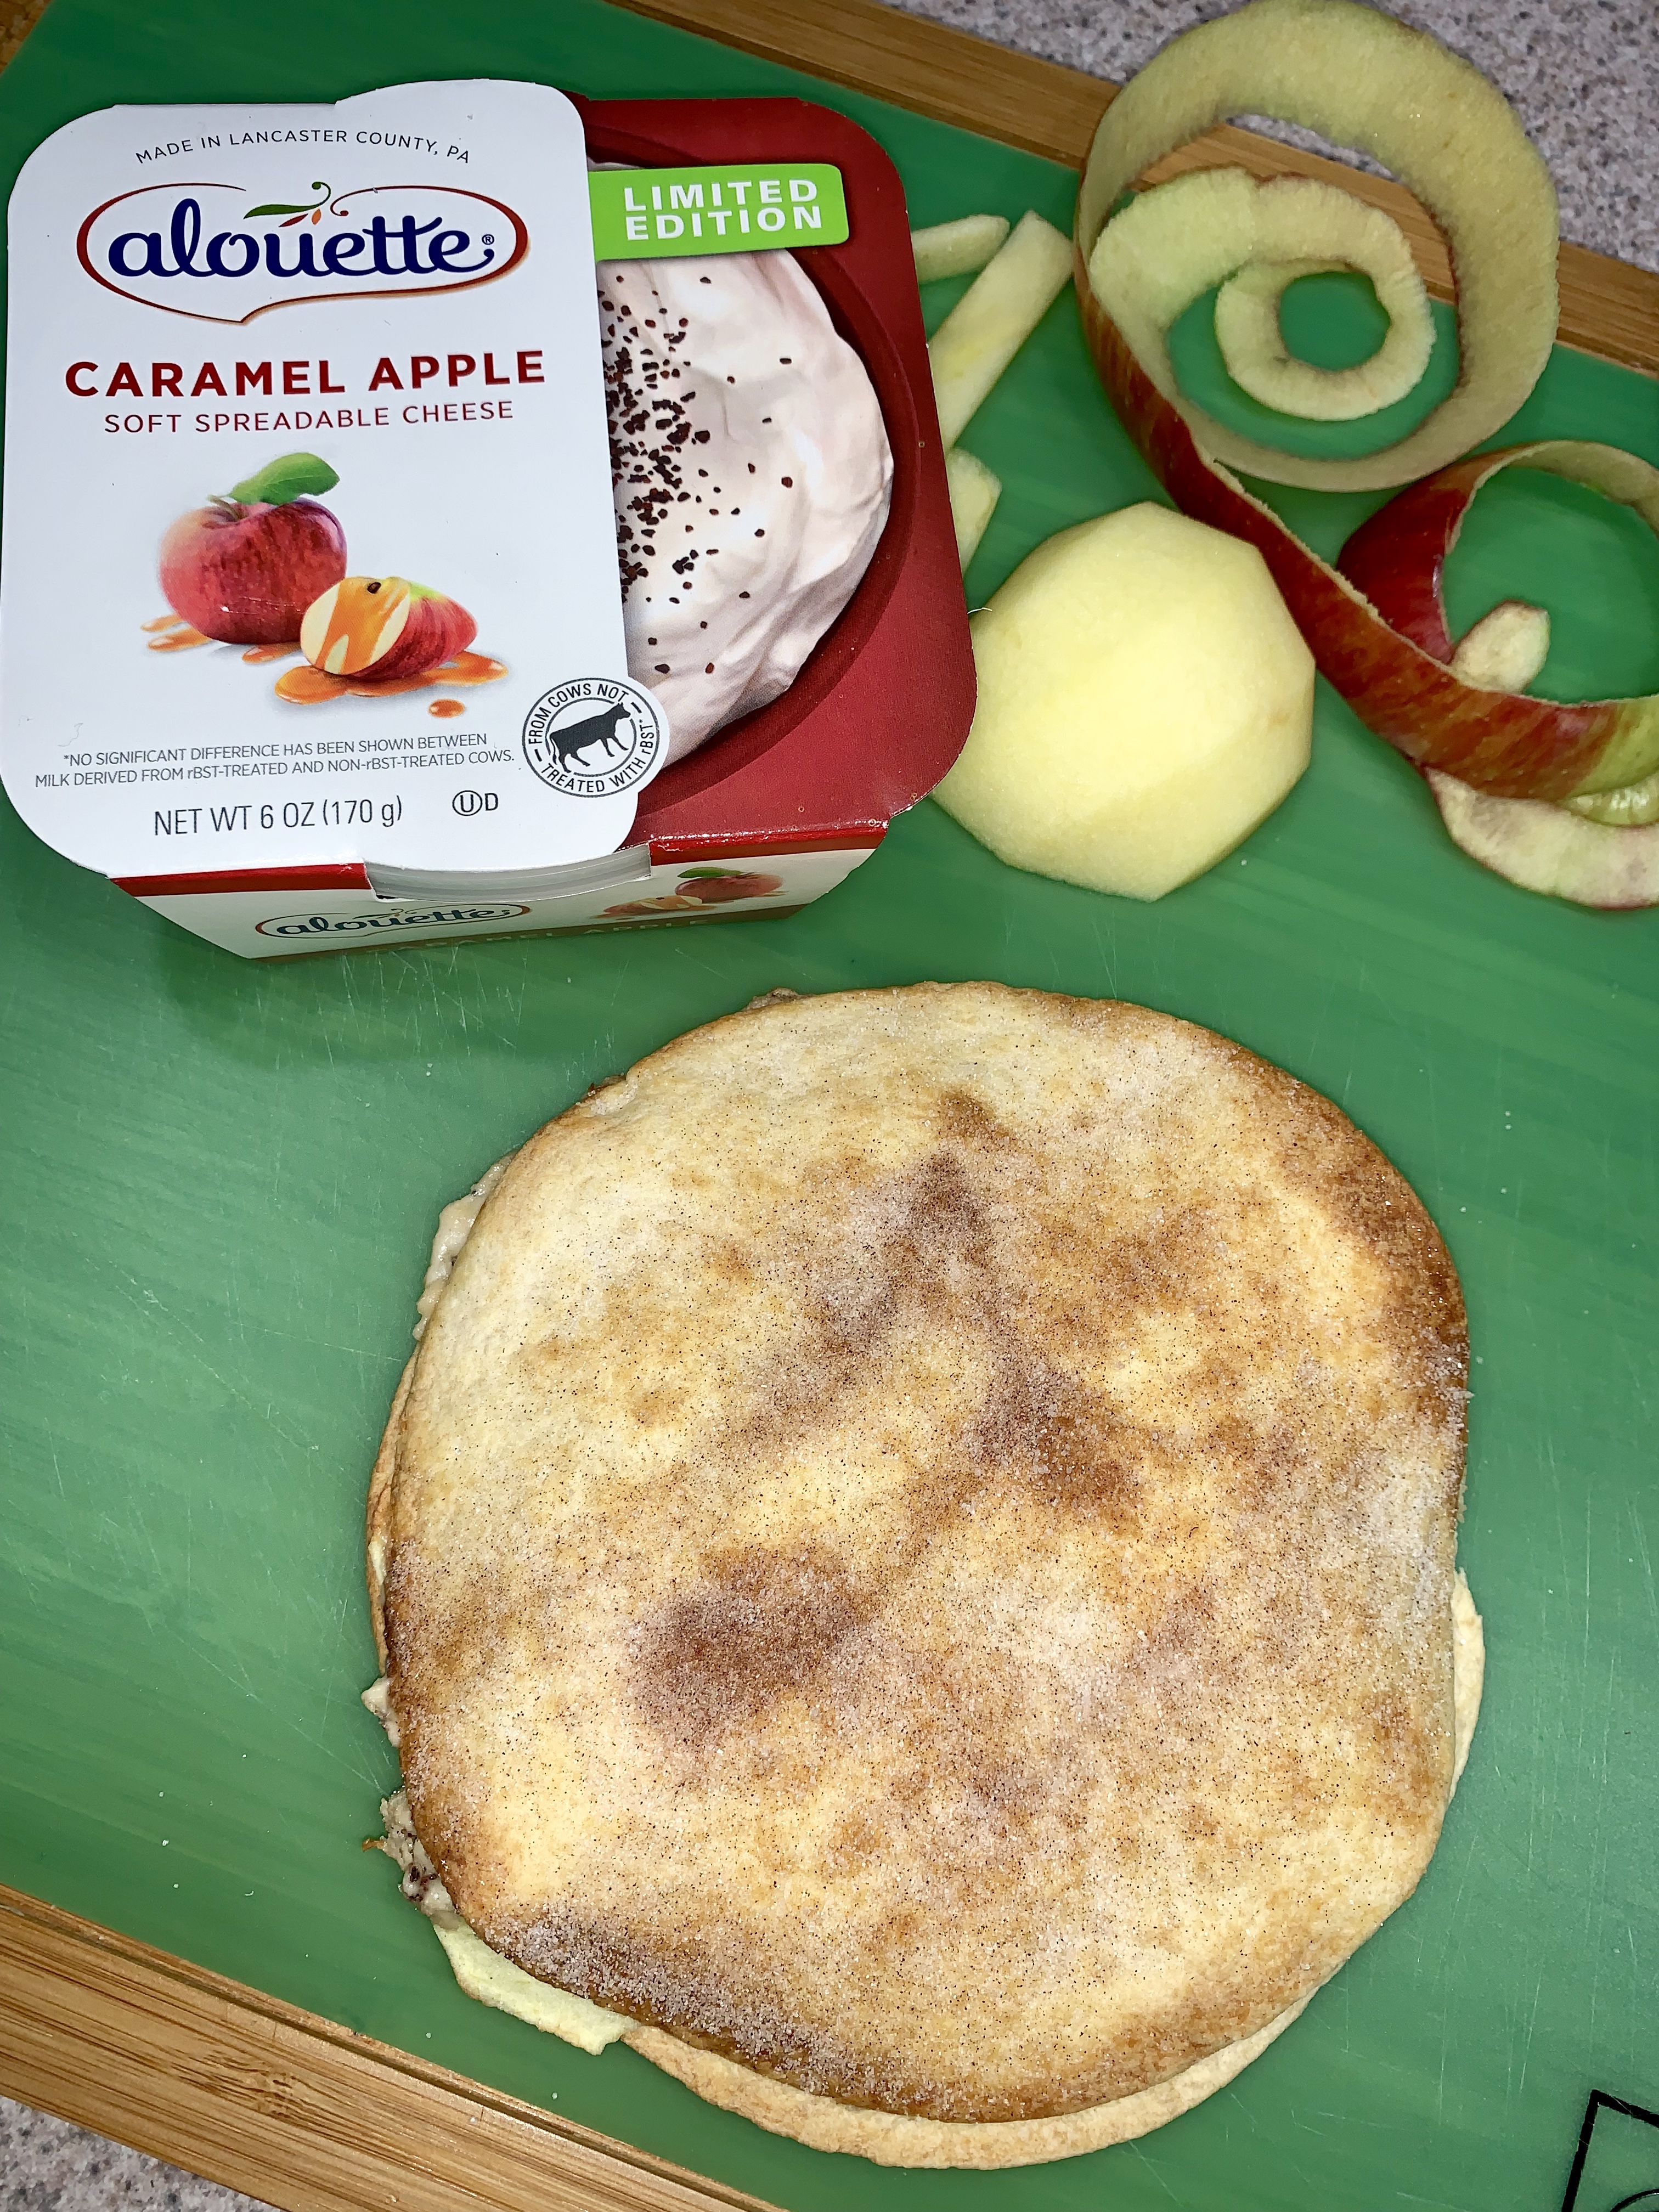
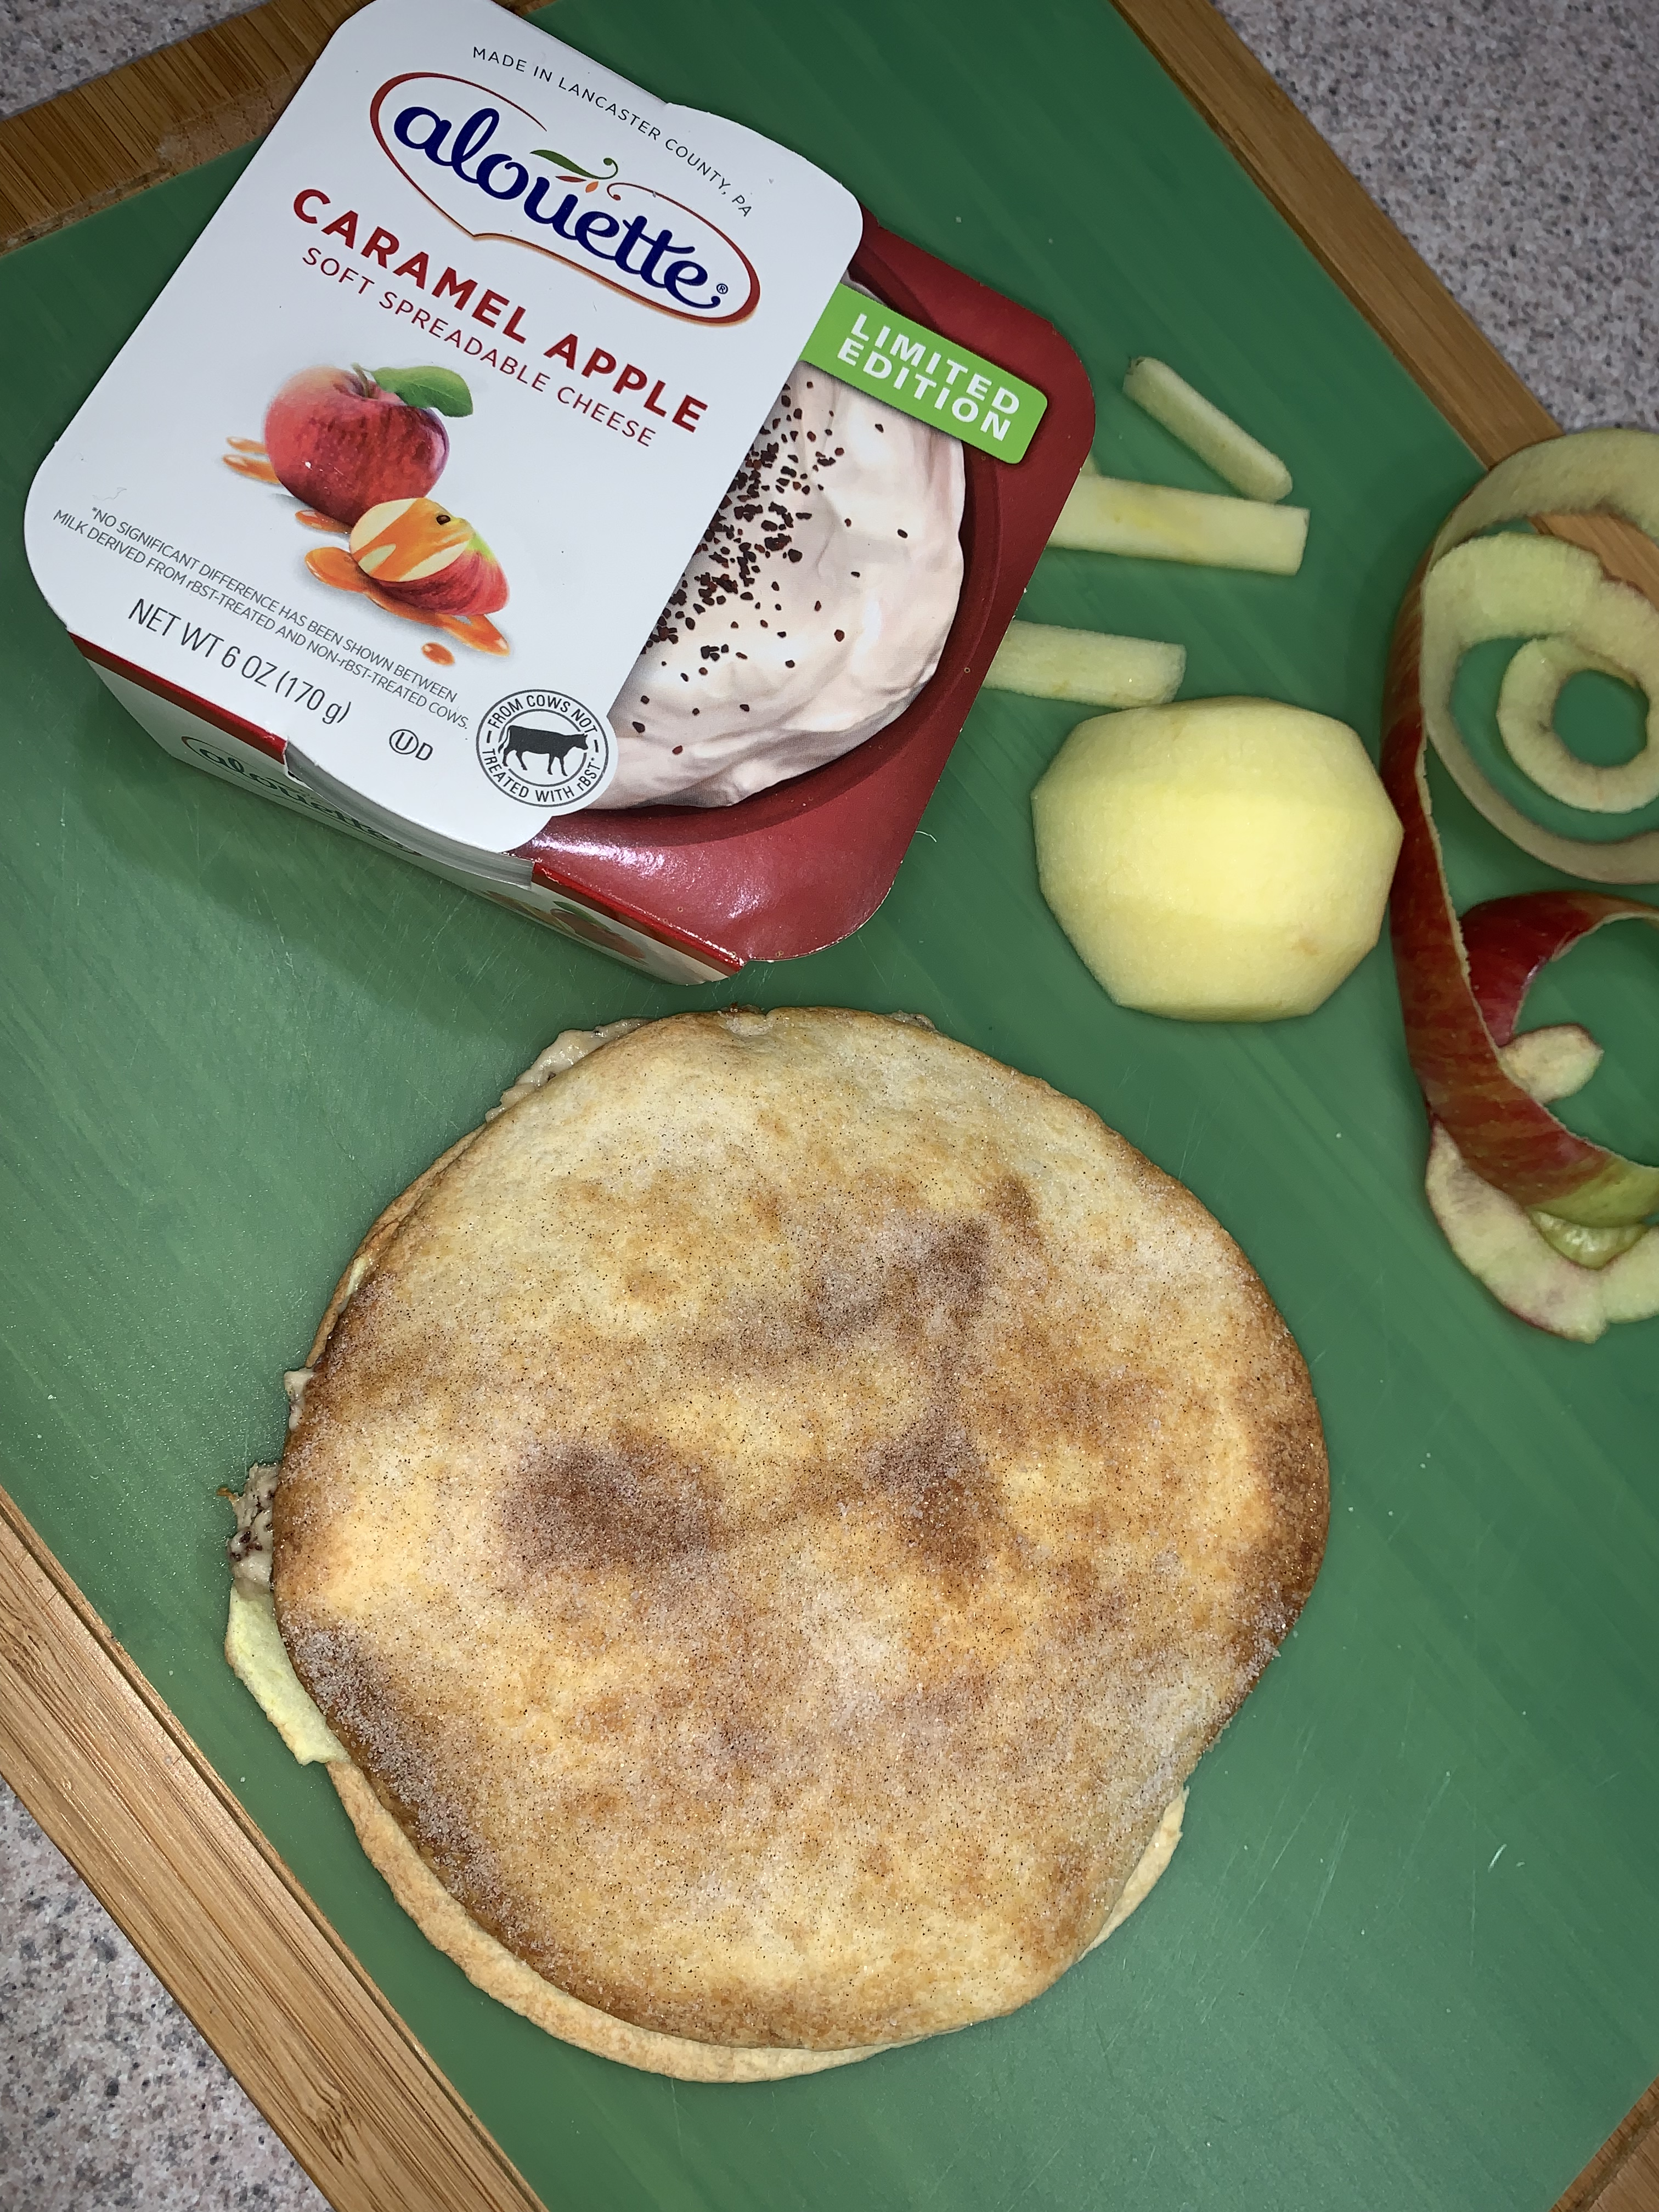
I bought some delicious Caramel Apple cheese spread by Alouette from Aldi the other day. On it’s own, it is delicious. My oldest likes to eat it with slices of apple. I was trying to think of another way to use it and decided to make a caramel apple quesadilla in my air fryer.
I started with 1/2 of a honey crisp apple, sliced thin, the caramel apple spreadable cheese, cinnamon sugar, avocado oil spray and 2 flour tortillas.
I didn’t measure anything, but I put enough of the caramel apple spread on each of the tortillas. I put a thin layer of apples on one tortilla, sprinkled a little cinnamon sugar on top and put the other tortilla on top.
I sprayed both the top and bottom tortilla with a little bit of avocado oil and sprinkled some cinnamon sugar on both sides. I put the quesadilla in the air fryer and cooked @ 400 degrees, for 8 minutes.
I don’t have much of a sweet tooth, but every now and again, I do. I thought I would do a small rice pudding to see if that satisfied the sweet craing I was having. I didn’t have any raisins, but I did have some honeycrisp apples, so I decided to do an apple rice pudding.
I used basic ingredients, with the addition of the apple.
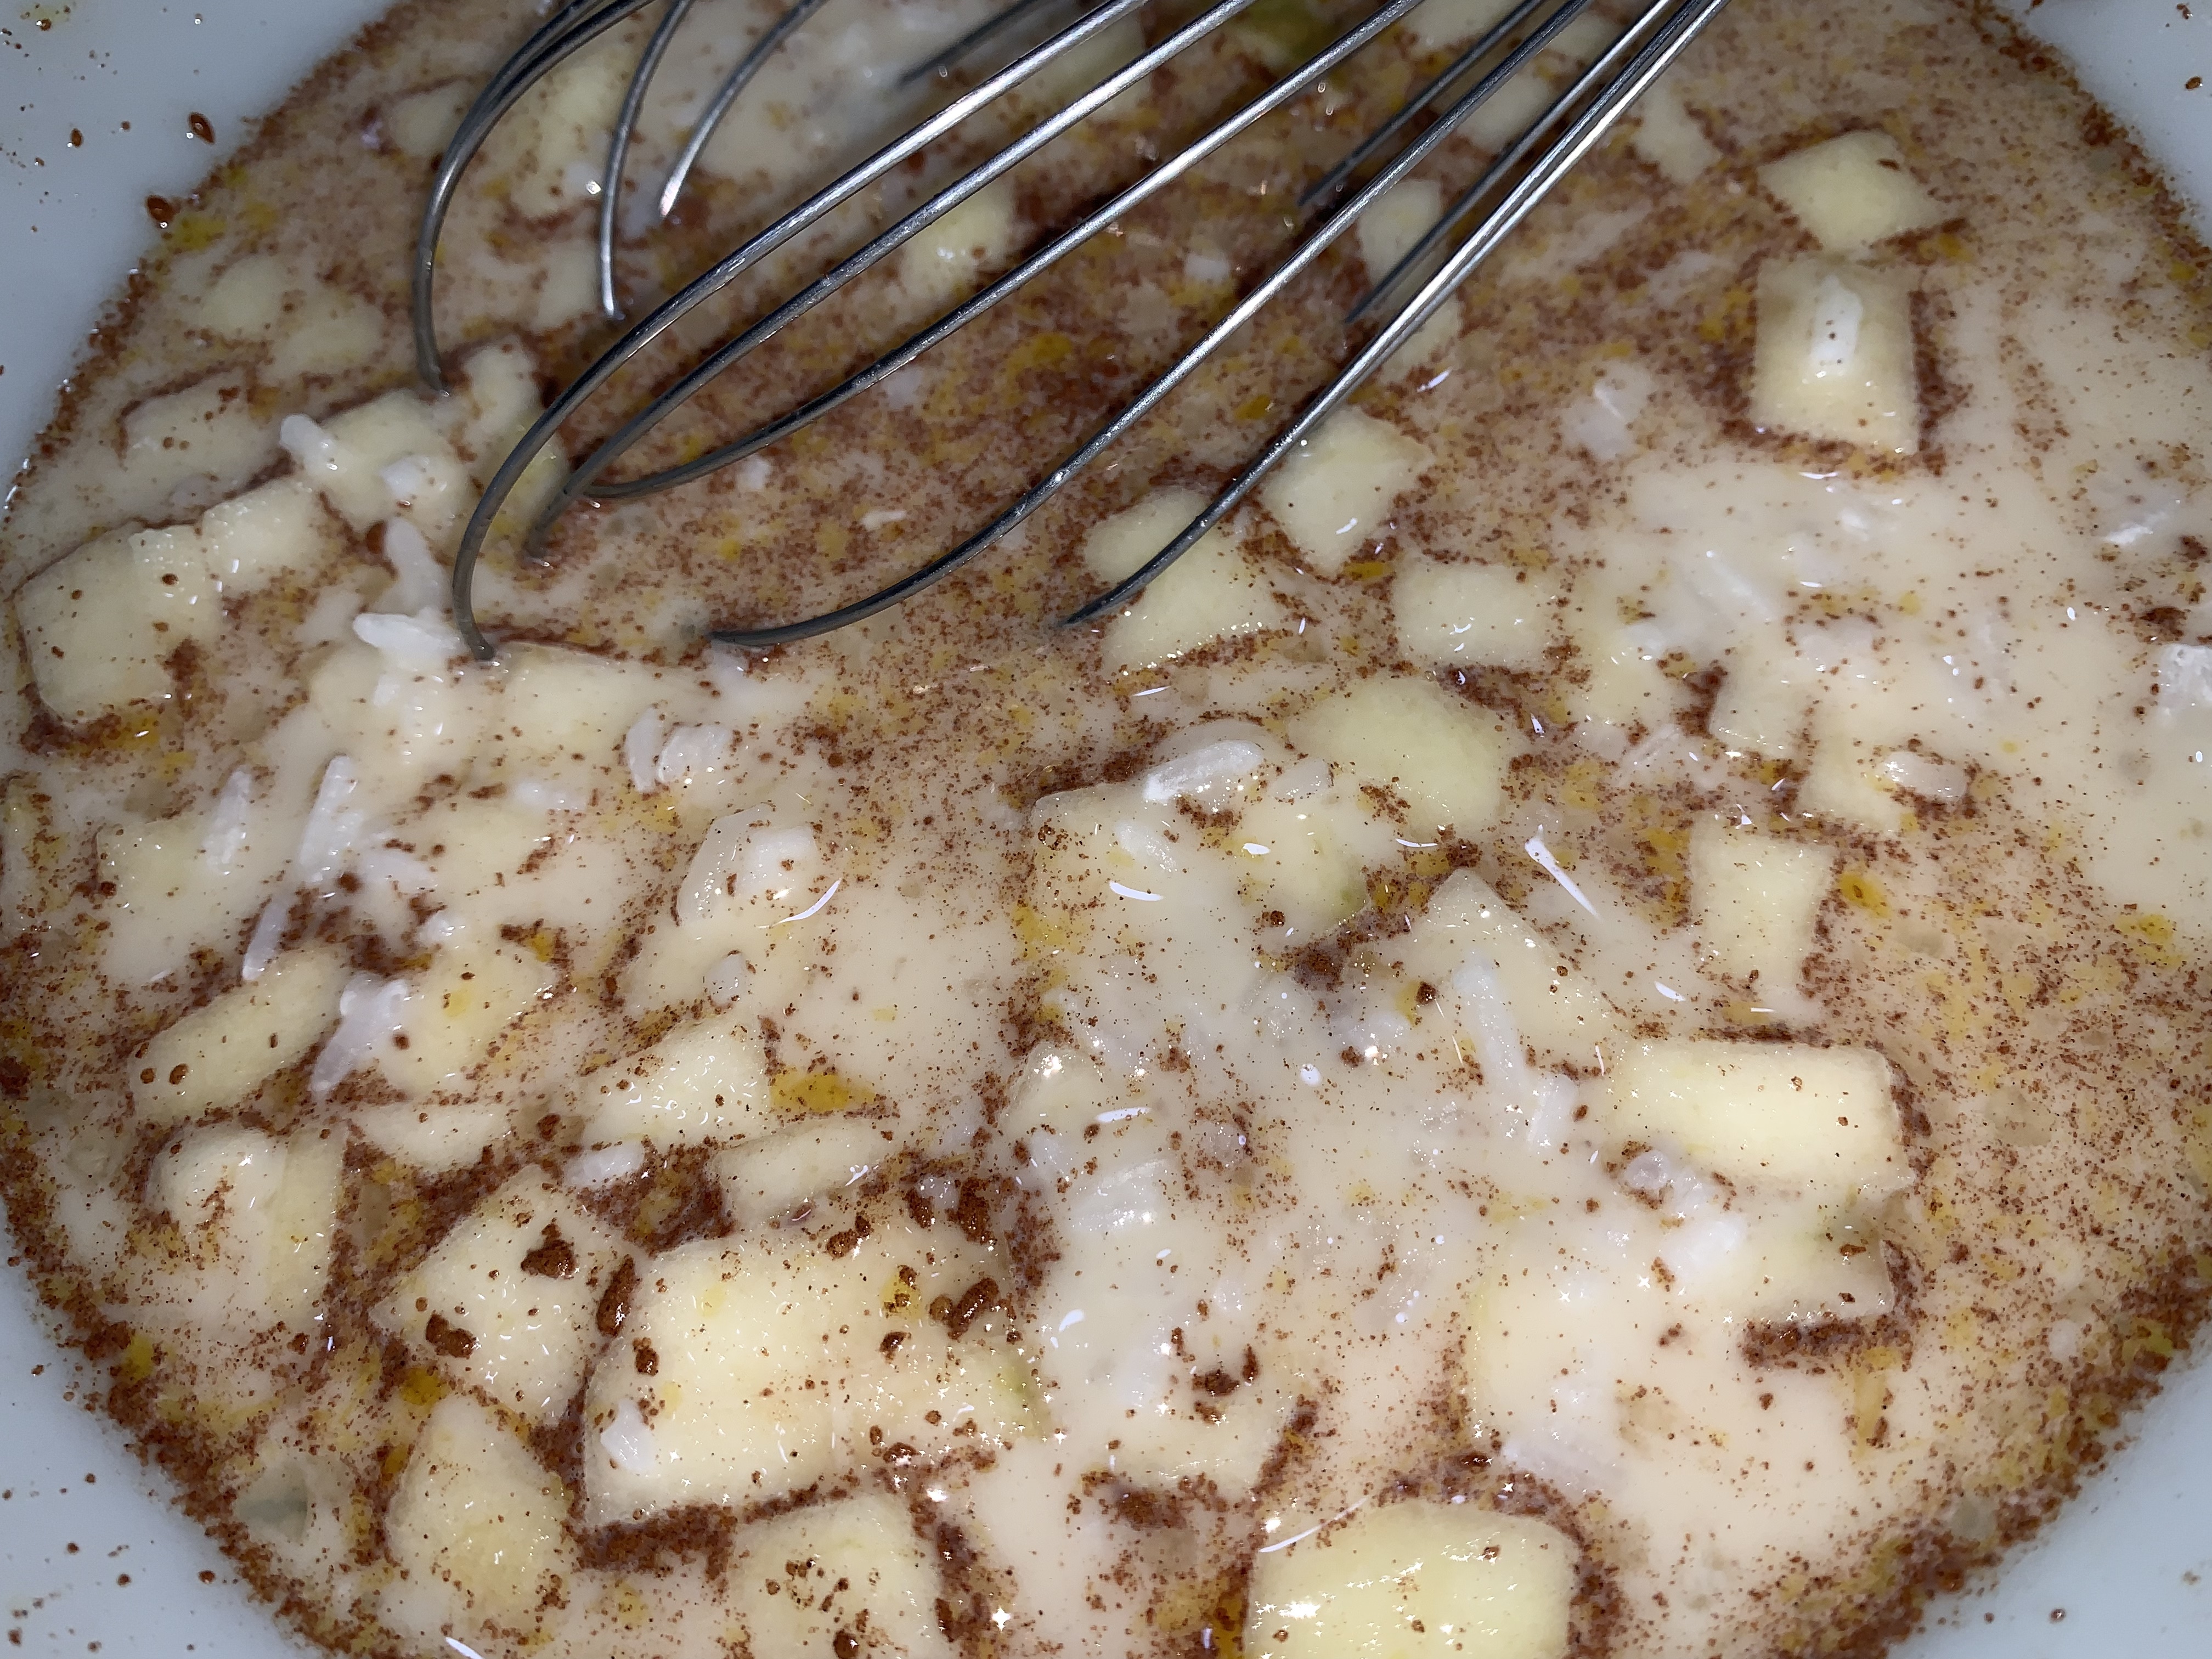
In a large bowl, I whisked the eggs, milk, cinnamon, salt, sugar and vanilla together.
After that, I stirred in the rice and apples.
The mixture was added to a 5×5, buttered, baking dish and placed in a water bath and cooked in a, preheated, 350 degree oven for 1 hour.
When the rice pudding was one, I removed it from the oven and stirred it up to ensure that the apples were well distributed.
Oven Baked Apple and Cinnamon Rice Pudding
1 – 1 1/2 cup cooked rice (depending on how wet/dry you like your rice pudding) 3/4 cup milk 1/4 tsp cinnamon 1/4 tsp salt 3 tbsp sugar 1/4 tsp vanilla extract 1 small honeycrisp apple, diced
In bowl, whisk eggs, milk, cinnamon, salt, sugar and vanilla extract
Add in Rice and apples and mix
Butter small baking dish (I used a 5X5 baking dish)
Pour mixture into baking dish
Bake for 1 hours, in a water bath, at 350 degrees
Fluff rice pudding when it comes out of the oven, add a little more cinnamon to each serving if you like
It’s fall y’all! Doesn’t fall make everyone want apple pies? It certainly makes me want an apple pie. And, all week long, I’ve been waiting to make this pie! Finally – the work week was over and it was time – yay!!
I started with refrigerated, store bought, pie crusts. Certainly, you could make homemade pie crust – and, more power to you!! But, I just went the easy route!
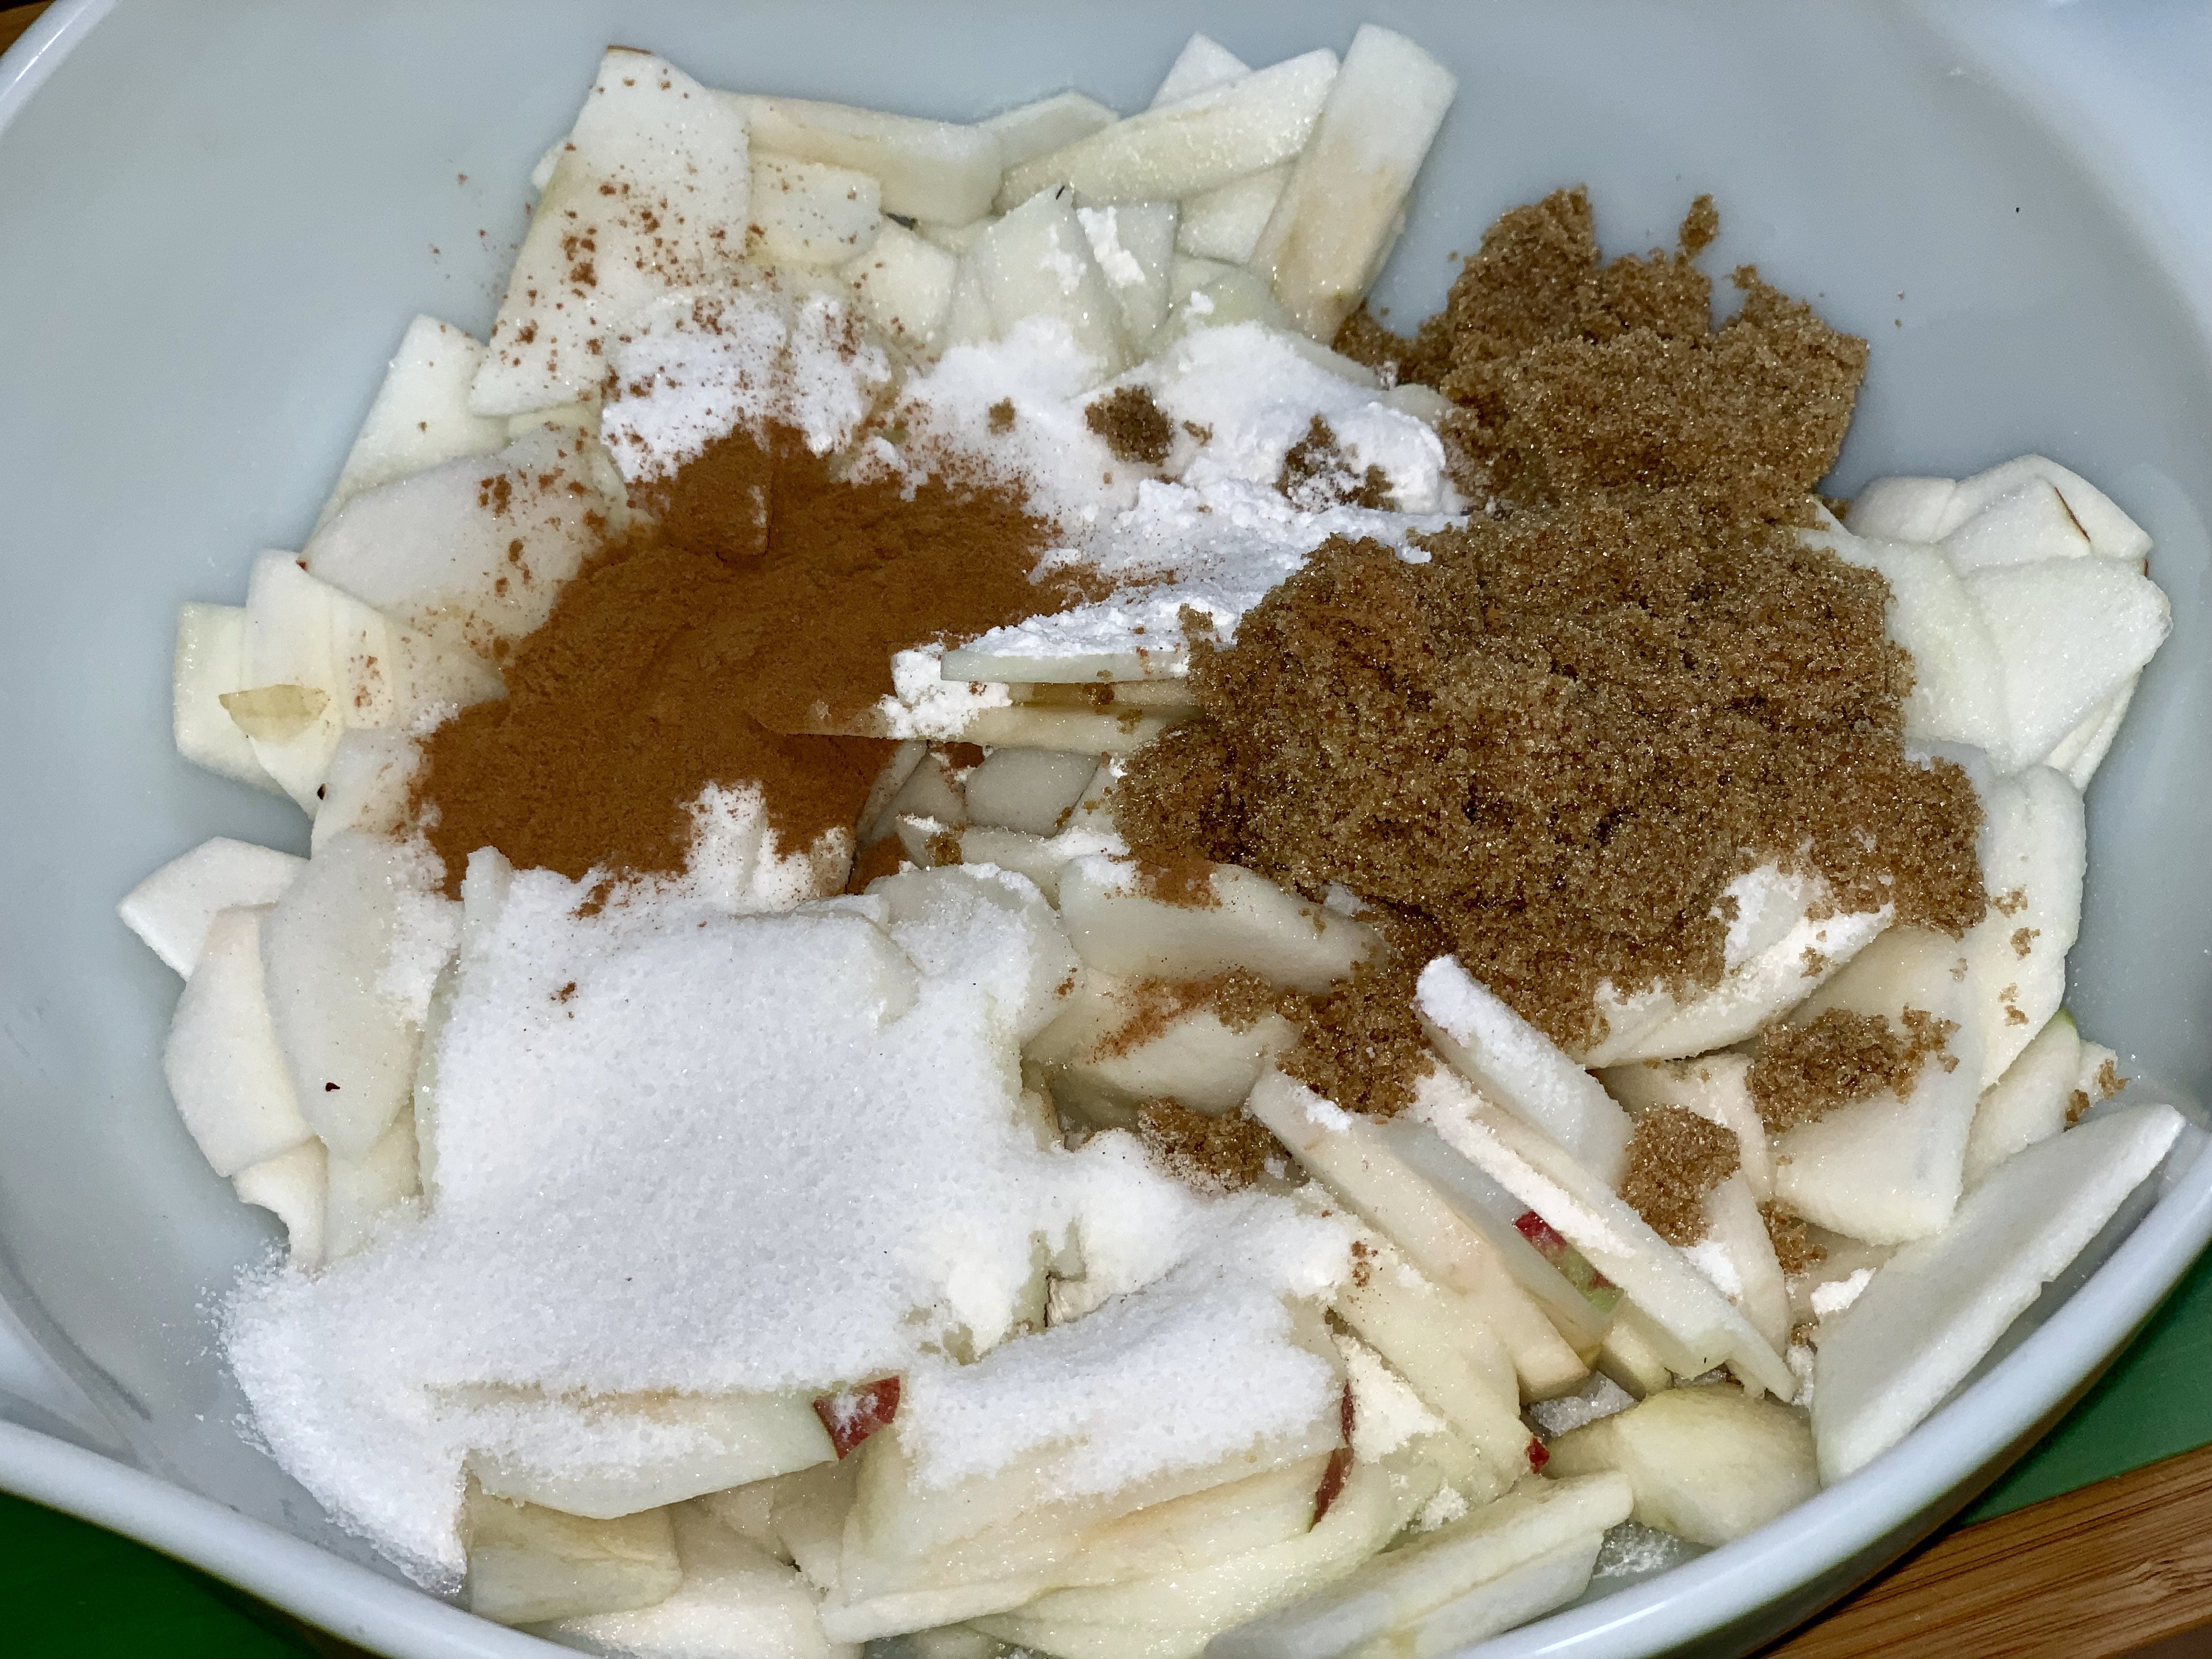
For the filling, I used 8 apples (I added one after the picture!), the juice of 1 lemon, white sugar, brown sugar, cinnamon and flour.
I sliced the apples thin and tossed them with the lemon juice. Then, I added in the sugars, cinnamon and flour and mixed through, ensuring that all of the apples were coated. In hindsight, it might be easier to mix the dry ingredients separately and then add – live and learn!
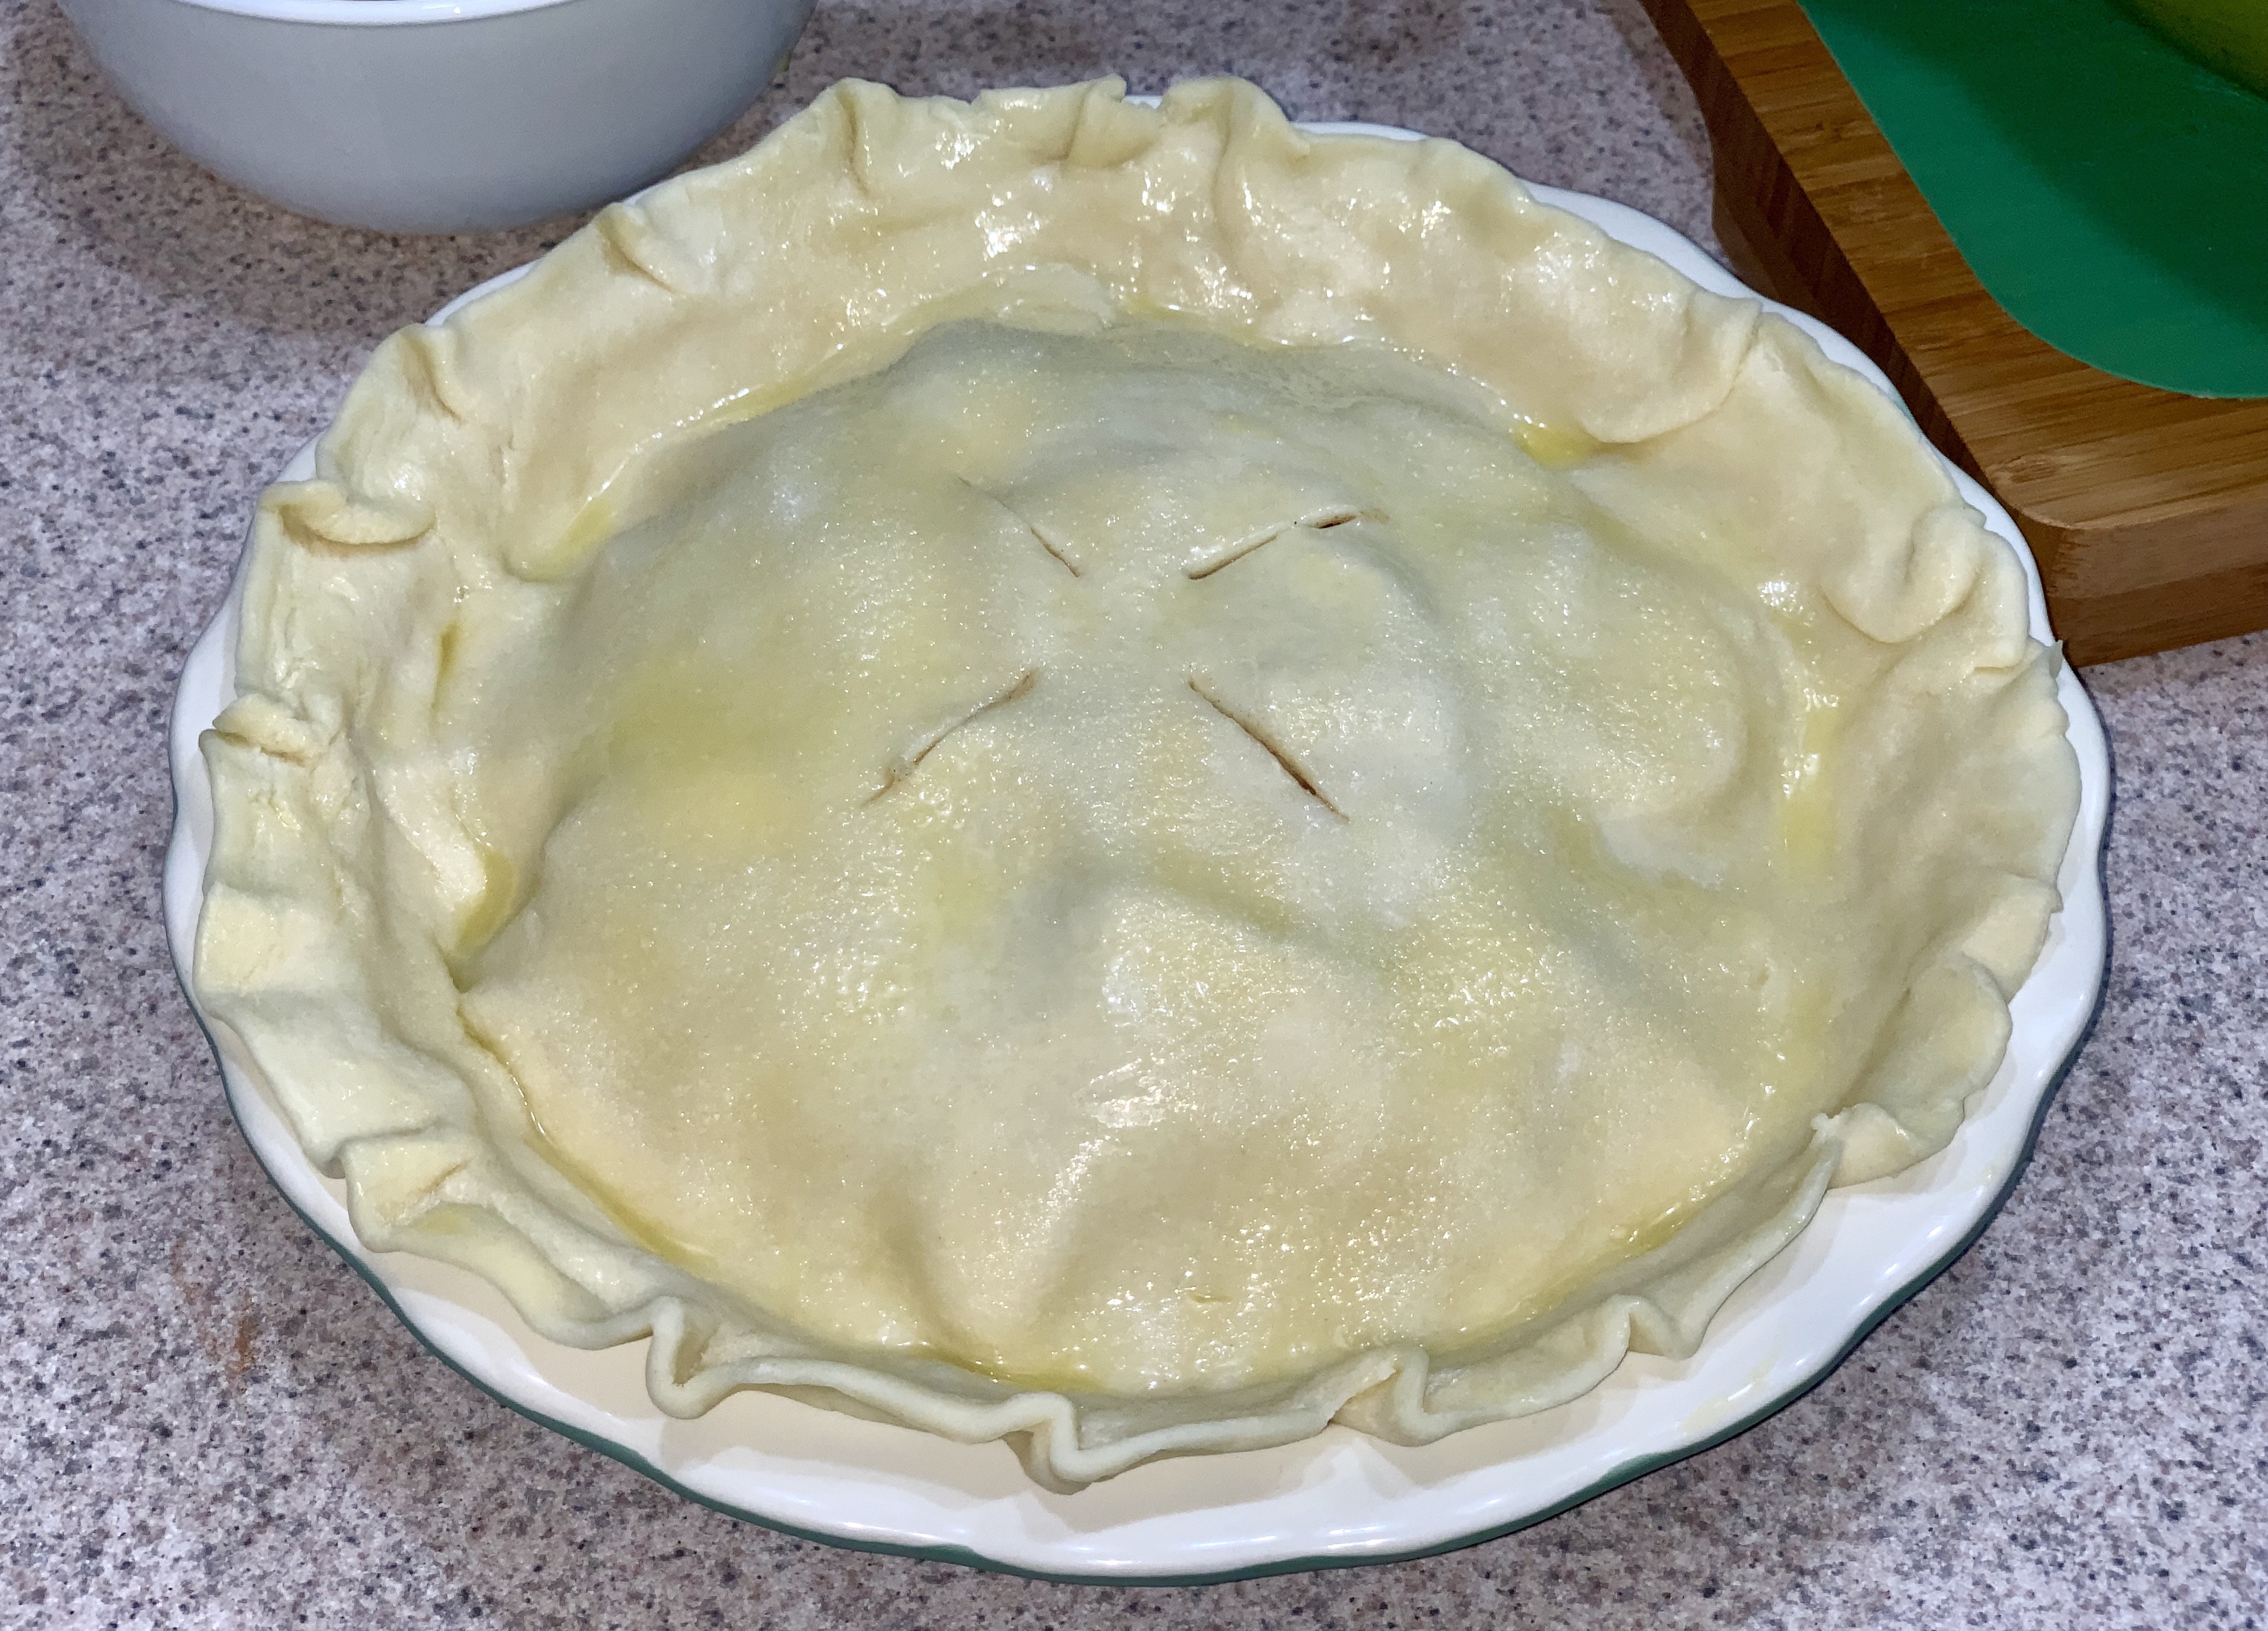
I then piled the apples into the pie plate, where I had added the first pie crust…
Finally, I topped the apples with the remaining pie crust – and sealed the edges, by pinching together the top and bottom pie crusts together at the edge of the pie plate. I added a simple egg wash (1 egg and 2 tsp of cream) to the top and sprinkled with sugar.
The pie was baked for 50 minutes in a 425 degree oven. It came out perfectly golden brown. And, then, the waiting started…
In order to allow the filling to fully set, I let the pie sit for at least 1 1/2 hours (truly, it would have probably been better to wait just a bit longer – but, COME ON!, how long is one expected to wait around while smelling that deliciousness!).
Easy Apple Pie
Refrigerated Pie Crust (2 pieces – for top and bottom) 7-8 small apples (probably about the equivalent of 7 cups when sliced) , sliced thin 1/2 cup white sugar 1/3 cup brown sugar 1/3 cup flour 1 tbsp cinnamon Juice of 1 lemon
Slice apples and toss with juice of 1 lemon
Mix in the sugars, flour and cinnamon, ensuring to coat all the apples
In pie pan, add one of the pieces of pastry, pushing down into pie plate (trim off any excess if there is any)
Add apples into pie plate
Top with other piece of pastry and pinch the bottom and top crusts together, to seal the pie
Apply egg wash to top of crust and sprinkle with sugar
Vent the pie dough, by cutting small slits in the top
Bake in 425 degree (I usually bump mine up 25 degrees, so you may want to try 400 degrees) for 45-50 minutes
Remove from oven and let rest for at least an hour and half, prior to serving
When making Brunswick Stew, I bought and cooked a 4.5 pound Boston Butt roast, so – clearly, I had leftovers. And, I still had some of Biz’s Skinny Pizza Dough from when I made my Blueberry Pizza. Having both of those things, I decided to make a pulled pork BBQ pizza.
I decided to keep the ingredients pretty simple: Biz’s Skinny Pizza Dough, pulled pork, Alouette Garlic and Herb spreadable cheese, Monterey Jack Cheese and Sweet Baby Ray’s Mustard BBQ sauce.
I rolled the dough out into something, loosely, resembling a circle. Then added the Alouette Garlic and Herb cheese as the base.
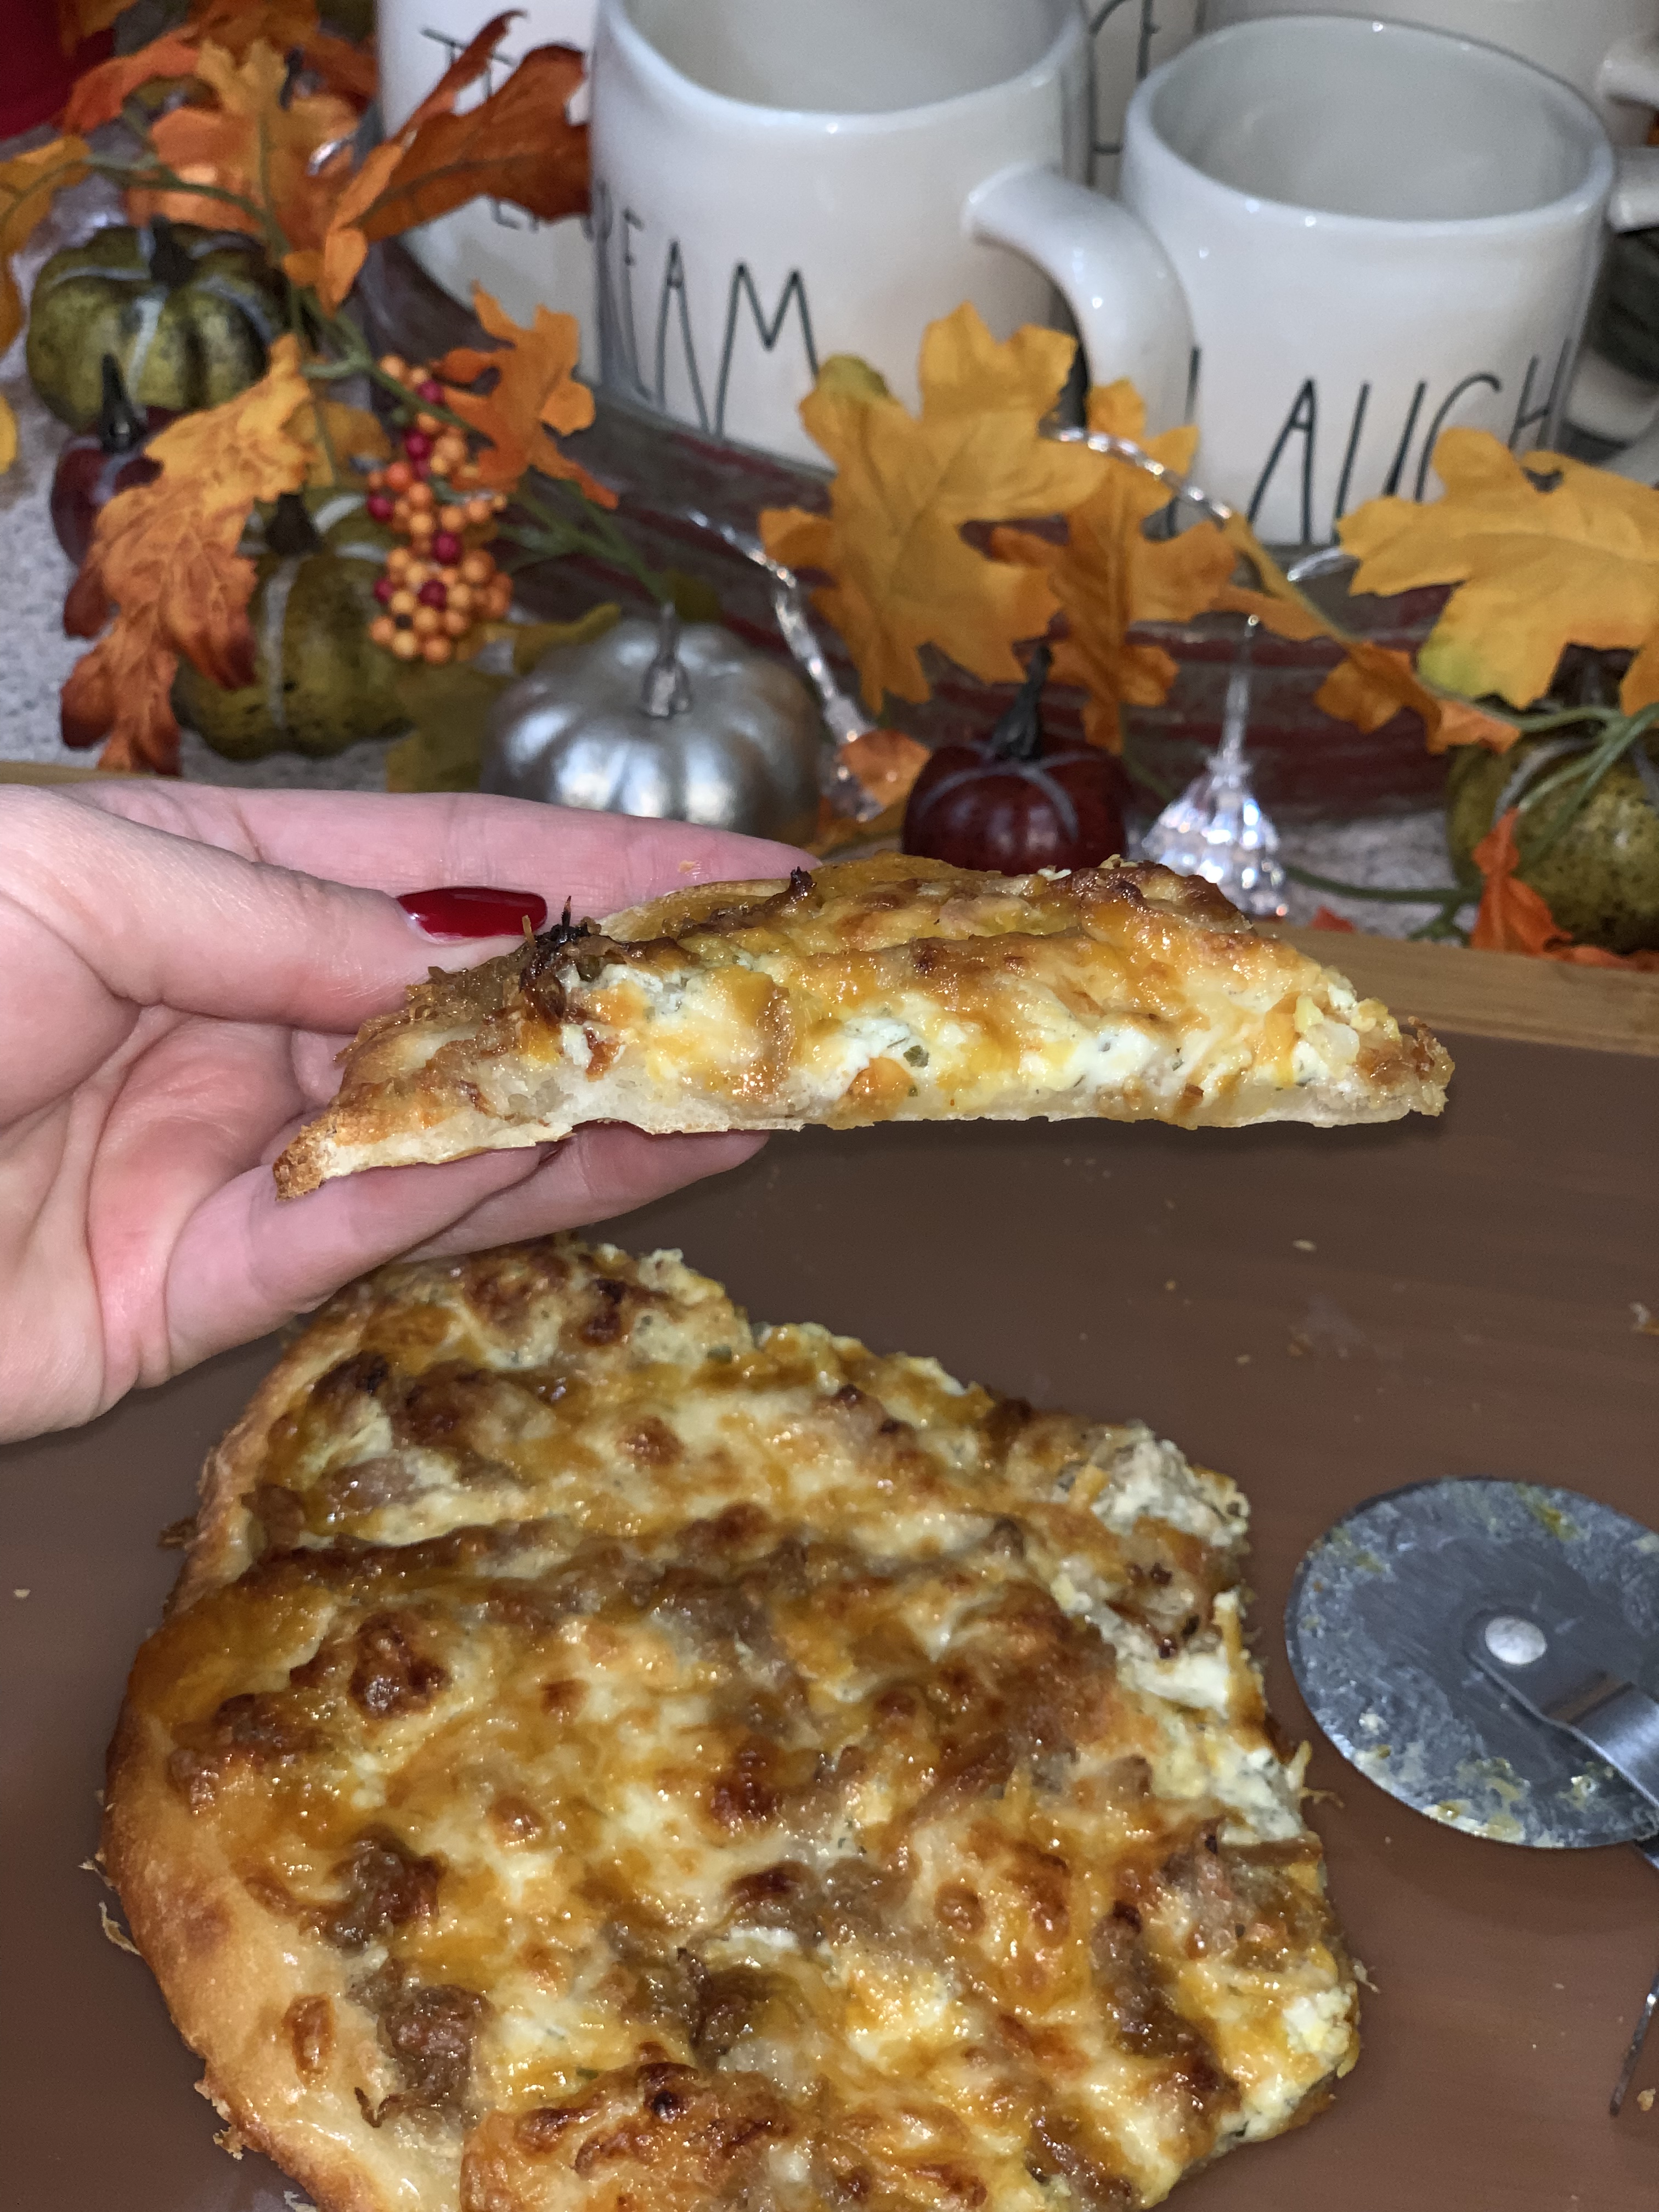
Then I added some of the pulled pork. It was cold, fresh from the fridge – no need to heat it up, since it is going into a very hot oven! Next, the pizza was topped with shredded Monterey Jack cheese. And, lastly, drizzled on some of the BBQ sauce.
I cooked it on parchment paper (on top of a pizza stone) in my oven, for 20 minutes, at 500 degrees.
Biz’s dough crisps up so well and really can hold a topping!
The savory flavor of the Alouette garlic and herb cheese, coupled with the tangy sweetness of the BBQ sauce was AMAZING!! So good!!
BBQ Pulled Pork Pizza
Biz’s Skinny Pizza Dough Pulled Pork Alouette Garlic and Herb Spreadable Cheese Monterey Jack Cheese
Roll out the dough (doing it on parchment paper makes it easier to put it in and take it out of the oven)
Add Alouette Garlic and Herb cheese to the top of the dough
Top with pulled pork and Monterey Jack Cheese
Drizzle on the BBQ sauce
Cook for 20 minutes in 500 degree oven
** Note I didn’t measure anything when I was making this, so just kind of eyeball it, depending on how much dough you use.
The other day, the oldest child asked for pizza – as I always do when pizza is requested, I whipped up a batch of Biz’s Skinny Pizza Dough. If you haven’t tried this – stop what you’re doing right now now – go and make some and try something (pizza, pastry, anything) with this dough! You’ll be so happy you did!
As I had some skinny pizza dough leftover, I decided to make a blueberry open faced pastry with a bit of it. Blueberries, cream cheese and the most delicious dough you can imagine – sounds like a good time to me!
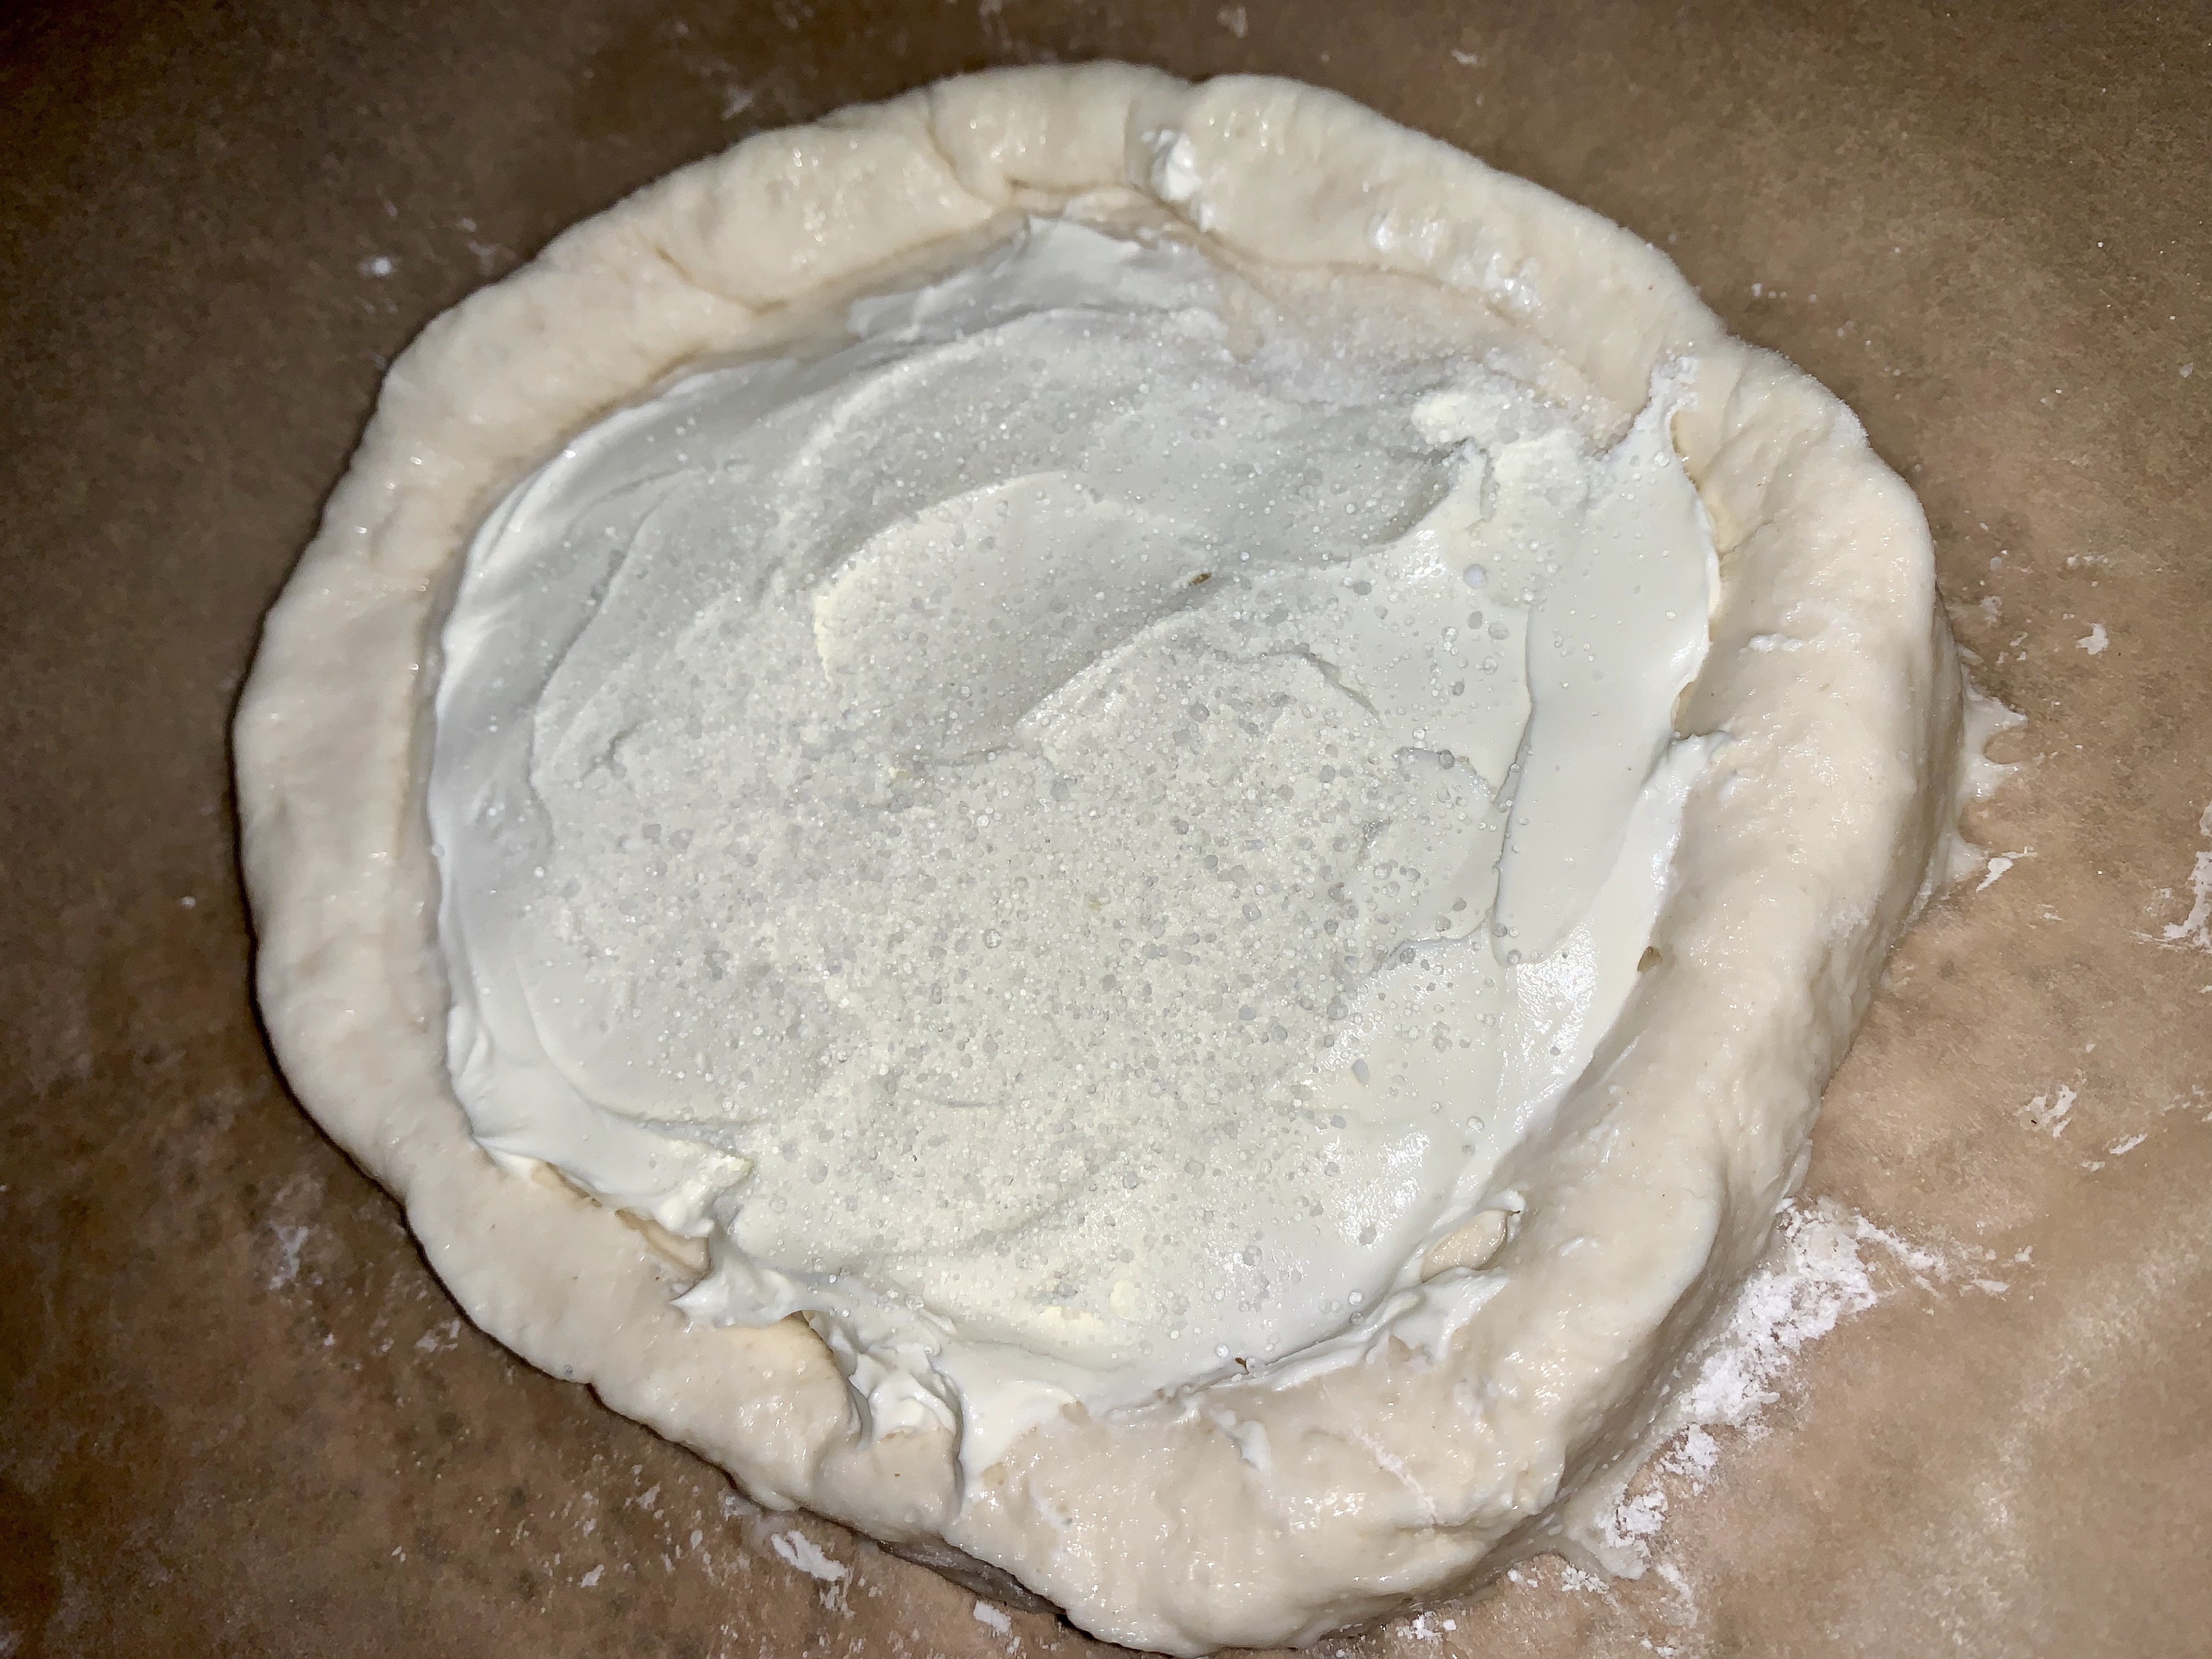
The recipe starts out by rolling out (into something loosely resembling a circle) the dough and then pinching the sides up to create a barrier to hold in the blueberry and cream cheese deliciousness that is to come!
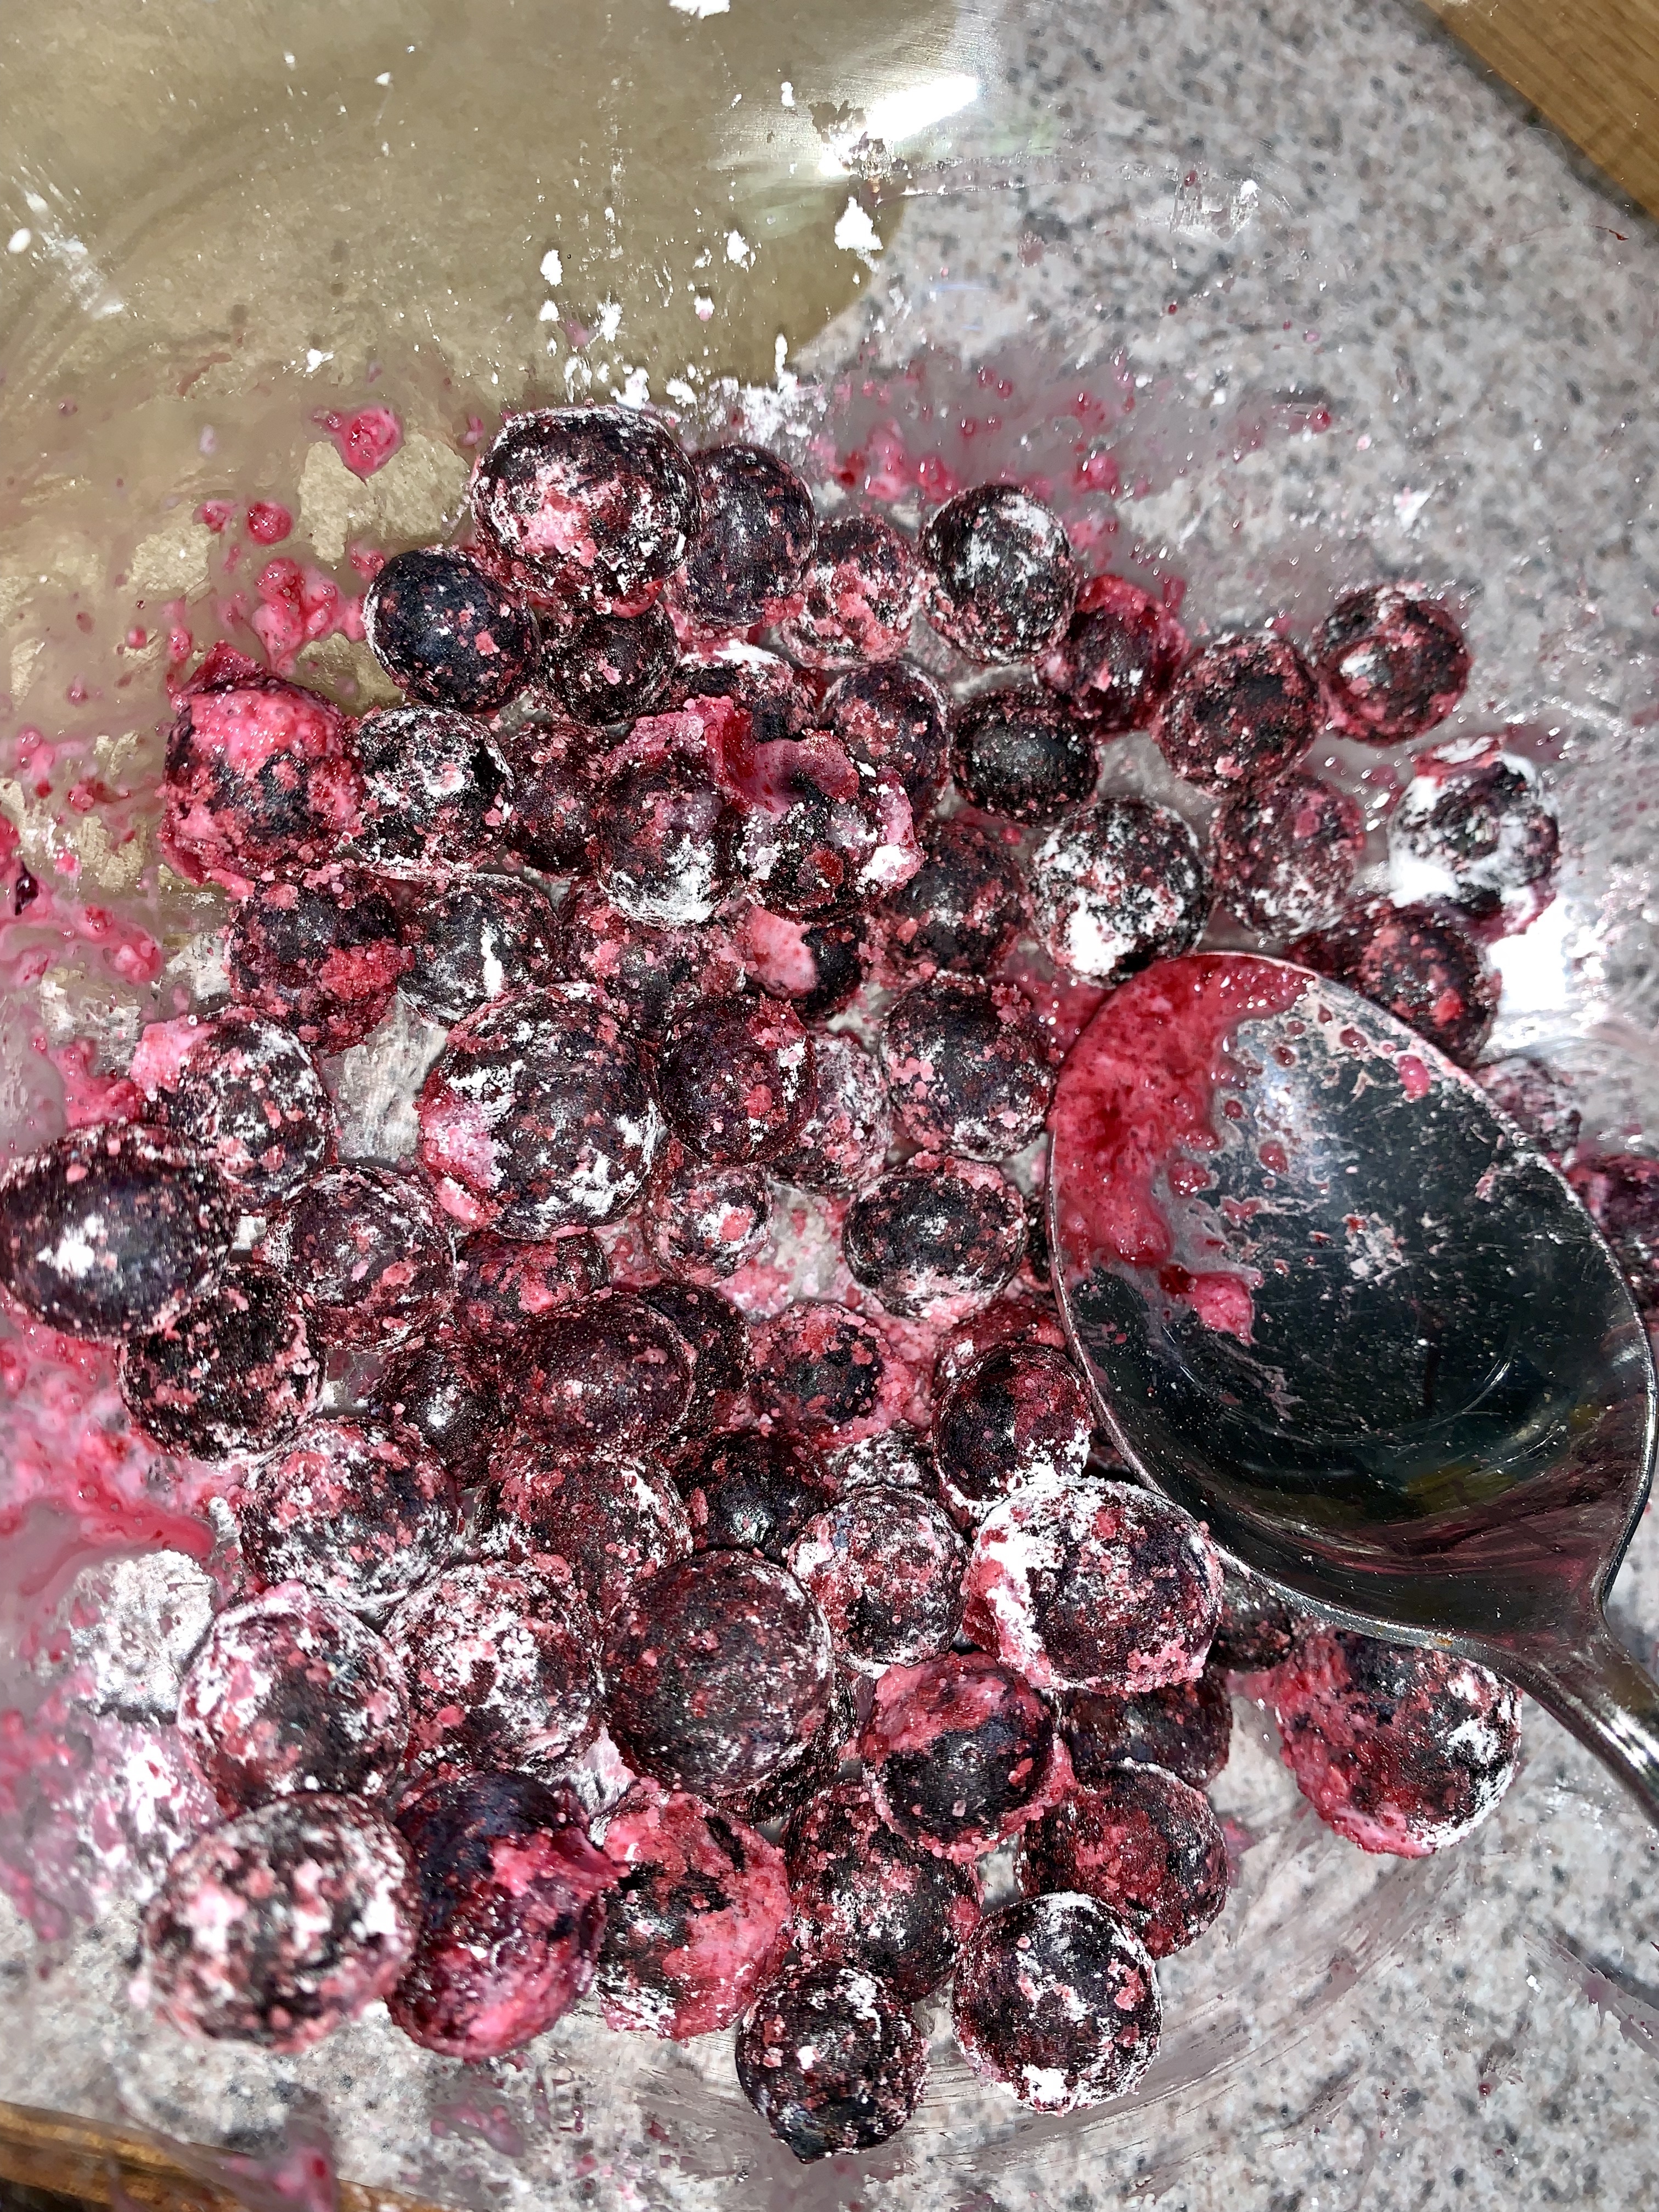
In a bowl, I combined frozen blueberries, a bit of Truvia, a small amount (just from a wedge) of lemon juice and 1/2 tsp of corn starch and mixed until all of the berries were coated.
I added 1 tbsp of whipped cream cheese to the dough and sprinkled on a light dusting of Truvia (keep in mind that the pizza dough is not sweetened, as this is what I had left over from pizza – so, you’ll want to sweeten it up a bit – I even added a tiny bit of Truvia as I was kneeding the dough and rolling it out!).
I then layered on the blueberries and sprayed a little bit of I Can’t Believe It’s Not Butter spray on the edges of the pastry. Into a preheated (to 400 degrees) oven it went for 25 minutes!
The result – a delicious, relatively healthy, similar to a danish blueberry pastry! It was a win in my book! A little tart and not too sweet, perfection!
A couple of notes:
Make sure your dough isn’t too thick (if it is, adjust baking time) – but is thick enough to support the cream cheese and blueberries.
Make sure you put your pastry on a pan that had a lip around it, in case the blueberries ‘run’ as they cook (you don’t want blueberry juice in the bottom of your oven!).
I wish that I would have had some powdered sugar to make a glaze to add after baking, that would have made it even better!
Don’t take your first bite in a white shirt – blueberries stain! 🙂
Look at that deliciously beautiful dough!!!
Blueberry Pizza Pastry, with Biz’s Skinny Pizza Dough
Total Prep / Bake Time: 40 minutes
Biz’s Skinny Pizza Dough (use a portion of dough equivalent to the size of an orange – about 1/4 of the total recipe – sorry, I didn’t weigh it) 1/2 cup Frozen Blueberries 1 Tbsp Whipped Cream Cheese 1 Tbsp (total) Truvia 1/2 tsp Cornstarch Lemon Juice (equivalent to juice of a small wedge) I Can’t Believe It’s Not Butter spray (or egg wash) to help edges brown
Roll out pastry on parchment paper
Combine blueberries, 3/4 tbsp Truvia, lemon juice and cornstarch in bowl, until blueberries are coated
Add cream cheese to pastry and sprinkle on remaining Truvia
Add blueberries on top of the cream cheese
Spray the I Can’t Believe It’s Not Butter spray on the edges of the pastry