Pork Chop Skillet

I thawed out some pork chops in the fridge for dinner tonight. Originally, I was planning to do something with pesto that I need to use up, but that didn’t sound appealing to everyone – so, I put my thinking cap on and tried to come up with something different.

It’s been a bit of a trying day – you know – the kind of day that you want some good old comfort food. For me, that usually means something creamy, starchy and that reminds me of meals I loved as a kid (casseroles or one pot meals!). But, I had to use the pork chops, since I’d already thawed them out – enter Pork Chop Skillet!

For creamy, I decided to use some cream of chicken soup and heavy cream. For starchy, I decided to use some jasmine rice. Add in the pork chops, some veggies and spices and I think we’re on our way.

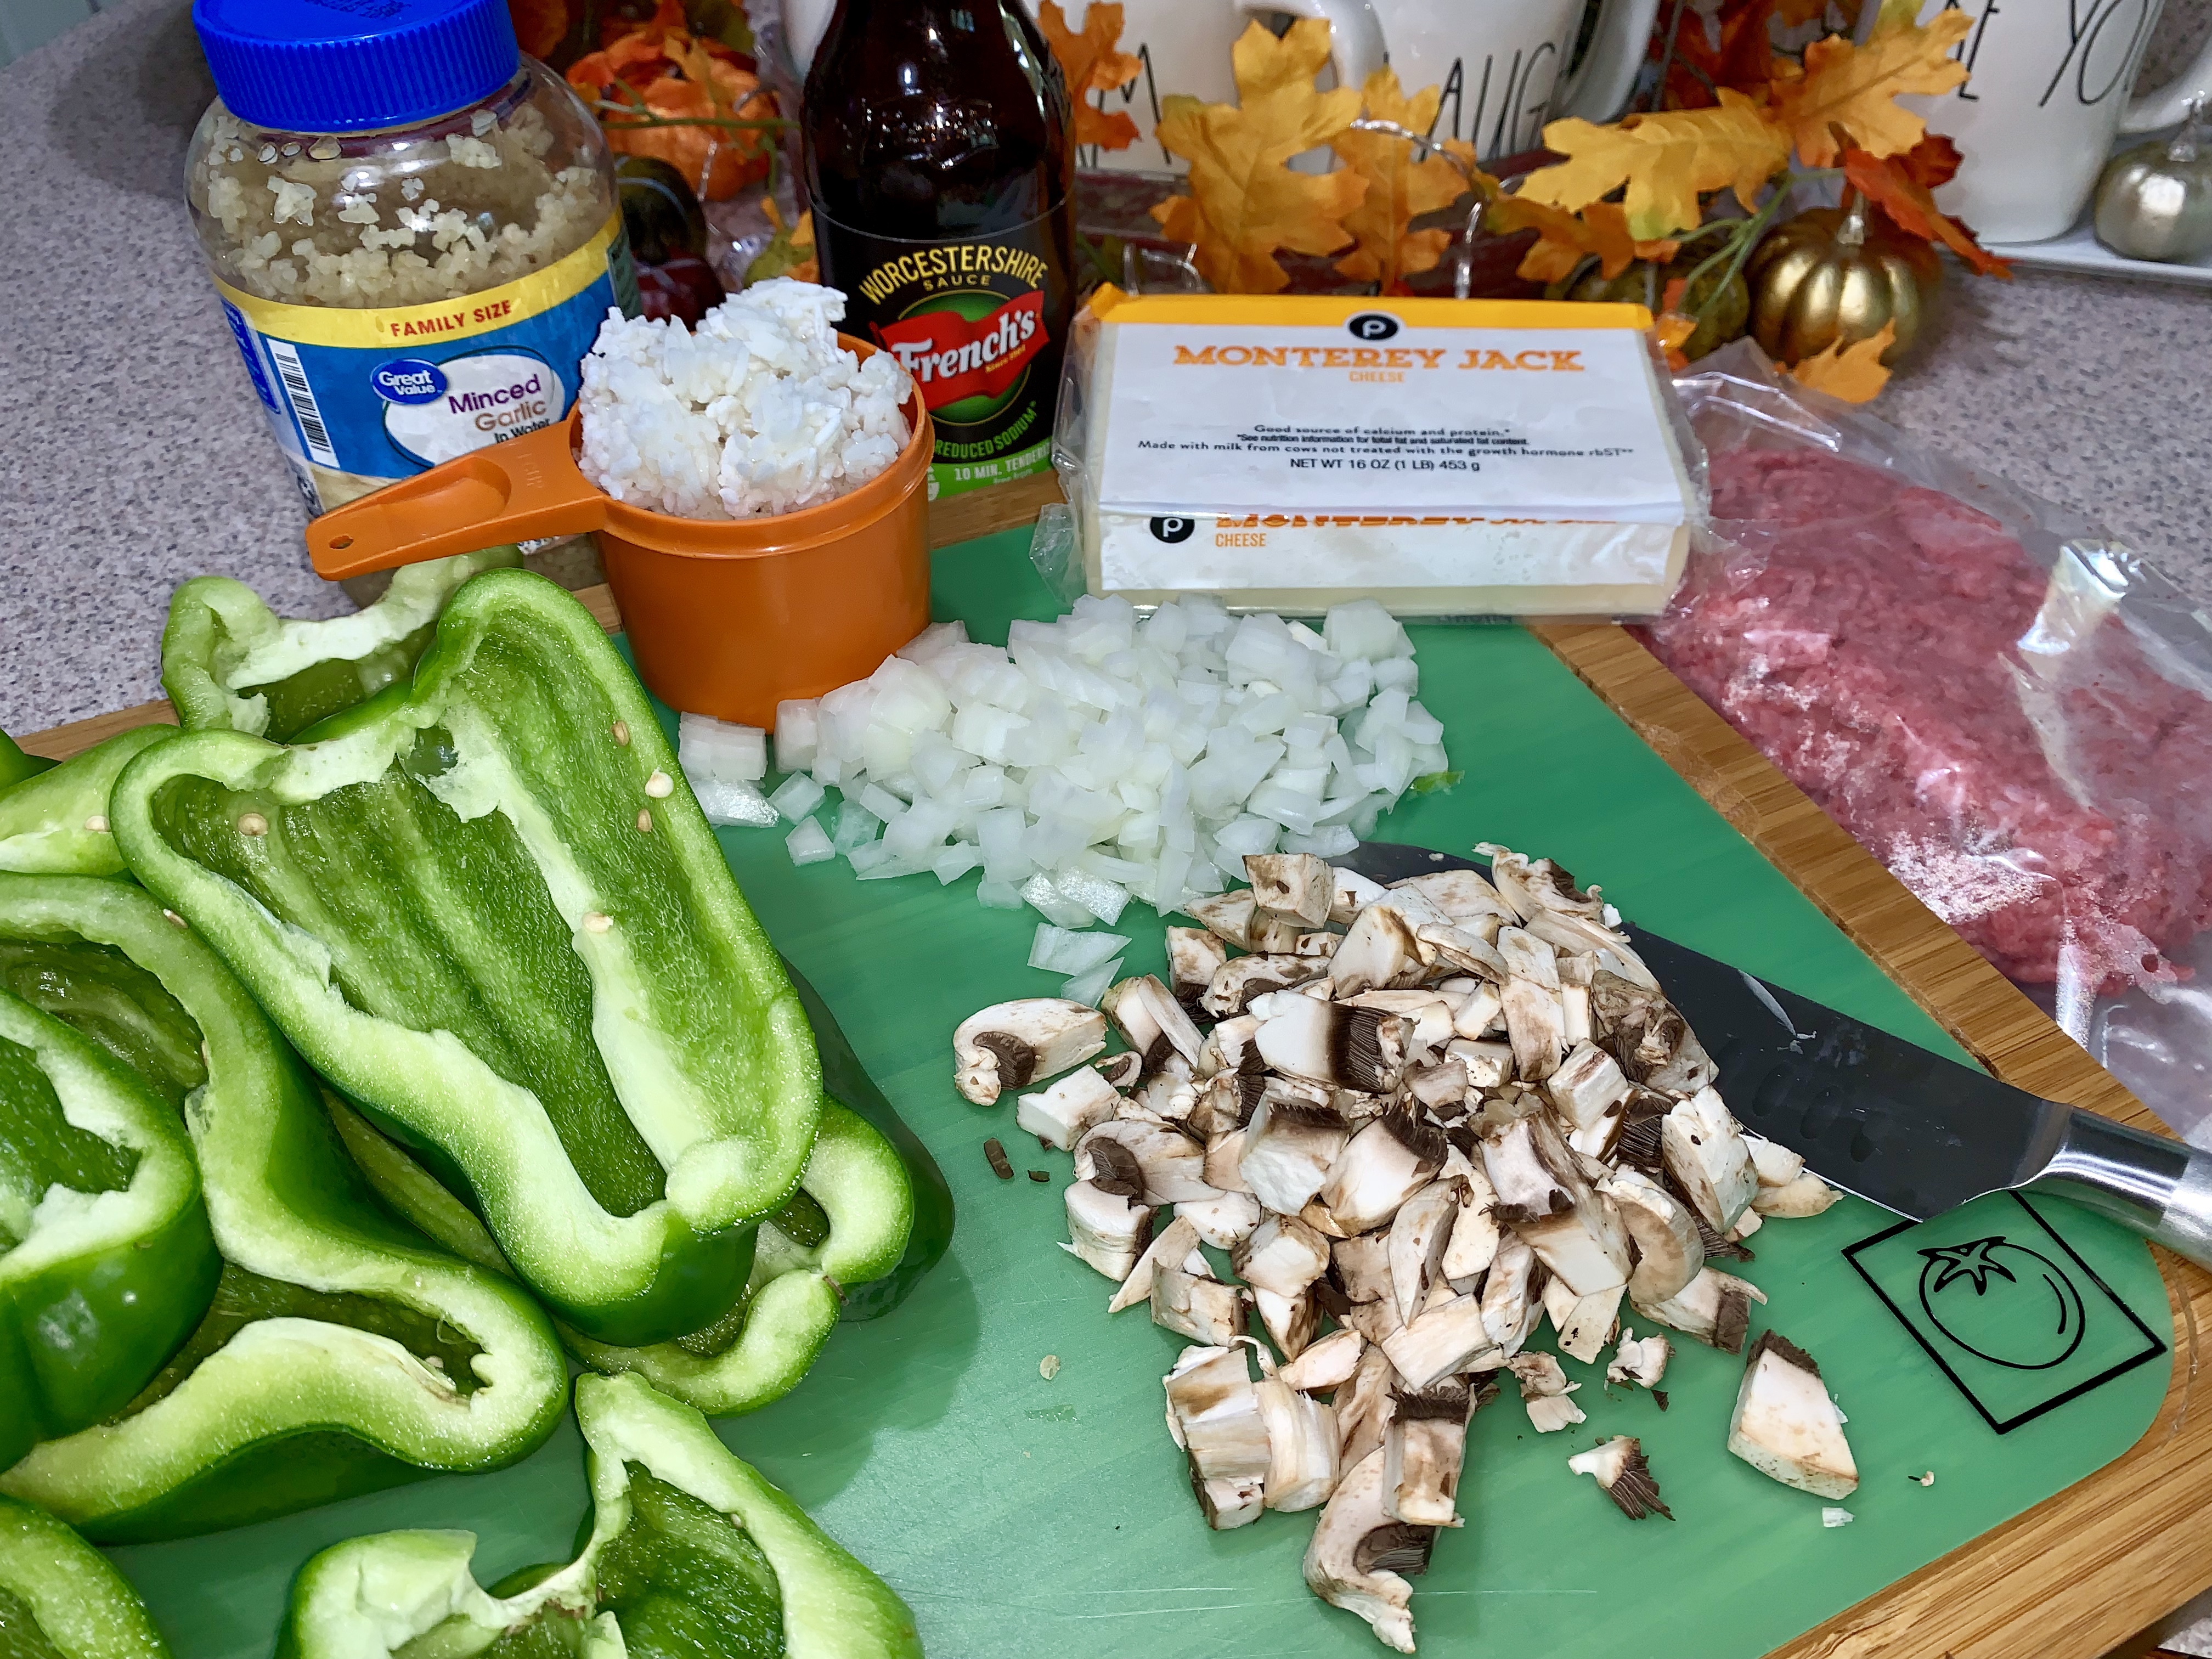
I chopped my veggies so that they would be ready to go when I needed them.

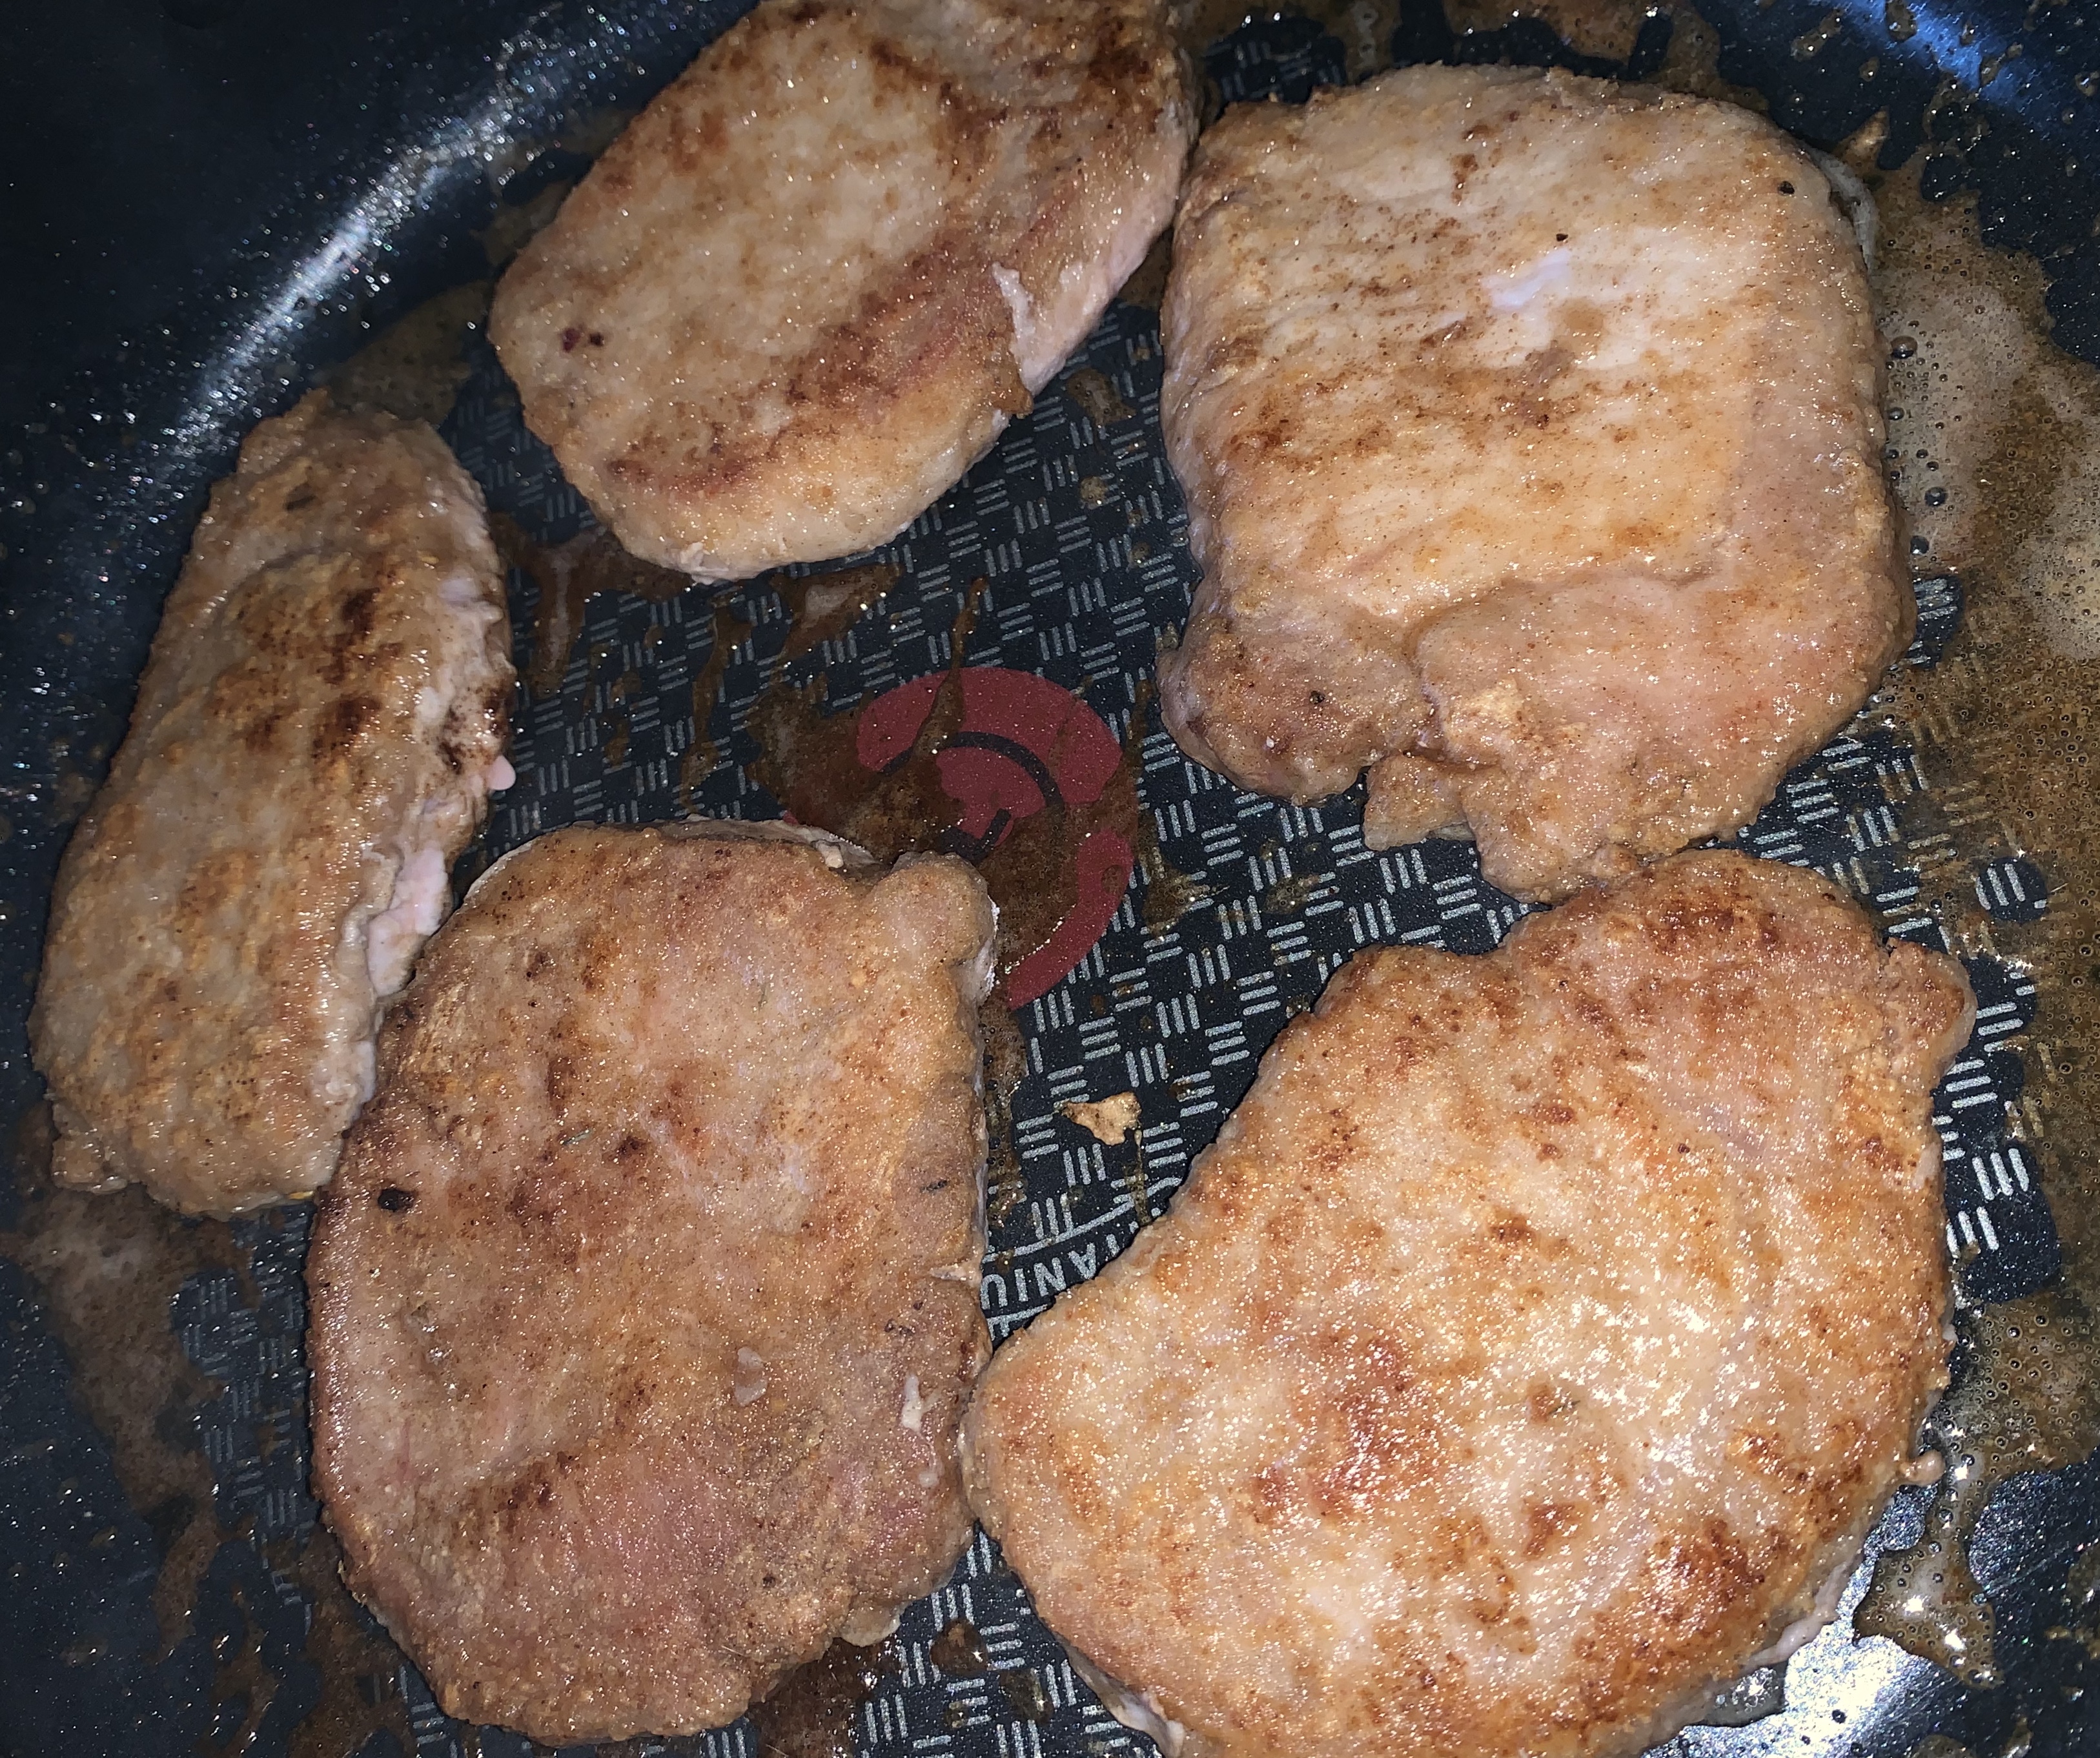
To help the pork chops brown (and to give a little extra flavor), I lightly coated the chops in a mixture of flour and umami seasoning. I always like to do this in a gallon size storage bag (easy clean up!).

I started by browning off the pork chops in the skillet, with a little bit of avocado oil and butter, shaking off any excess flour before putting them in the pan. I didn’t need to cook the pork chops through, but I did want to ensure that they were nicely browned on both sides – when they were, I removed them from the pan.

I had 1/4 of an onion in the fridge, so I knew I would use that. I also had a few stalks of celery and some carrots (from the chicken noodle stew I made the other day), so these were the veggies I chose. I added the chopped veggies with some garlic and seasonings and let it cook in the skillet until the vegetables were starting to soften.

Then I added in the rice, mushroom soup, chicken stock and heavy cream and brought the skillet up to a boil.

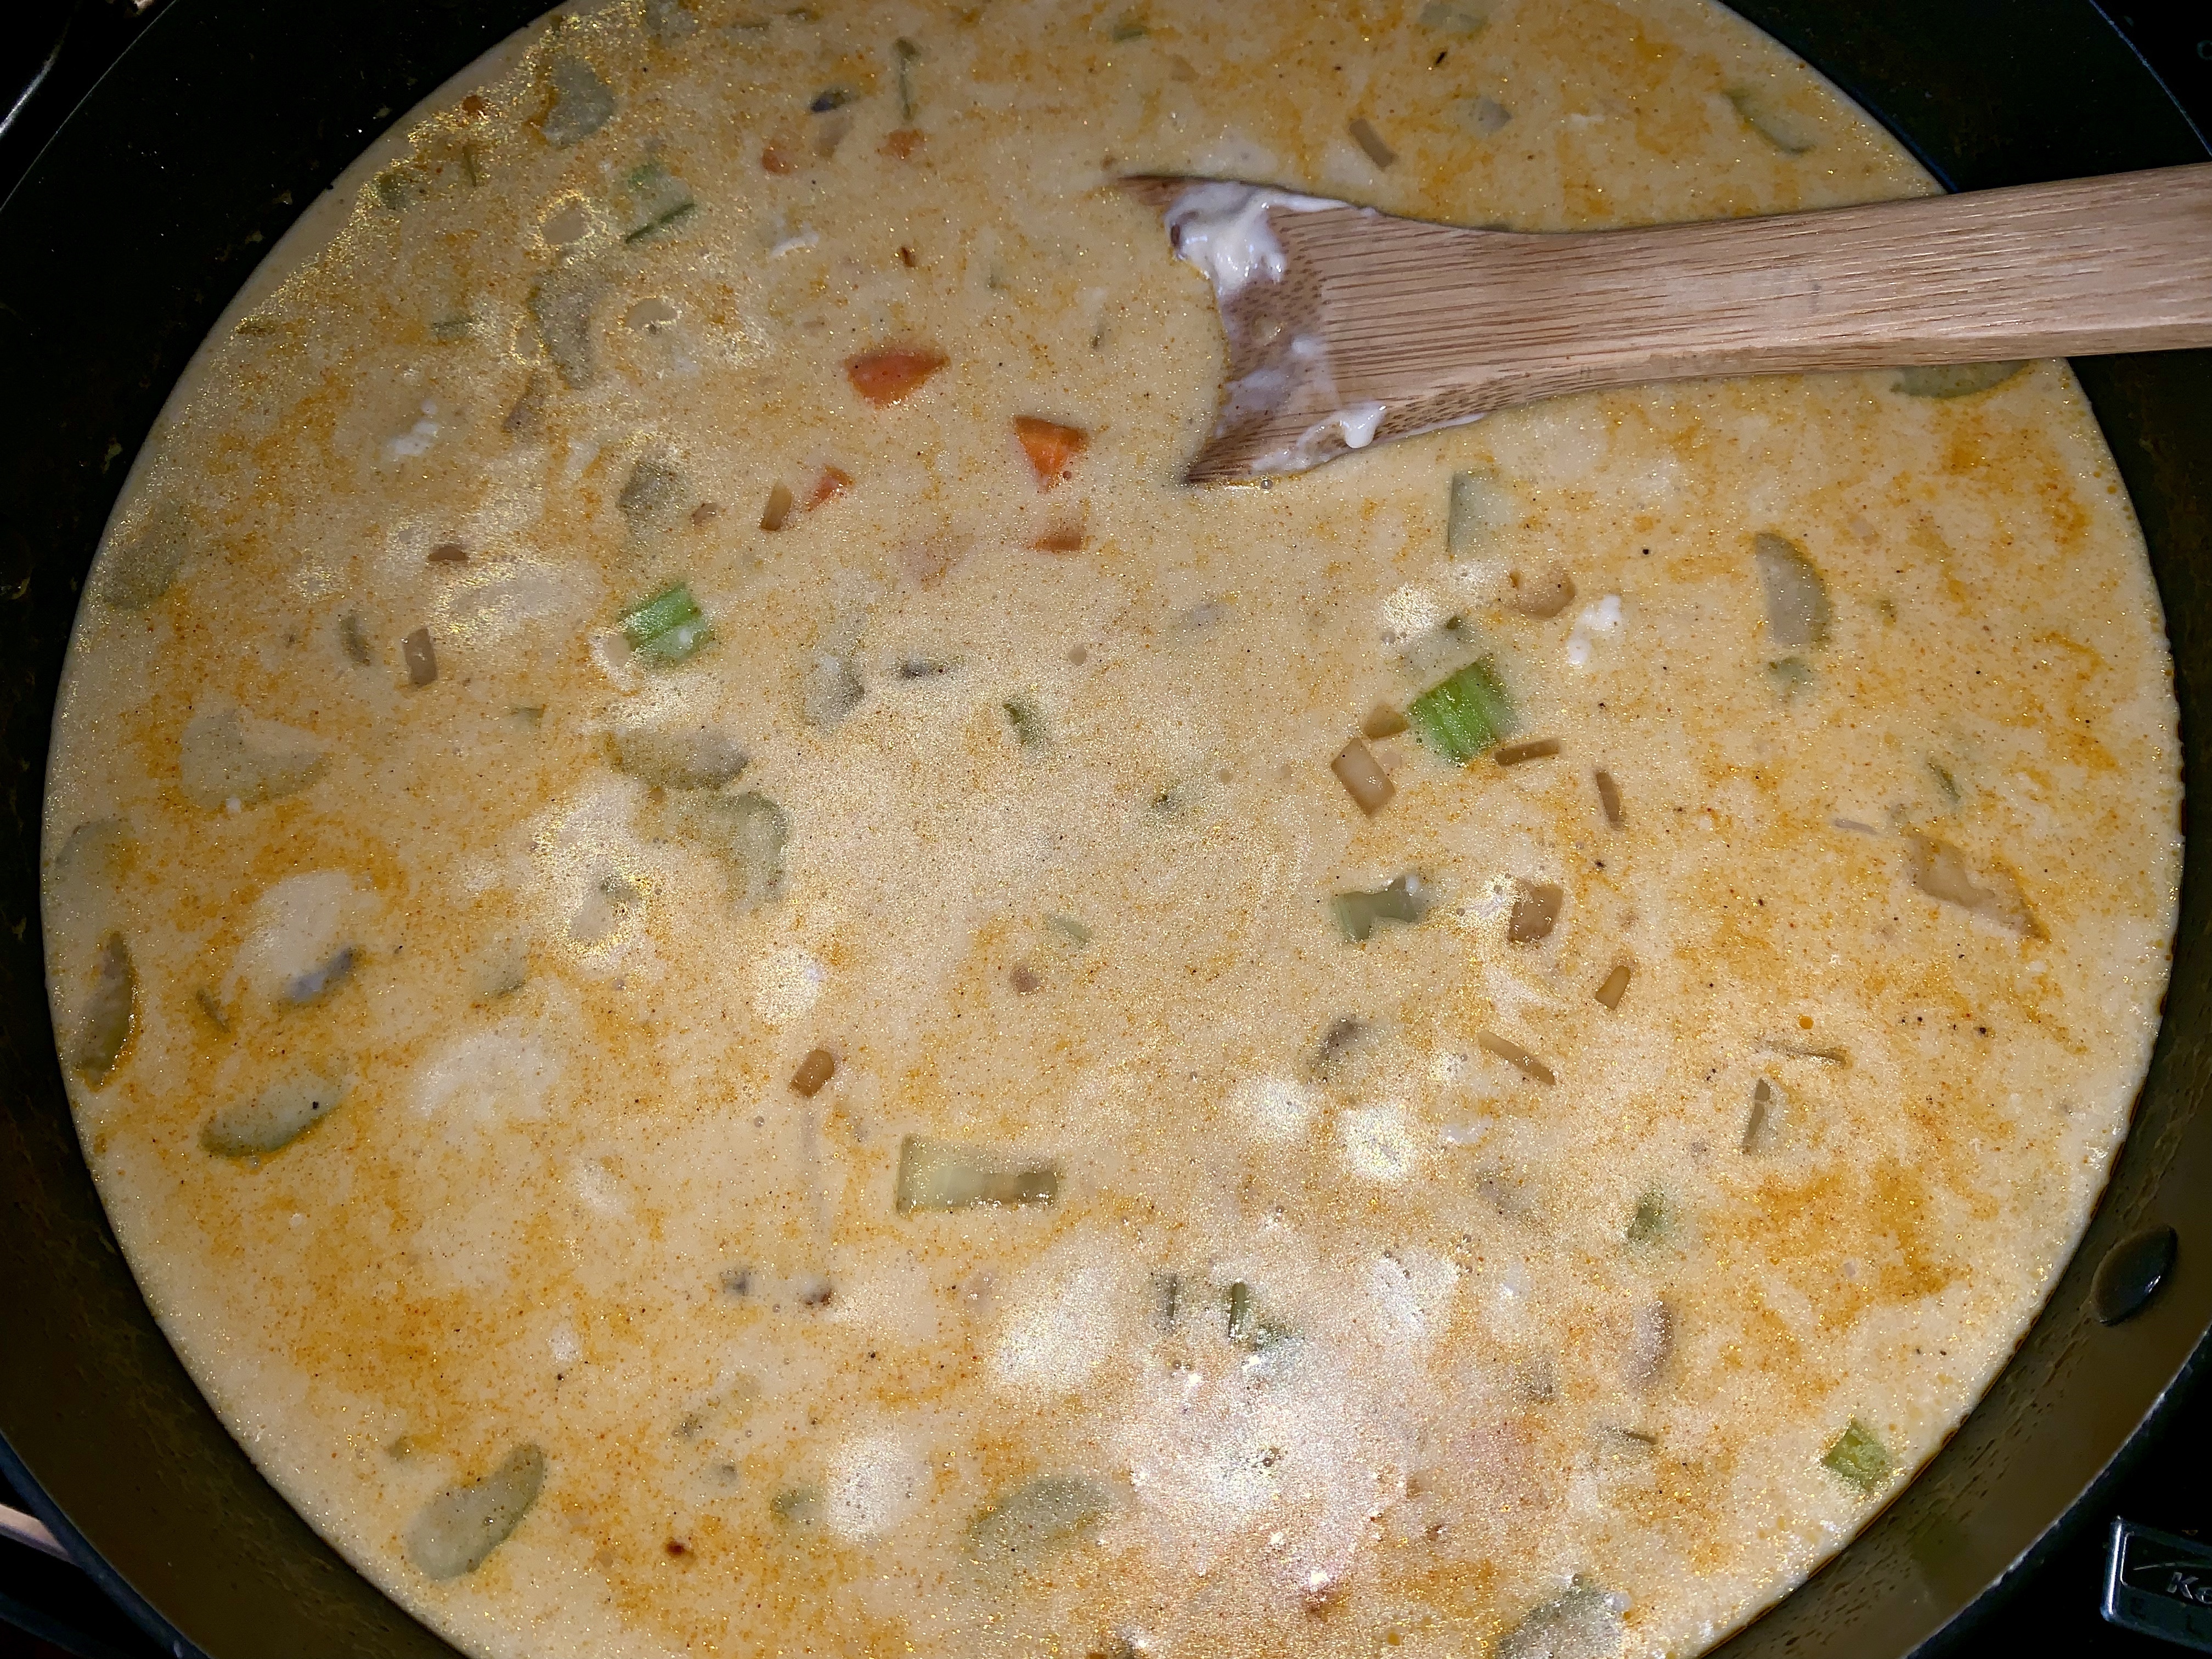
Then, I reduced to a simmer – added the pork chops back in, covered and allowed the it to cook for 30 minutes.

Once done, I added some chopped green onions and we were ready to eat!

We ate the pork chops and rice/veggies with some roasted brussel sprouts (I’ll share my recipe for that in another post – couldn’t be easier!).

Pork Chop Skillet

4-6 boneless pork chops
1 tbsp Umami seasoning
3 tbsp all purpose flour
1 can cream of mushroom soup
2 stalks of celery, chopped
2 carrots, chopped
1/4 of a medium sized onion, chopped
1 tbsp garlic
2 cups rice (I used Jasmine, as that is what I had on hand)
3 cups of chicken stock
1/2 cup heavy cream
2 tsp salt
1 tsp paprika
Avocado oil spray (or other cooking spray)
2 tbsp butter
green onions to garnish

  • Add flour and Umami seasoning to plastic bag and lightly coat pork chops
  • Add avocado oil spray and butter to pan – heat until butter is melted
  • Brown the pork chops (on both sides) and remove from pan
  • Add onion, garlic, celery, carrots, salt, pepper and paprika to pan – cook until vegetables start to get tender.
  • Add rice and stir for 3-5 minutes, coating the rice
  • Add stock, heavy cream and can of cream of mushroom soup and stir and bring to a boil
  • Return pork chops to pan, reduce heat, cover and cook for 30 minutes

How Does One Use Leftover Queso Blanco?

Friday, I made some queso blanco with green chilis – and I had some leftover. I had to decide how I would use the remaining queso (I’ve made it a mission, lately, to try to minimize waste – and, I have done a great job with that!).

I had a bratwurst from Saturday and wanted to eat that for dinner – and decided that some fries would be good. And, the queso blanco would be the perfect accompaniment!

All I did was cut up a few potatoes, toss in avocado oil – add some salt and cook in the oven at 425 degrees for 45 minutes.

Then topped with the warmed up queso.

It was a delicious, easy meal to end the weekend!

Shrimp and Smoky Jalapeño Grits

I’ve been wanting to try my hand at shrimp and grits for a while, but just haven’t taken the time to come up with a recipe. But, I finally took the time today – for brunch. I tend to think that shrimp and grits are the perfect brunch food!

I tried to think about all the things that I loved about all (there have been a lot!) the shrimp and grits dishes I’ve had – and, I think that I came up with a winner of a recipe, combining the flavors that I like most!

Starting with shrimp, bacon (I actually also used some sausage too – as I had a small piece left in the refrigerator, but won’t normally include that) and all the ingredients needed for my jalapeno cheesy grits.

I forgot to include it in the picture of the ingredients, but I also used the juice of one lemon in the sauce.

The shrimp won’t take long to cook – so start with the grits. I used old fashioned grits for mine. I cooked the grits as normal 4:1 ratio of water to grits (with a bit of salt). When the grits were almost done, I added the butter, heavy cream and cheese. Whisking it in, to keep it all smooth!

For the shrimp and sauce, I started by cooking my bacon and sausage – then removed it from the pan (leaving the grease in the pan).

I let my bacon and sausage sit on a plate with a paper towel, so that it wouldn’t get ‘soggy’.

Then I was ready to cook the shrimp. I decide to do a light ‘breading’ on my shrimp, so I tossed it in a plastic bag with flour, Old Bay seasoning and paprika.

Once the shrimp was coated, I put it in the hot pan with oil. Cooking on each side for 2-3 minutes. You’ll want to be sure not to over cook your shrimp, so have everything ready to go before putting the shrimp in the pan. Nothing is worse than chewy shrimp, in my opinion.

After the shrimp was done, I returned the bacon and sausage to the pan and mixed it up (it’s fine of some of the breading falls off of the shrimp – the breading is really just for flavor and any that falls off will just add to the flavor of the sauce).

Then I started to build the sauce – to the shrimp and bacon mixture, I added in the broth, lemon juice, parsley and the reserved flour mixture – stirring to coat the shrimp with the sauce. I added 1/2 of the green onions on top of the shrimp and sauce and we were ready to eat!

To serve, add the shrimp over the grits and garnish with green onions. The perfect brunch food!

Shrimp and Grits

Total time for recipe – approximately 45 minutes

Grits
1 cup of grits
4 cups of water
1/4 tsp salt
2 tbsp butter
1/3 cup heavy cream
approx 1/3 cup (1/2 a container) Smoky Jalapeno Alouette cheese

Shrimp and Sauce
4 pieces of thick sliced bacon, cut up into bite size pieces
3/4 – 1 lb shrimp
2 tbsp all purpose flour
1 tbsp Old Bay seasoning
1 tsp paprika
2/3 cup chicken broth
1/2 tsp dried parsley flakes
3 green onions, chopped
juice of one lemon

Prepare grits, as follows:

  • Bring 4 cups of water to a boil, add salt and whisk in grits.
  • Reduce to simmer, for 15 minutes
  • Add in butter, heavy cream and cheese (stir with whisk), reduce heat and cover

Shrimp and Sauce:

  • Cook bacon in skillet, once done, remove (leaving oil).
  • Prepare shrimp by tossing in a bag with the flour, Old Bay seasoning and paprika.
  • Remove shrimp and add to pan (do not discard remaining flour mixture)
  • Cook on each side 2-3 minutes (shrimp doesn’t take long to cook).
  • Return bacon to pan
  • Add in chicken broth, lemon juice, parsley and remaining flour mixture – stir to coat shrimp with the sauce
  • Add 1/2 of the green onions and stir

Serve over grits and top with remaining green onions for garnish

Stuffed Bell Peppers

The other day, I bought some bell peppers – these were admittedly ‘value’ peppers, all in one bag, that were a LOT less expensive than the $2.99 (green) – 3.99 (yellow and red) PER BELL PEPPER that they wanted, otherwise (** side note, not sure what was going on there, I don’t recall ever seeing peppers that expensive before). The ‘value’ bag had one yellow bell pepper that was used for another recipe, the remainder were green. I mention the ‘value bag’ status of these peppers because, they are the funkiest shaped peppers I’ve ever seen in my life. That said, probably not the prettiest to use for stuffed peppers – but, you work with what you have!

One thing that I really don’t like, with regard to stuffed bell peppers, is when the pepper doesn’t seem to be cooked through fully – that said, I decided to ‘precook’ my peppers in the oven. I simply halved the peppers, tossed them with a bit of olive oil, salt and pepper – and cooked them in the oven for 20 minutes, sliced side down. At that length of time, they maintain their integrity, but cook long enough that they will be perfect after baking them stuffed!

While the peppers were cooking, I got started on the filling. This consisted of ground beef, onion, mushrooms, a can of Rotel tomatoes (I missed it in the picture below, but I’ve included a picture separately in case anyone doesn’t know what I’m talking about), cooked rice (I had some frozen, I used that), garlic, salt and pepper.

The filling started with a little bit of oil in a large skillet – once the oil was hot, I added in the onions, garlic and mushrooms. I cooked this mixture for about 10 minutes.

Once the vegetables were on their way, I added in the ground beef and cooked it through.

The next step was to add in the rice. As I was using frozen rice, there were some clumps – I just allowed the warm ground beef to break it apart and stirred until the rice was separated and warmed through.

Finally, I added in the can of Rotel tomatoes and mixed everything through. I reduced the heat to simmer, covered and allowed it to cook for about 10 minutes. This should be about the same time that the peppers are ready to come out of the oven.

***Note, for the next time I make this, I’m thinking I will add some cheese to the mixture, itself, as well.

While you’re letting the filling simmer, you can take that time to grate some cheese (use whatever cheese you like, I used monterey jack), if you’re not using pre-grated cheese.

Once the filling is completed and the peppers are out of the oven – it’s time to put things together! It couldn’t be easier – just flip the peppers over in the baking dish, fill with as much filling as you’d like – top with cheese and you’re ready to put it back in the oven!

Cover the baking dish, loosely, with foil (you want to try to avoid the foil touching the cheese, so you don’t ‘loose’ your cheese when you remove the foil) and cook for 20 minutes. After 20 minutes, you’ll want to remove the foil, return to the oven and cook for a final 10-15 minutes (until the cheese starts to brown).

Stuffed Bell Peppers
Total cooking time approx. 1 hour 15 minutes

4 Bell Peppers, halved
1 lb ground beef
1 cup chopped fresh mushrooms
2 cups cooked rice (I used frozen rice that I’d made earlier)
1 can Rotel tomatoes
1/2 onion, diced
1 tbsp Worcestershire sauce
1 tbsp minced garlic
1 1/2 tsp salt
1/2 tsp pepper
olive oil

  • In large baking dish/pan – add halved bell peppers, spread a little bit of olive oil on both sides, salt and pepper. Bake peppers @ 375 degrees for 20 minutes (sliced side down)
  • Add small amount of oil to skillet – then add in onion, garlic and mushrooms to pan. Cook for approx 10 minutes, stirring occasionally
  • Add ground beef, salt and pepper to pan and cook the beef thoroughly
  • Add rice – stirring, allow rice to warm through (will take longer if you use frozen rice like I did)
  • Add in can of Rotel tomatoes, stir – cover and simmer for 10 minutes
  • Once mixture is done simmering (10 minute) and timer goes off for the peppers – remove peppers from oven
  • Flip pepper halves over in pan (peppers should be somewhat cooked, but not mushy)
  • Add filling to each pepper
  • Top with shredded cheese, add pepper if you like
  • Loosely cover pan with foil (try to ‘tent’ the foil so that your cheese doesn’t melt to it in the oven) and return to oven for 20 minutes
  • Remove foil and cook for another 10-15 (or until cheese starts to brown)

Not a recipe – but a way to keep your ingredients fresh, for any recipe!

This post isn’t about a recipe – but, rather, a review of the truly INEXPENSIVE vacuum sealing device that I’m now using!

I purchased the Mueller vacuum sealer from amazon. This vacuum sealer was $49.97, with a $10 coupon. So, $40 for a sealer that works great!! Check it out here: Mueller Vacuum Sealer.

The sealer comes with some bags to start, but I also ordered an additional roll of bags, also from amazon.

This roll, which will last a long time, comes with a cutter – it was priced at $19.99, but I had a $5 coupon, so I got it for $15!! Can’t beat that!

I’ve mostly used it to vacuum seal meats for the freezer (that’s really what I bought it for), as I like to buy the big family packs and separate for individual use.

Today, I needed to separate some ground beef – I used the air tight / moist food setting, for the beef and it worked perfectly. Before sealing, I kind of ‘flattened’ the ground beef (leaving plenty of room for sealing), to allow it to take up less storage space in the freezer.

Don’t forget to label it and it’s ready to go into the freezer! Ive been so pleased with being able to: save $ by buying family packs, keep my food fresher for longer, and keeping my freezer nice and organized!

You can certainly use it for more than meat, and I am sure I will at some point – but, even if you only ever use it for meat – it’s well worth the investment!

If you decide to try this vacuum sealer, let me know – would love your feedback!!