Stuffed Bell Peppers

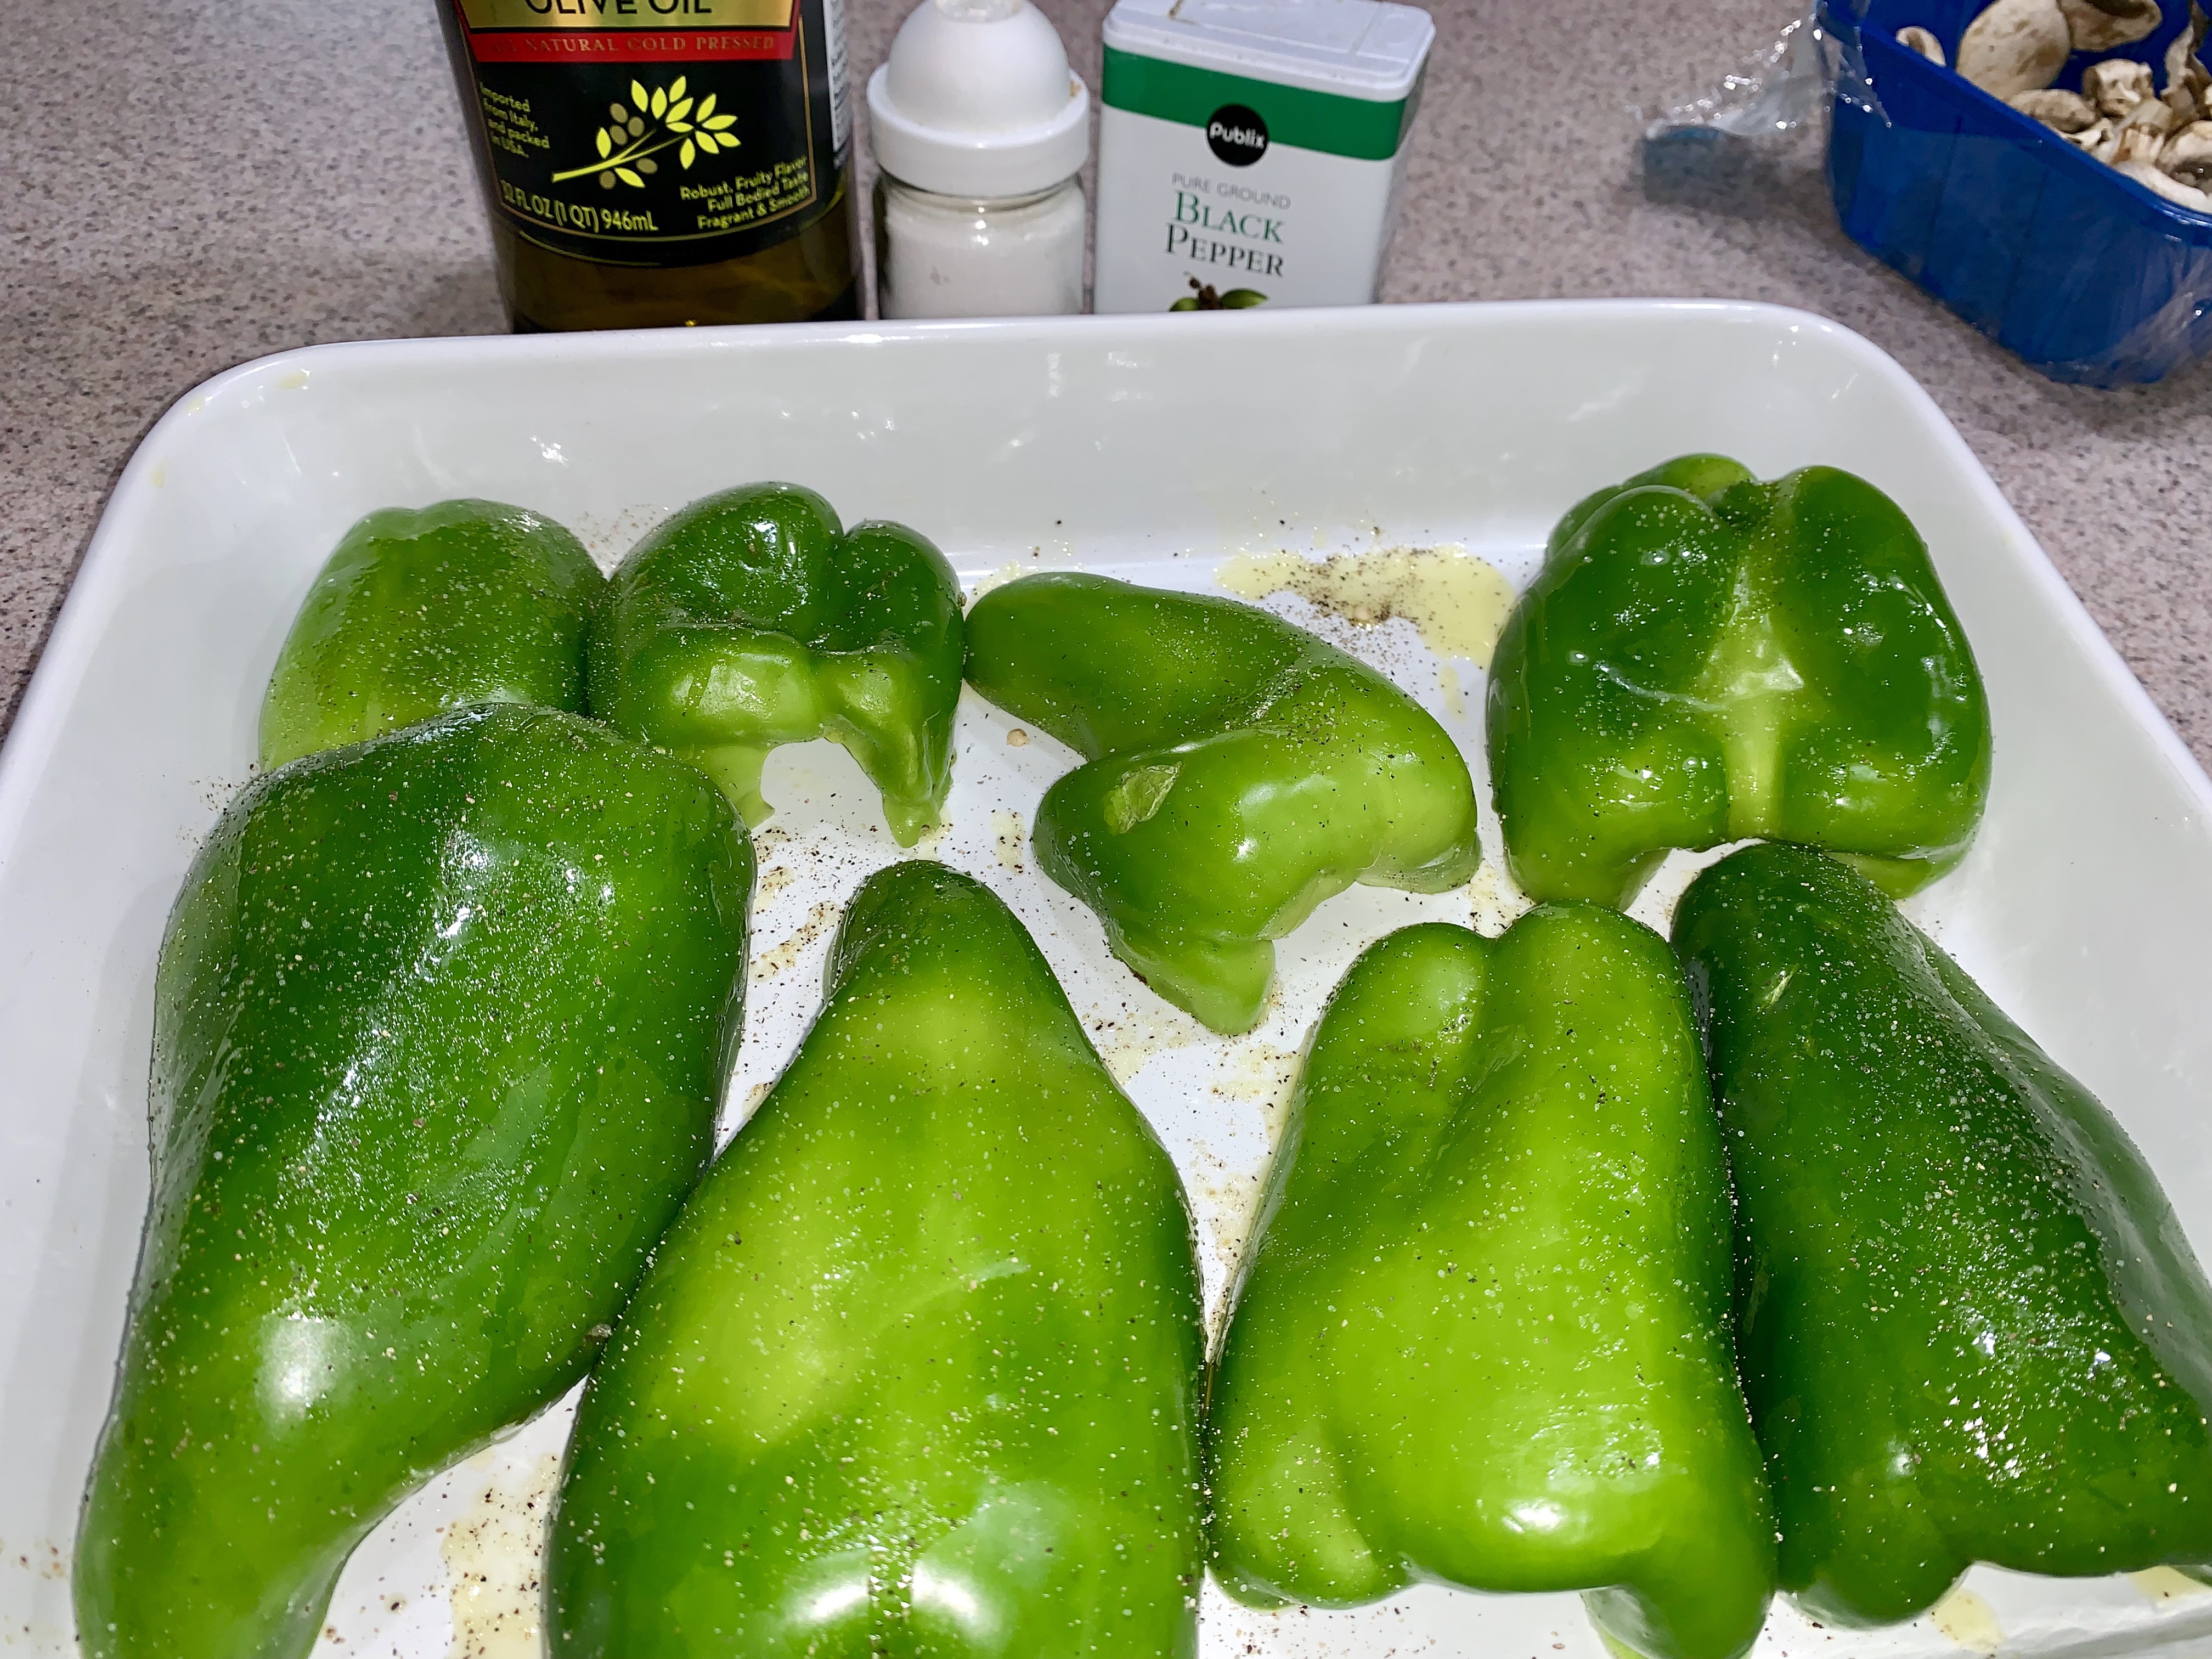
The other day, I bought some bell peppers – these were admittedly ‘value’ peppers, all in one bag, that were a LOT less expensive than the $2.99 (green) – 3.99 (yellow and red) PER BELL PEPPER that they wanted, otherwise (** side note, not sure what was going on there, I don’t recall ever seeing peppers that expensive before). The ‘value’ bag had one yellow bell pepper that was used for another recipe, the remainder were green. I mention the ‘value bag’ status of these peppers because, they are the funkiest shaped peppers I’ve ever seen in my life. That said, probably not the prettiest to use for stuffed peppers – but, you work with what you have!

One thing that I really don’t like, with regard to stuffed bell peppers, is when the pepper doesn’t seem to be cooked through fully – that said, I decided to ‘precook’ my peppers in the oven. I simply halved the peppers, tossed them with a bit of olive oil, salt and pepper – and cooked them in the oven for 20 minutes, sliced side down. At that length of time, they maintain their integrity, but cook long enough that they will be perfect after baking them stuffed!

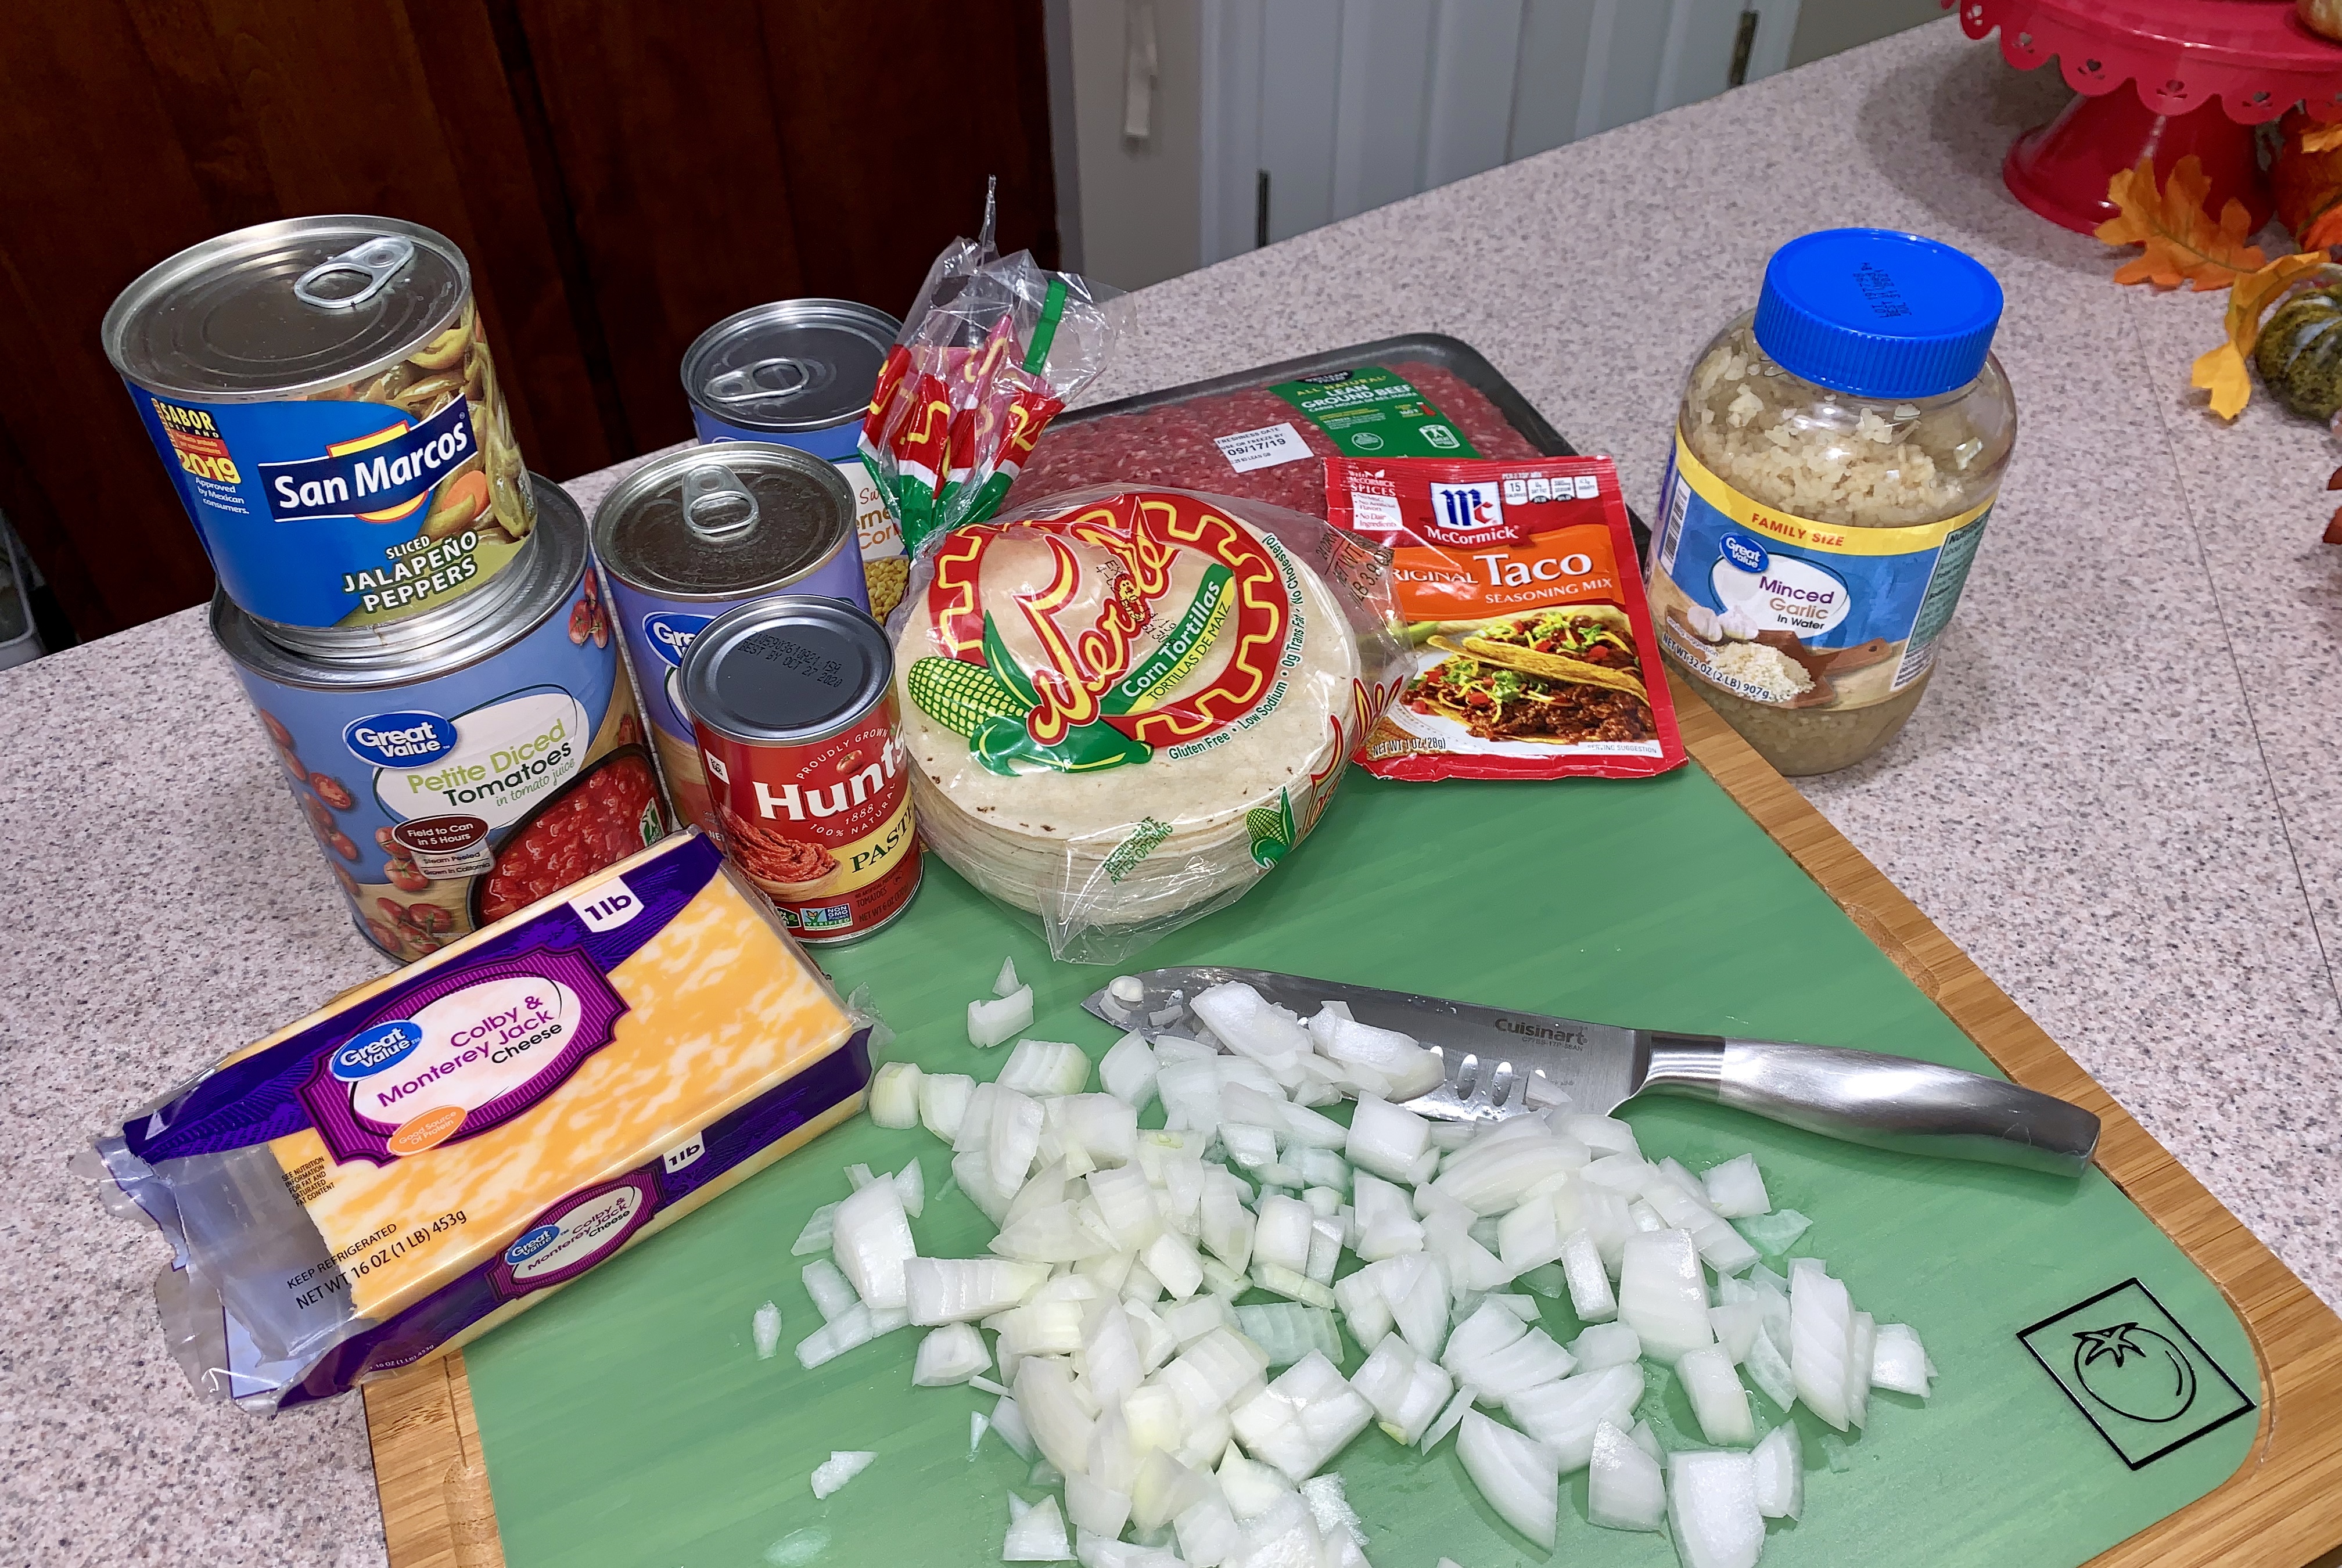
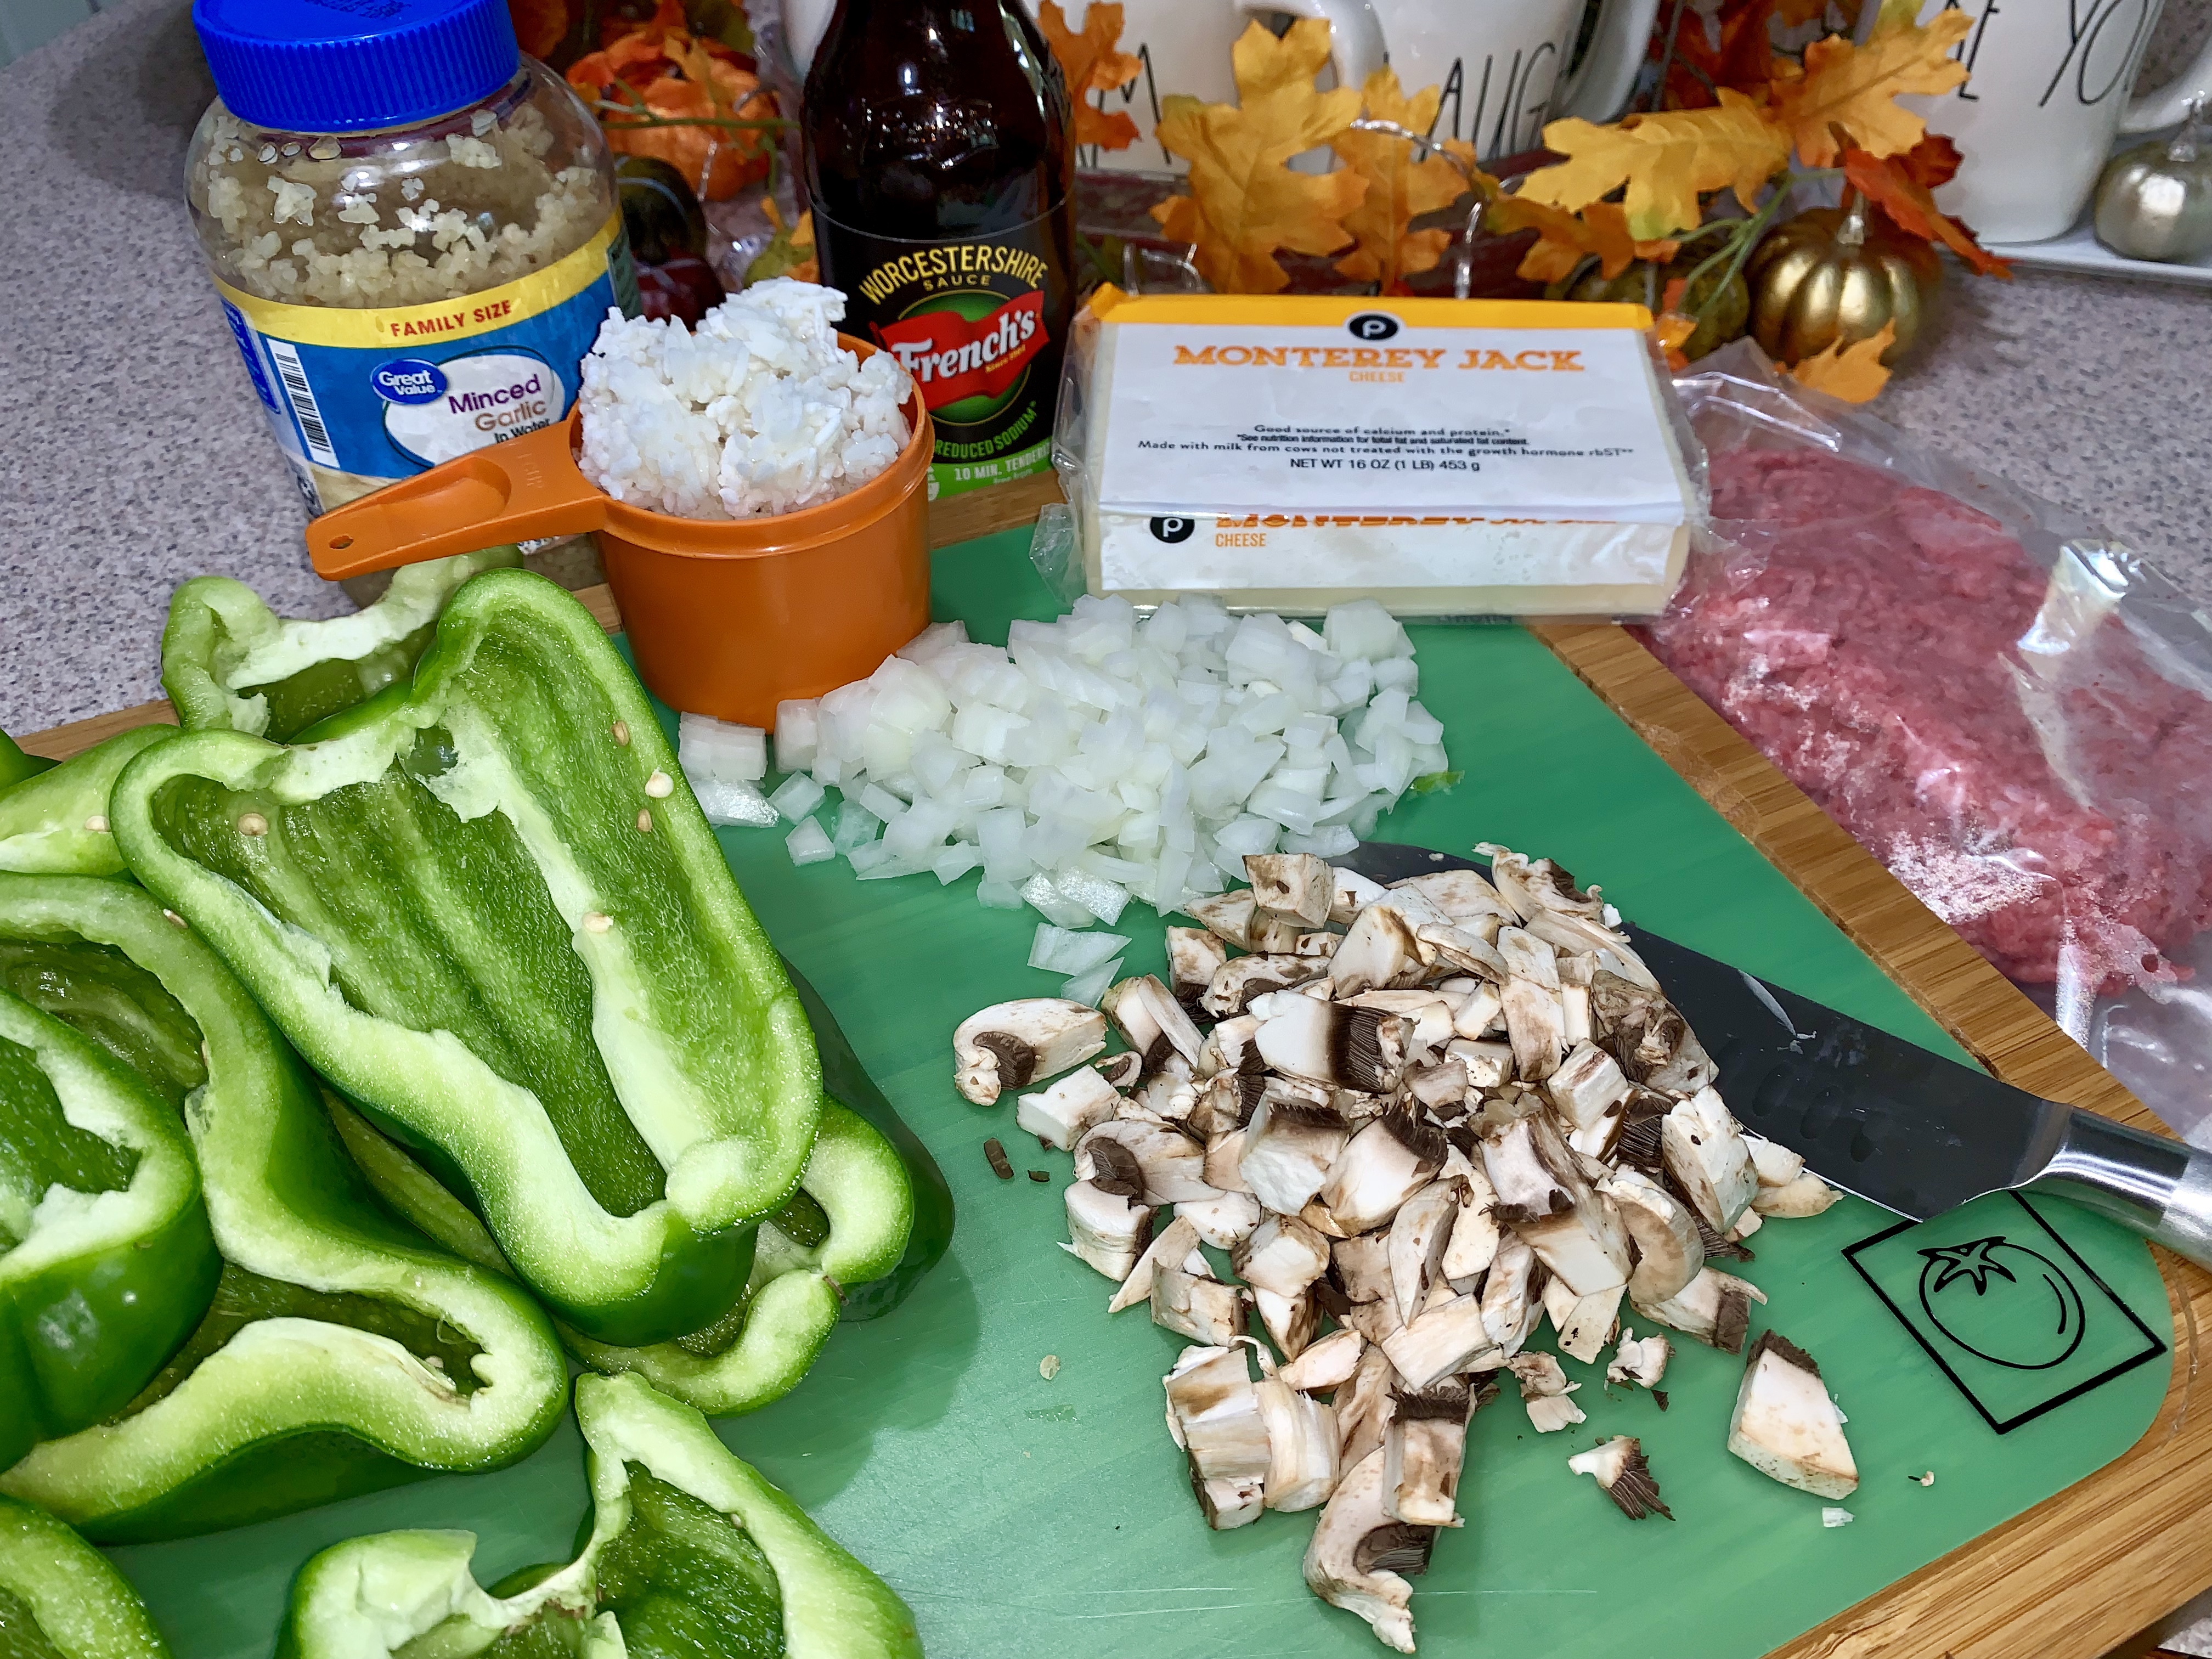
While the peppers were cooking, I got started on the filling. This consisted of ground beef, onion, mushrooms, a can of Rotel tomatoes (I missed it in the picture below, but I’ve included a picture separately in case anyone doesn’t know what I’m talking about), cooked rice (I had some frozen, I used that), garlic, salt and pepper.

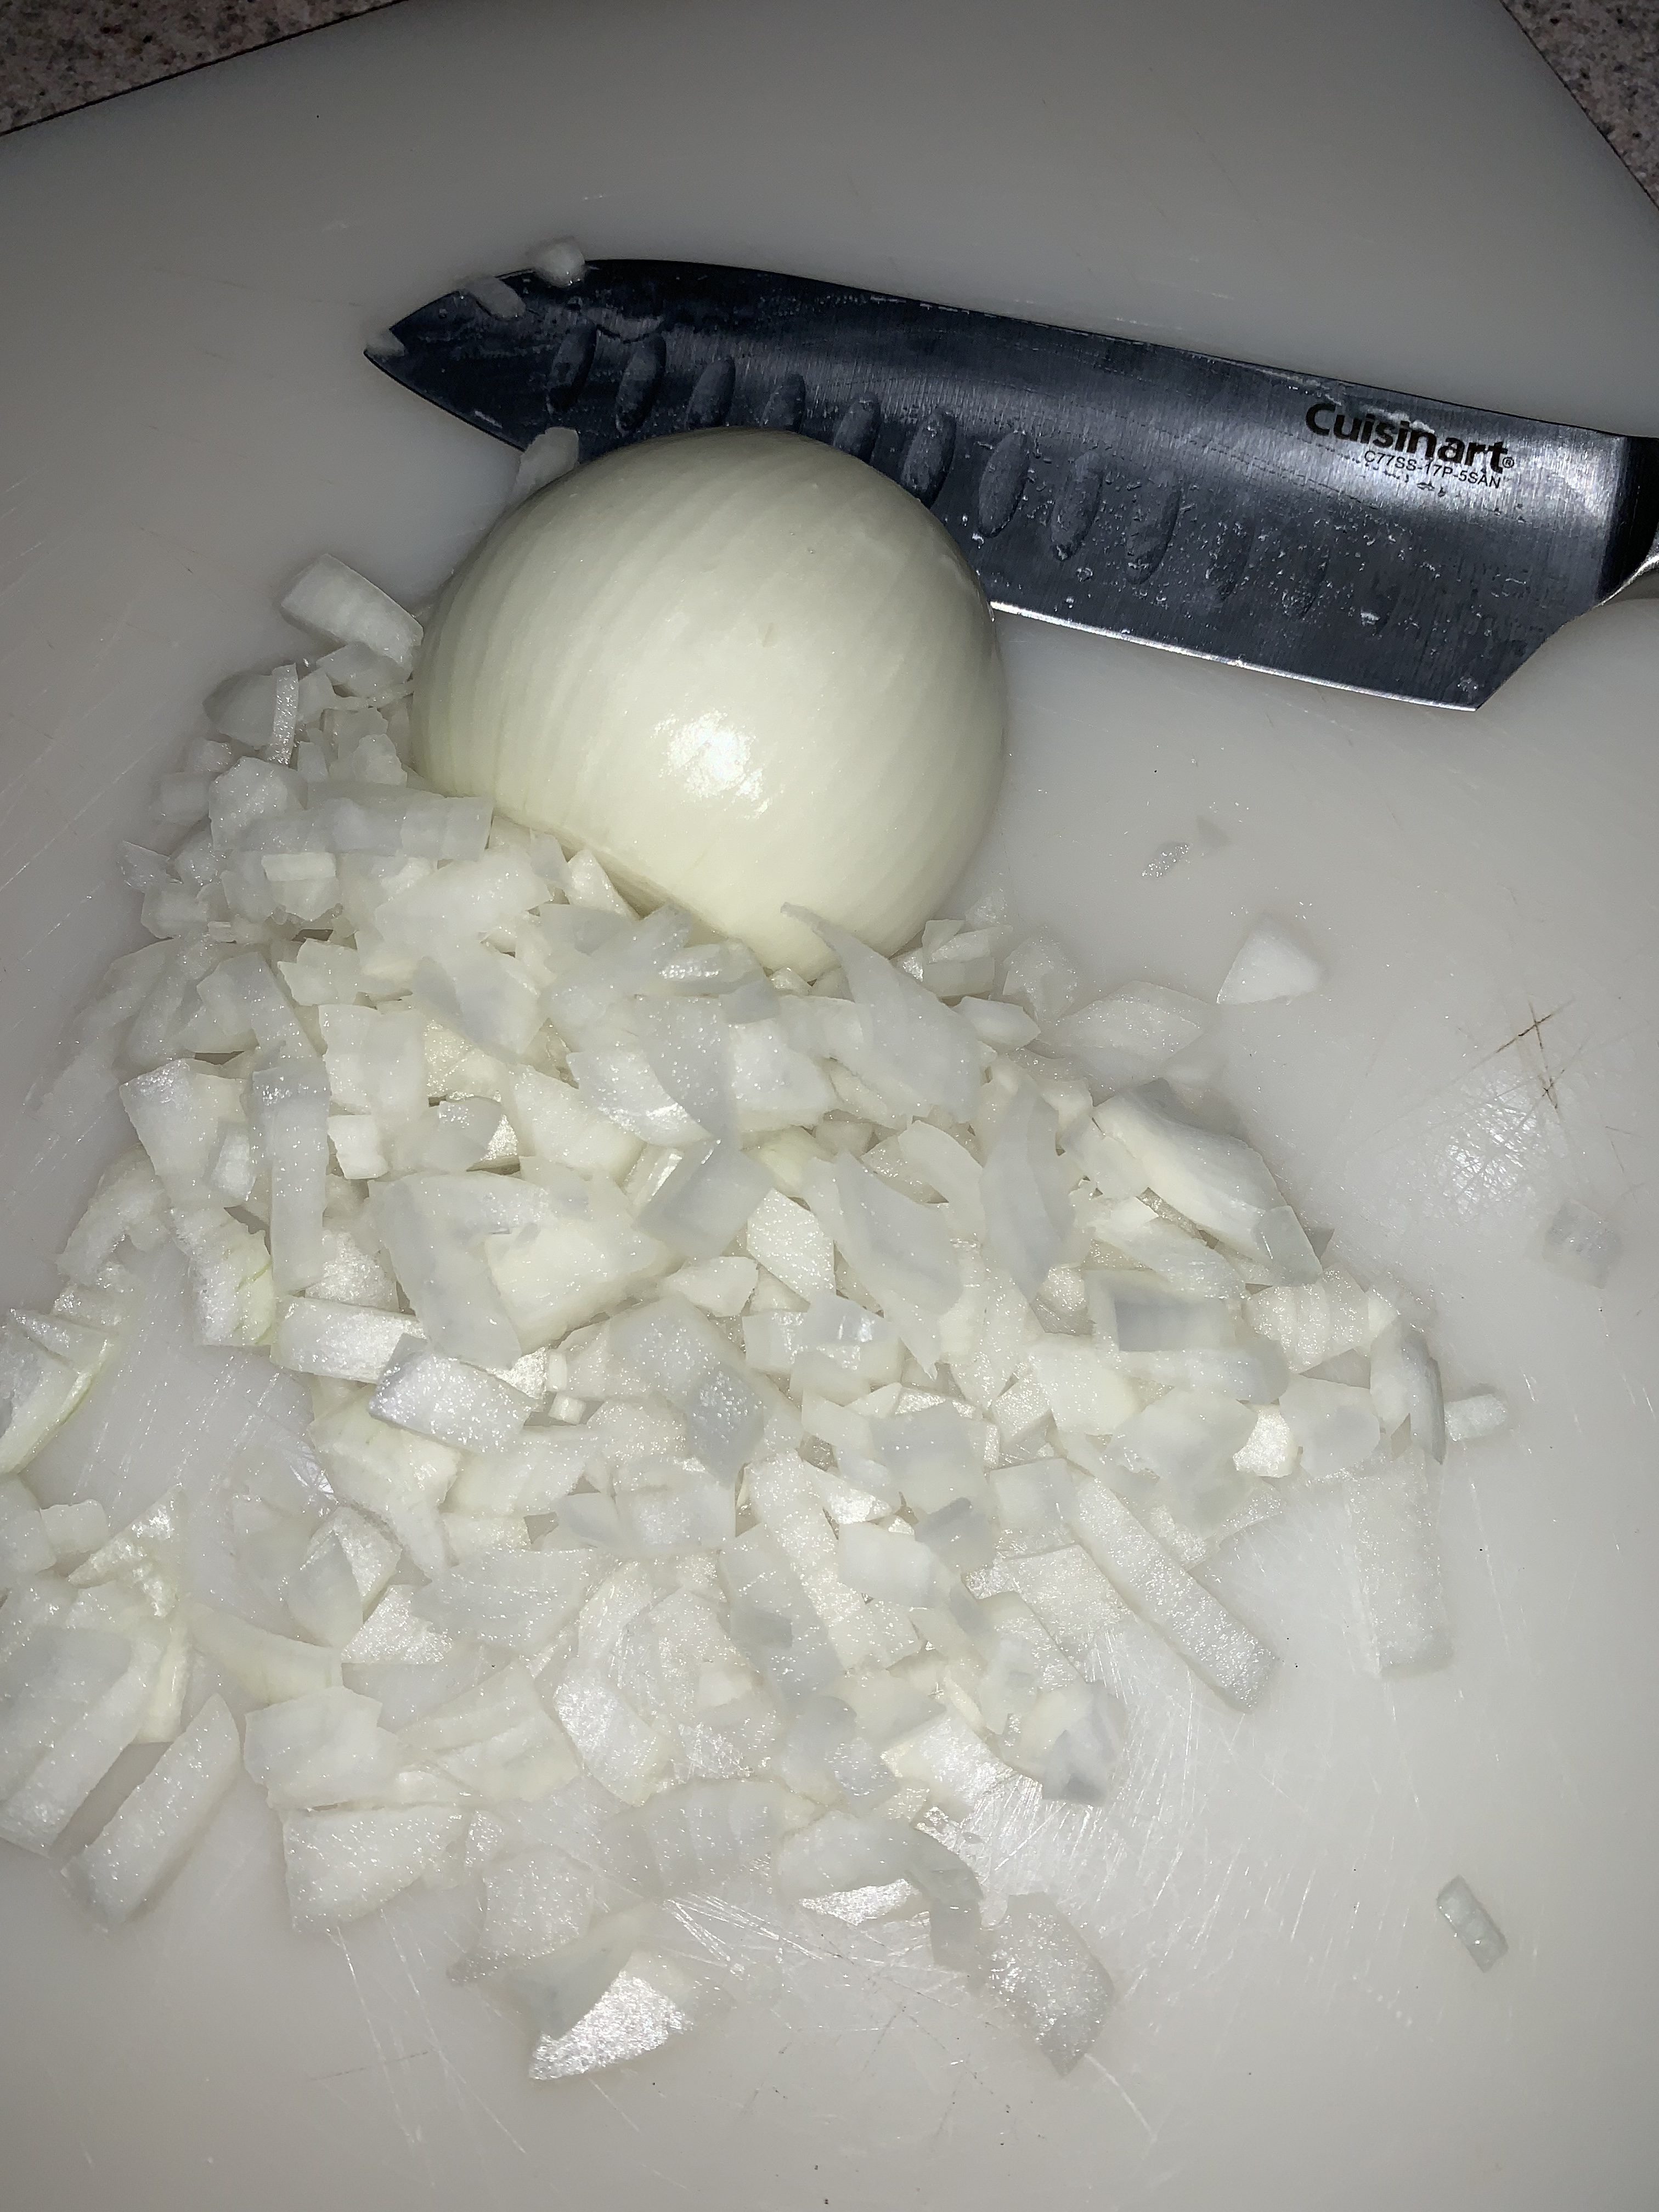
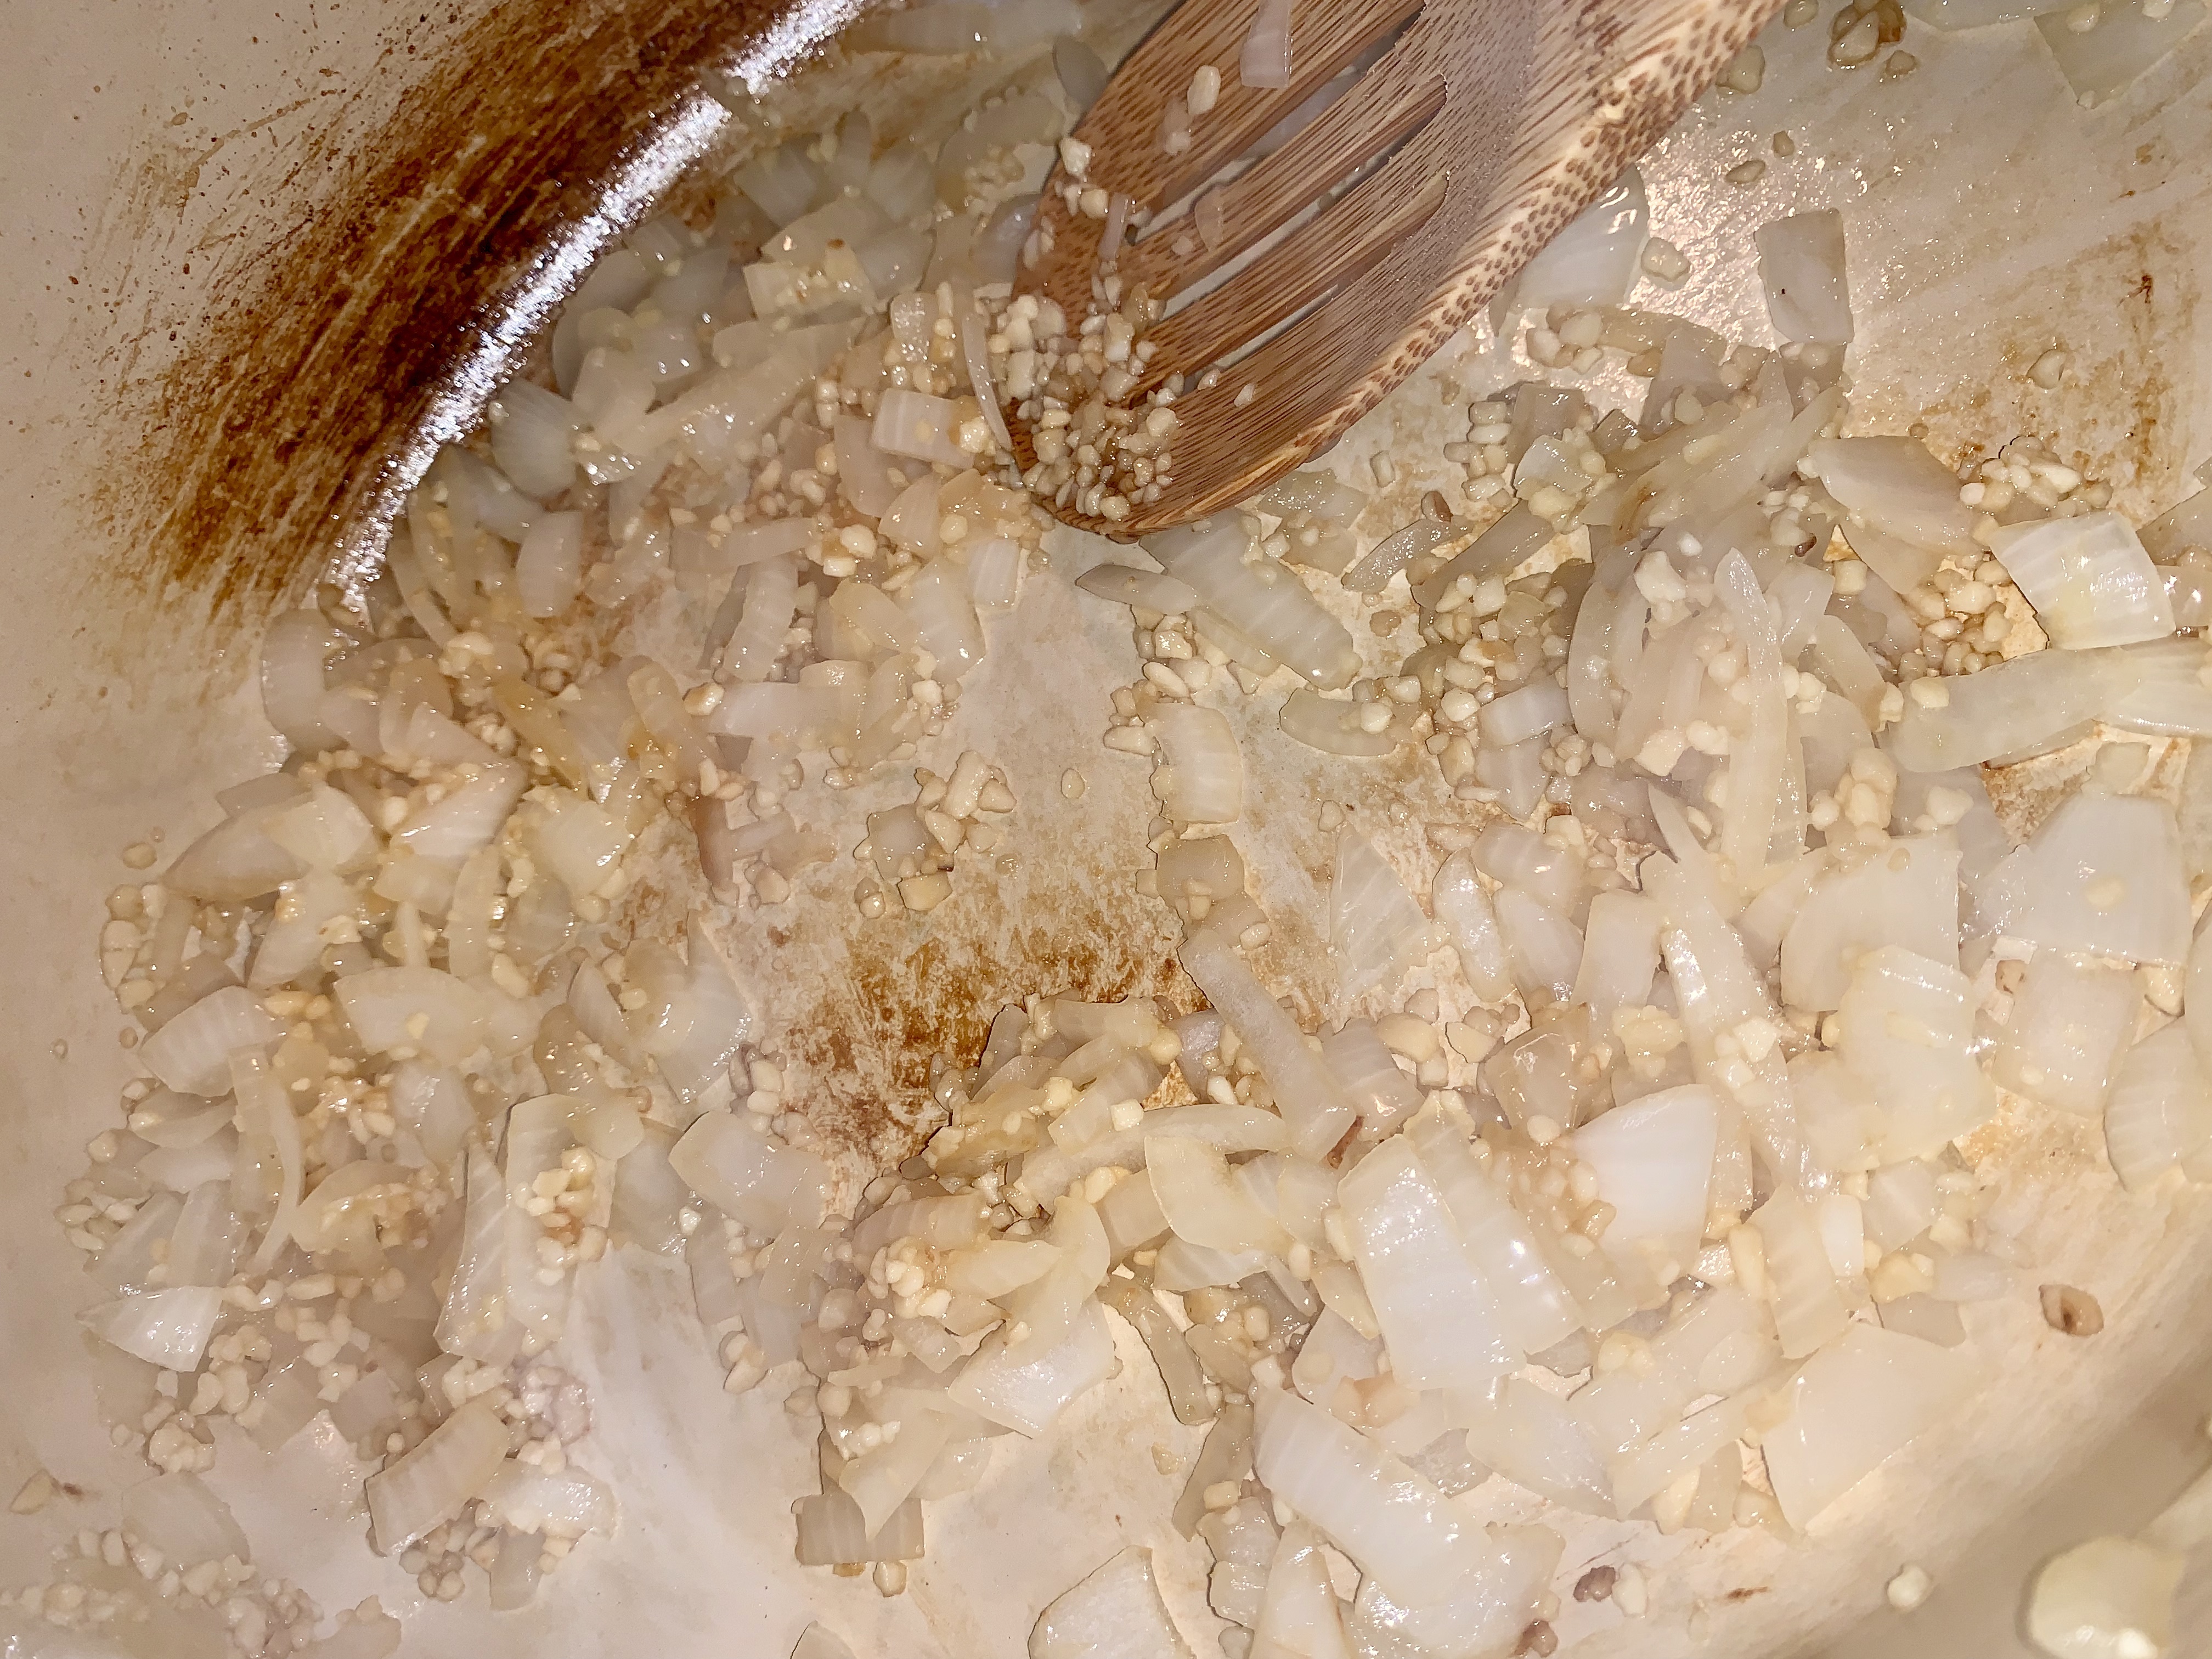
The filling started with a little bit of oil in a large skillet – once the oil was hot, I added in the onions, garlic and mushrooms. I cooked this mixture for about 10 minutes.

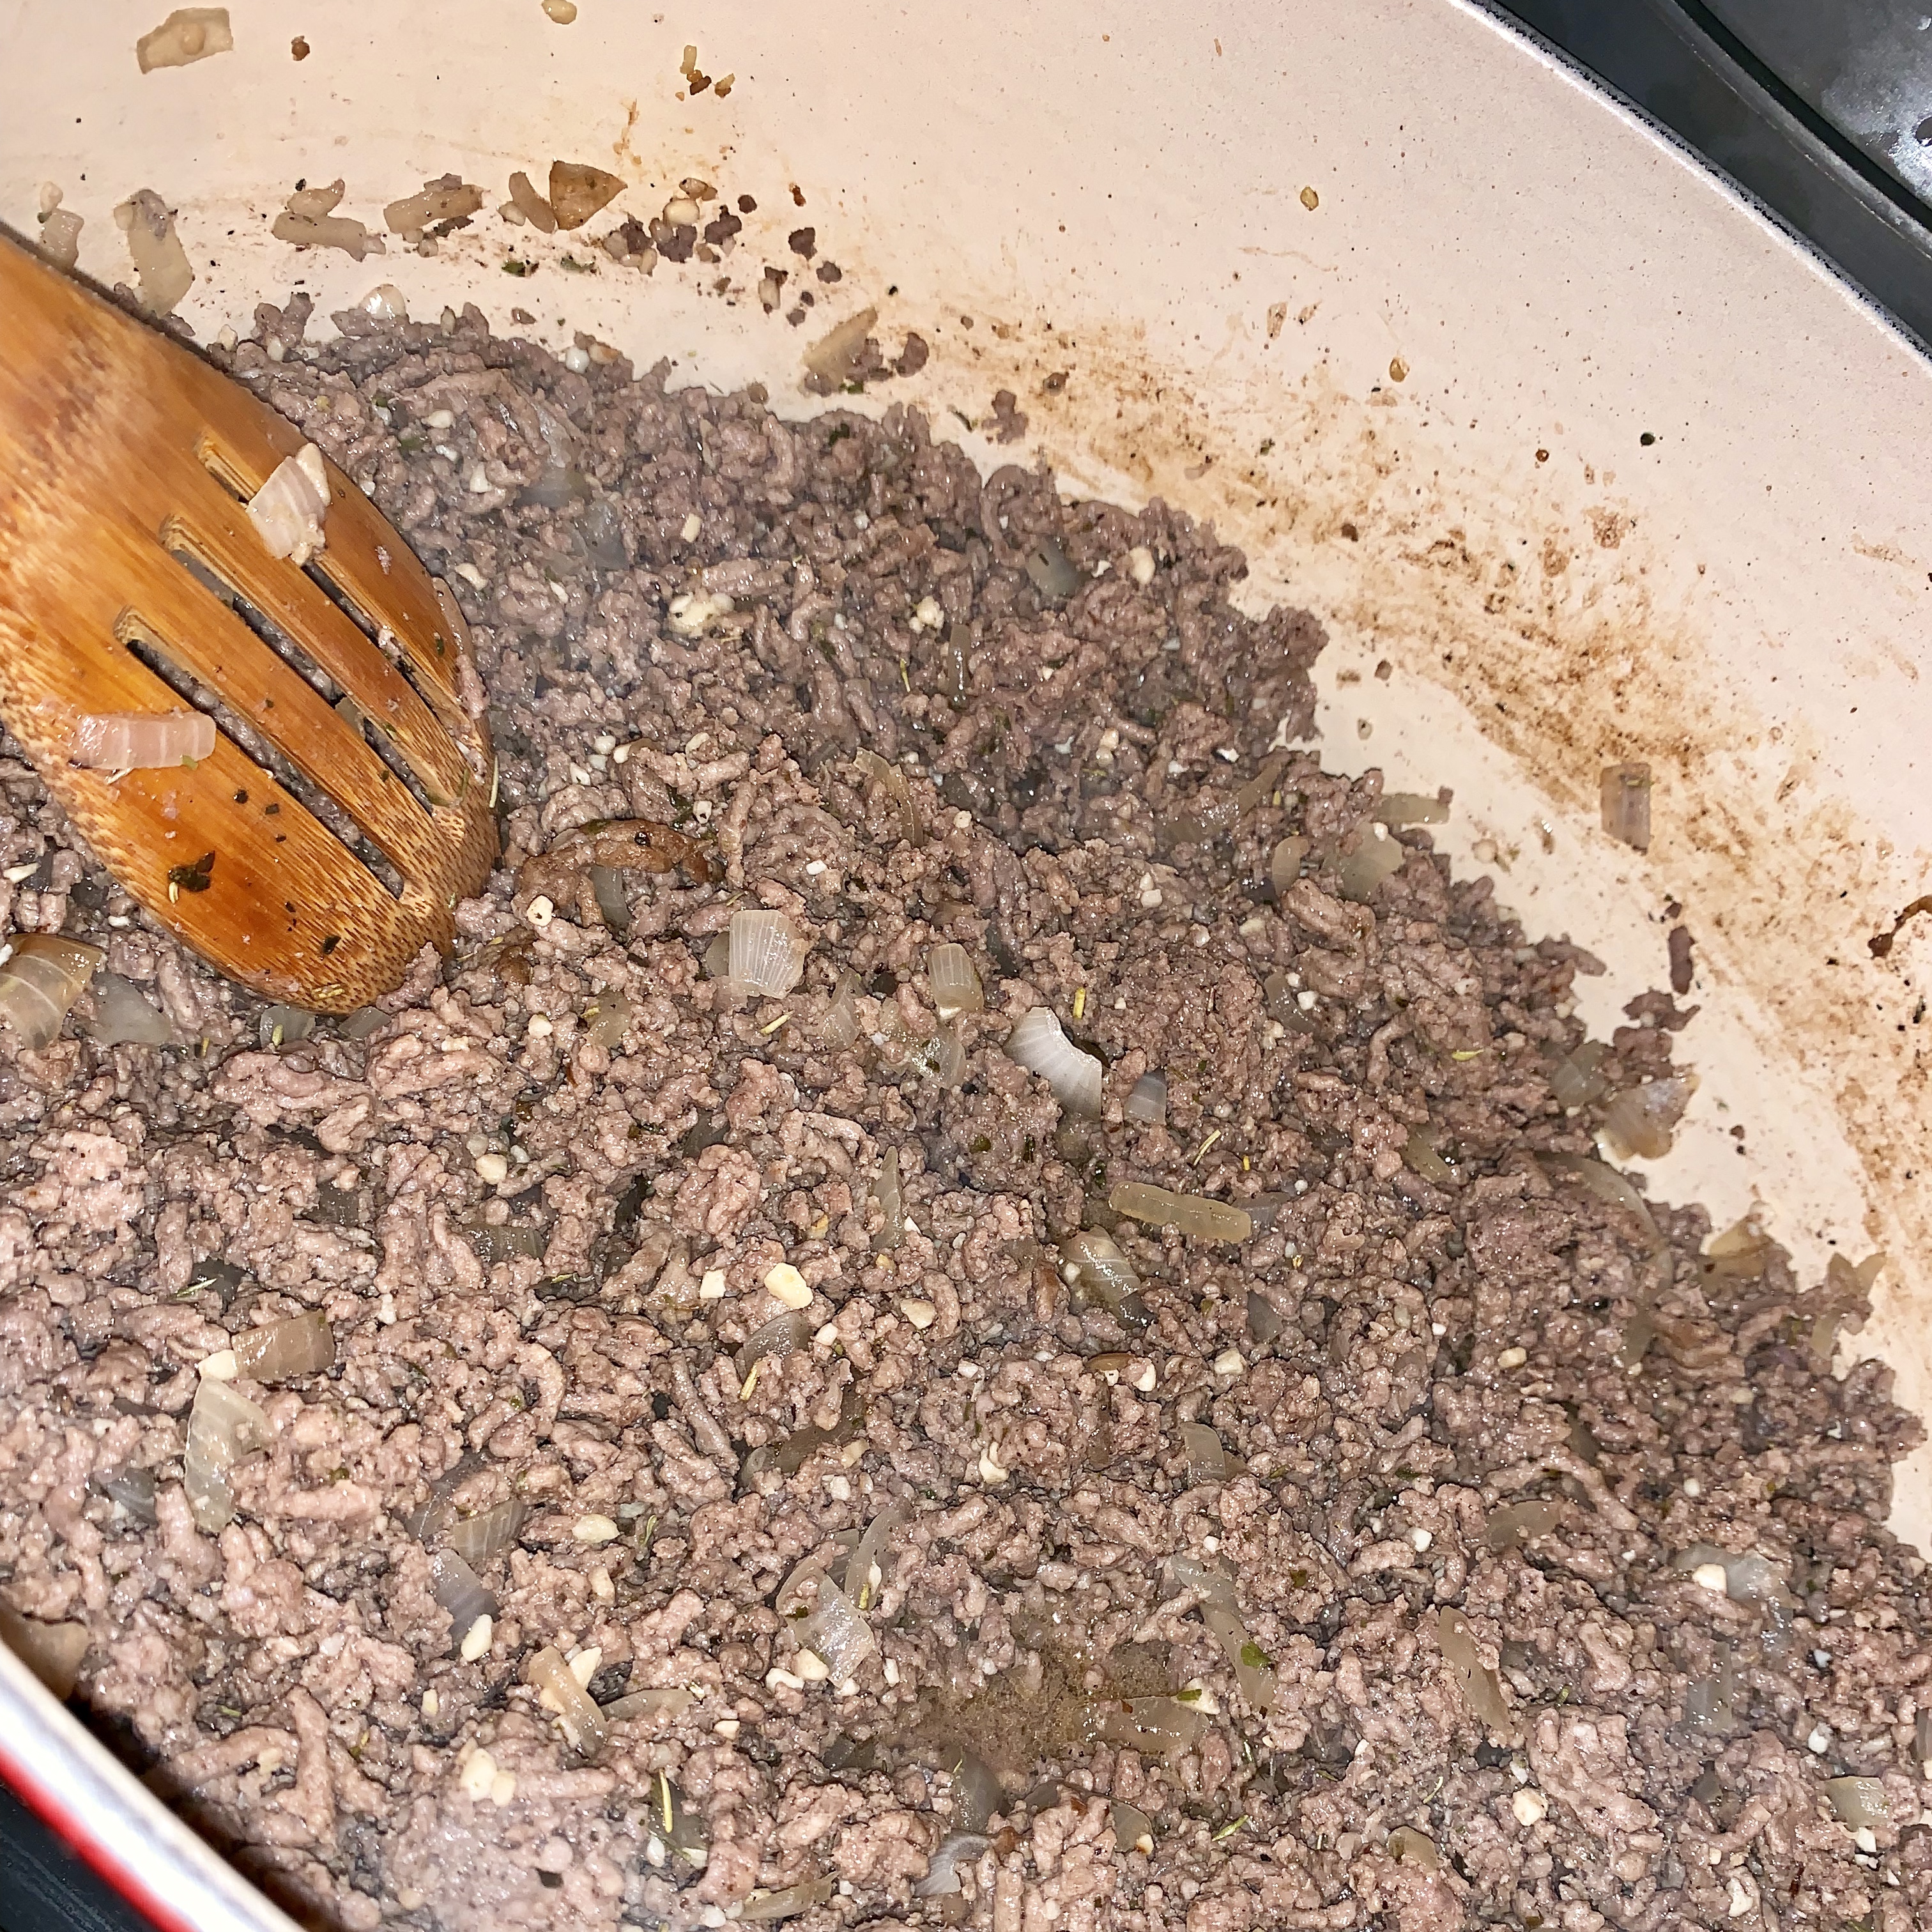
Once the vegetables were on their way, I added in the ground beef and cooked it through.

The next step was to add in the rice. As I was using frozen rice, there were some clumps – I just allowed the warm ground beef to break it apart and stirred until the rice was separated and warmed through.

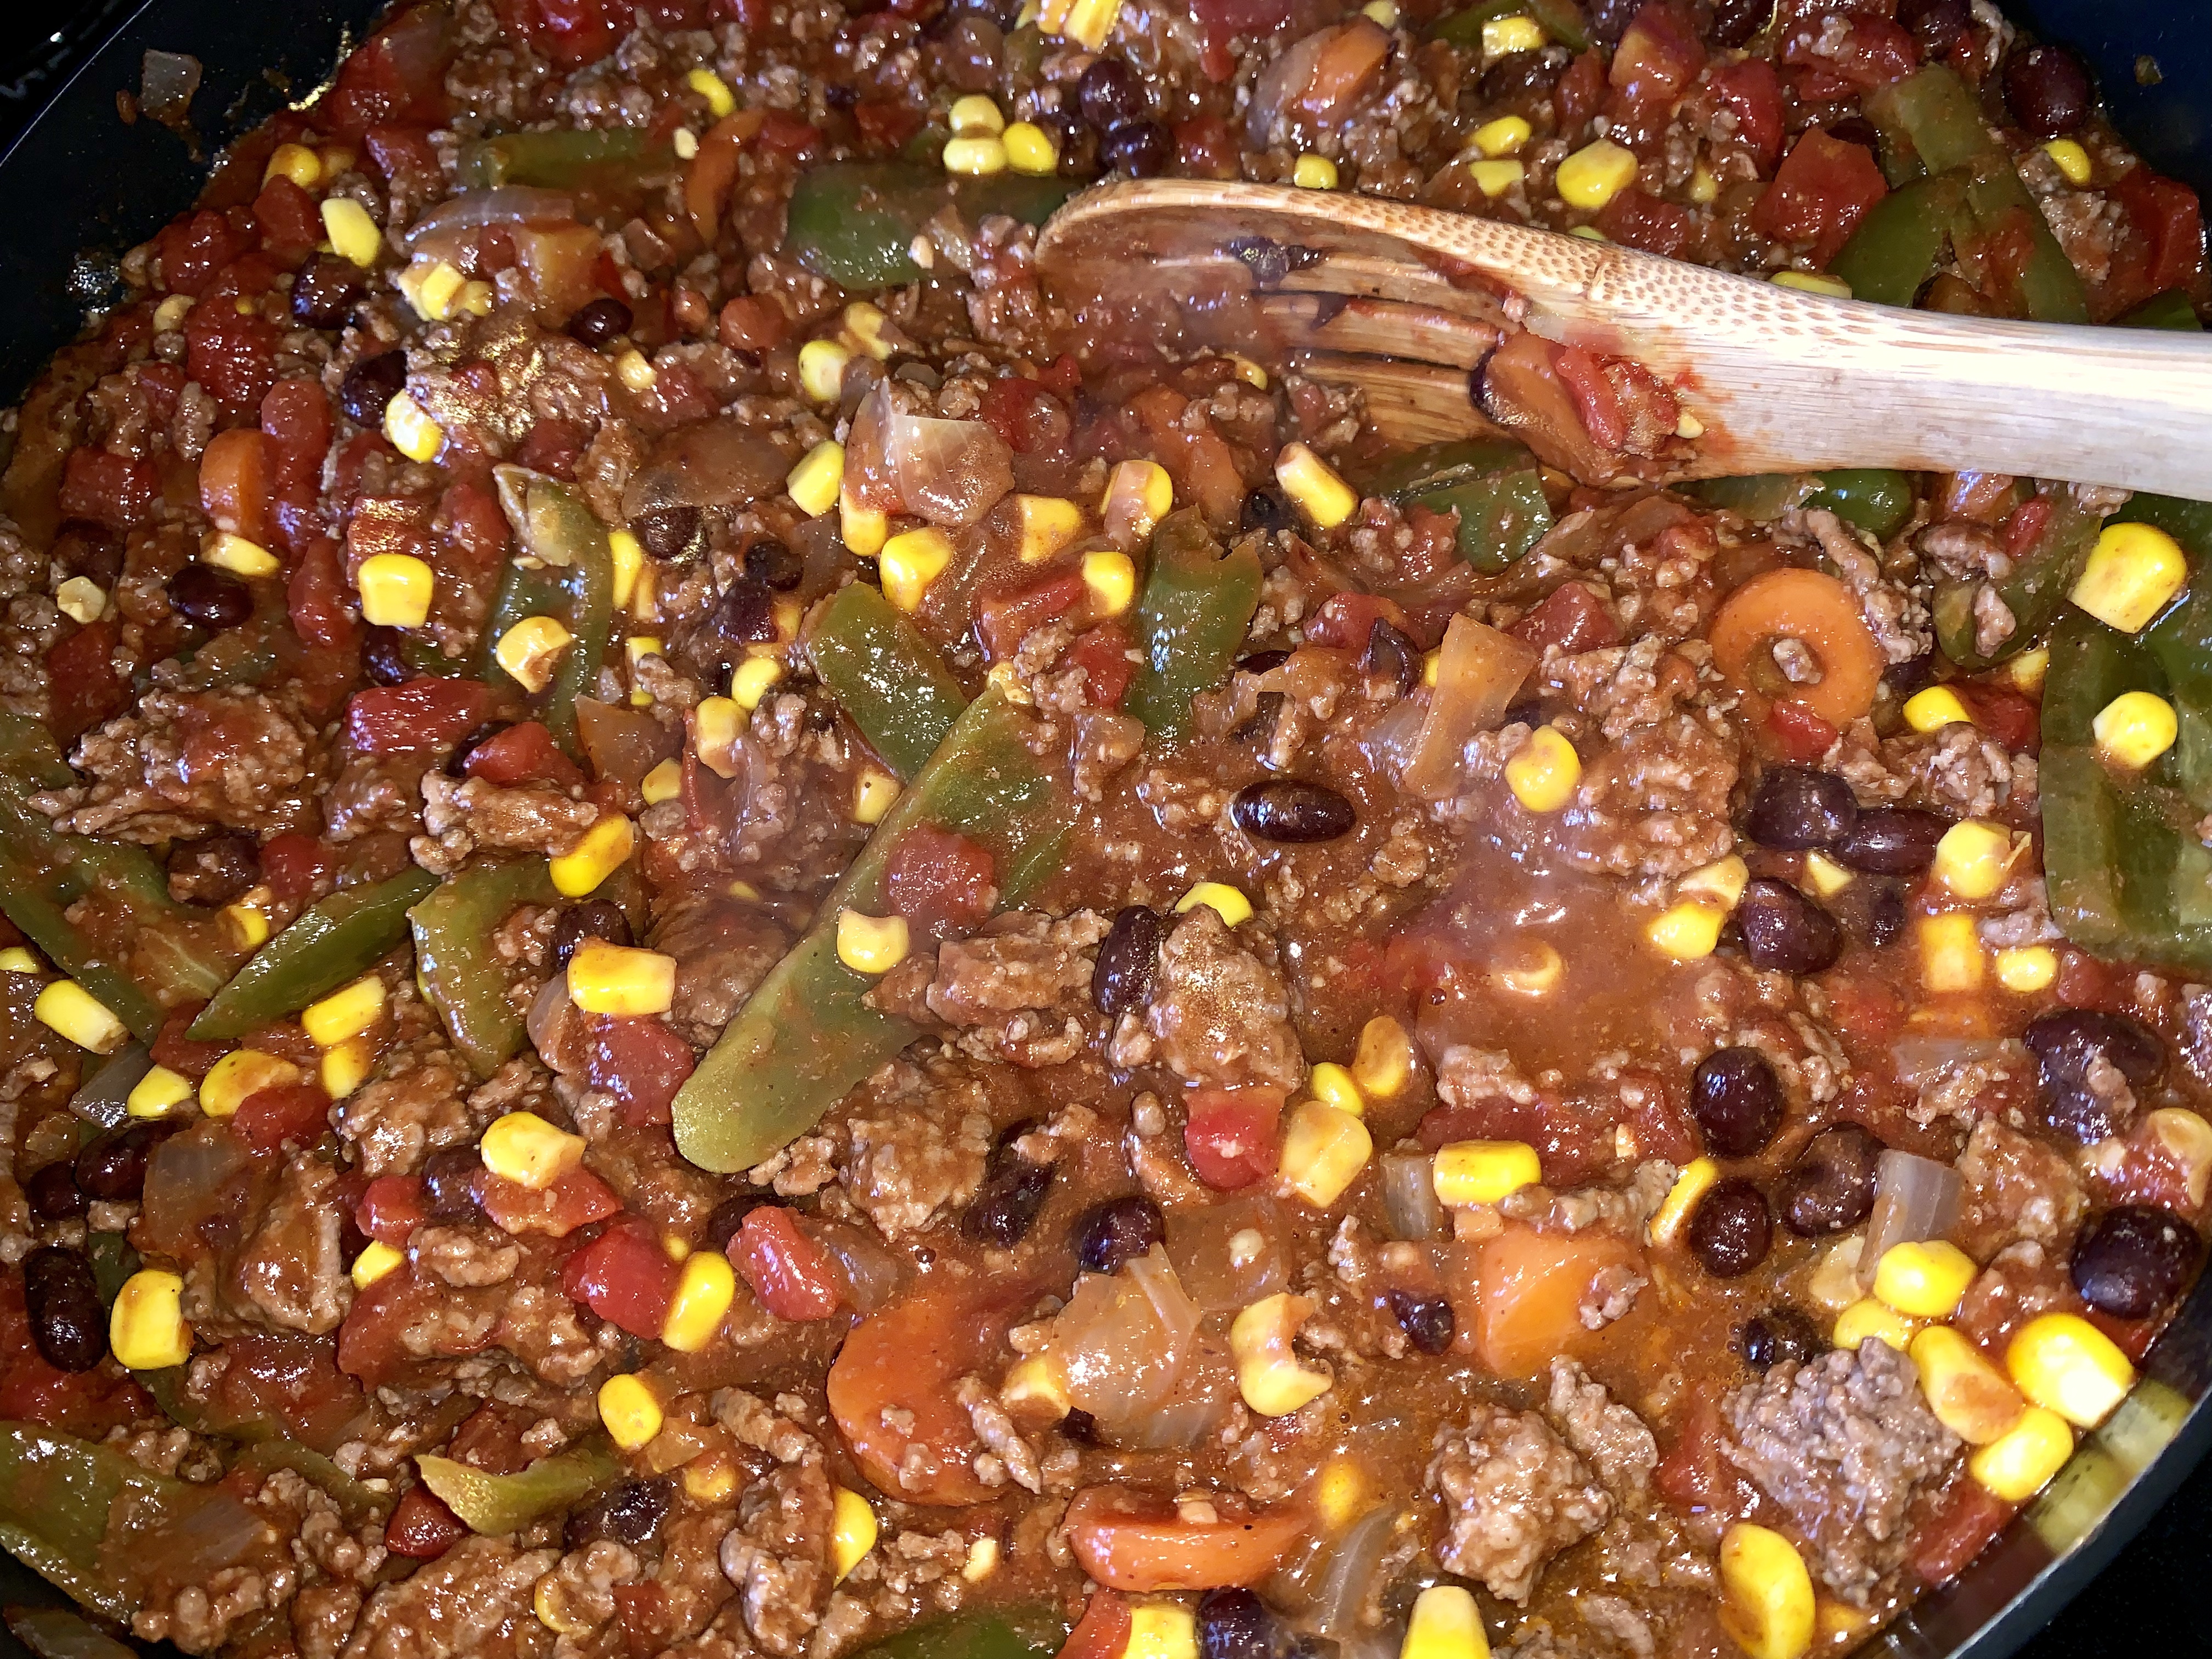
Finally, I added in the can of Rotel tomatoes and mixed everything through. I reduced the heat to simmer, covered and allowed it to cook for about 10 minutes. This should be about the same time that the peppers are ready to come out of the oven.

***Note, for the next time I make this, I’m thinking I will add some cheese to the mixture, itself, as well.

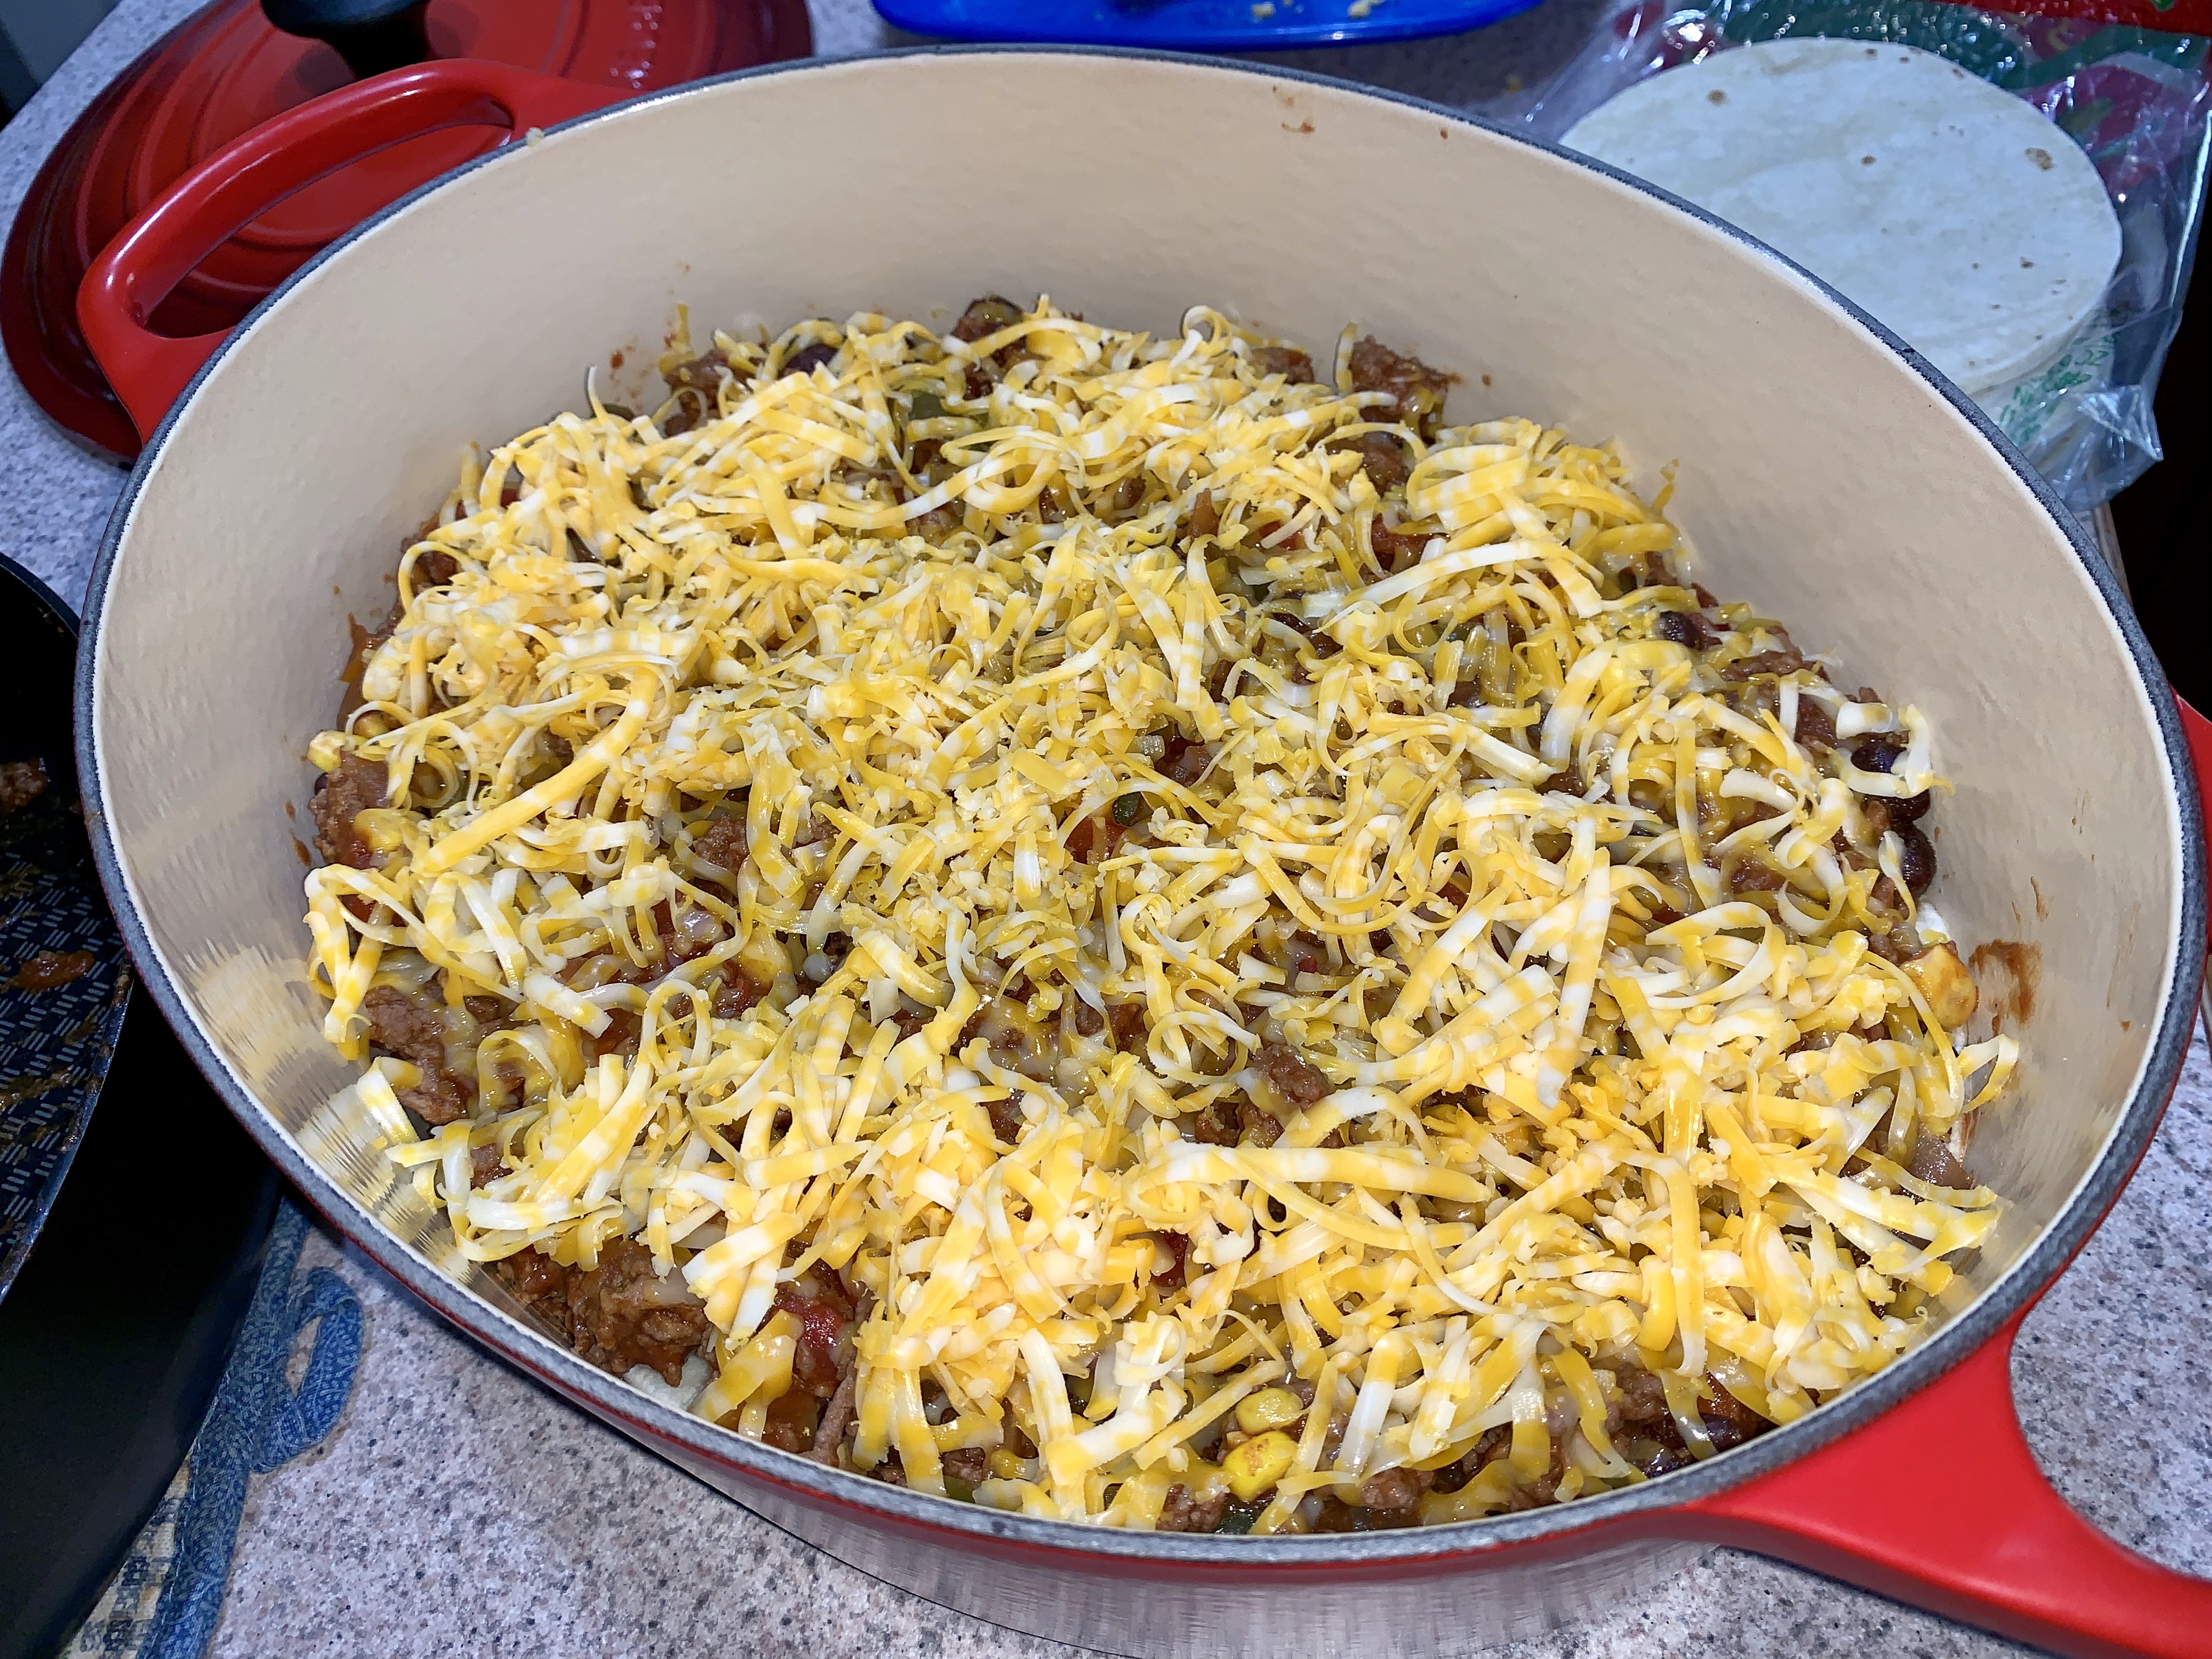
While you’re letting the filling simmer, you can take that time to grate some cheese (use whatever cheese you like, I used monterey jack), if you’re not using pre-grated cheese.

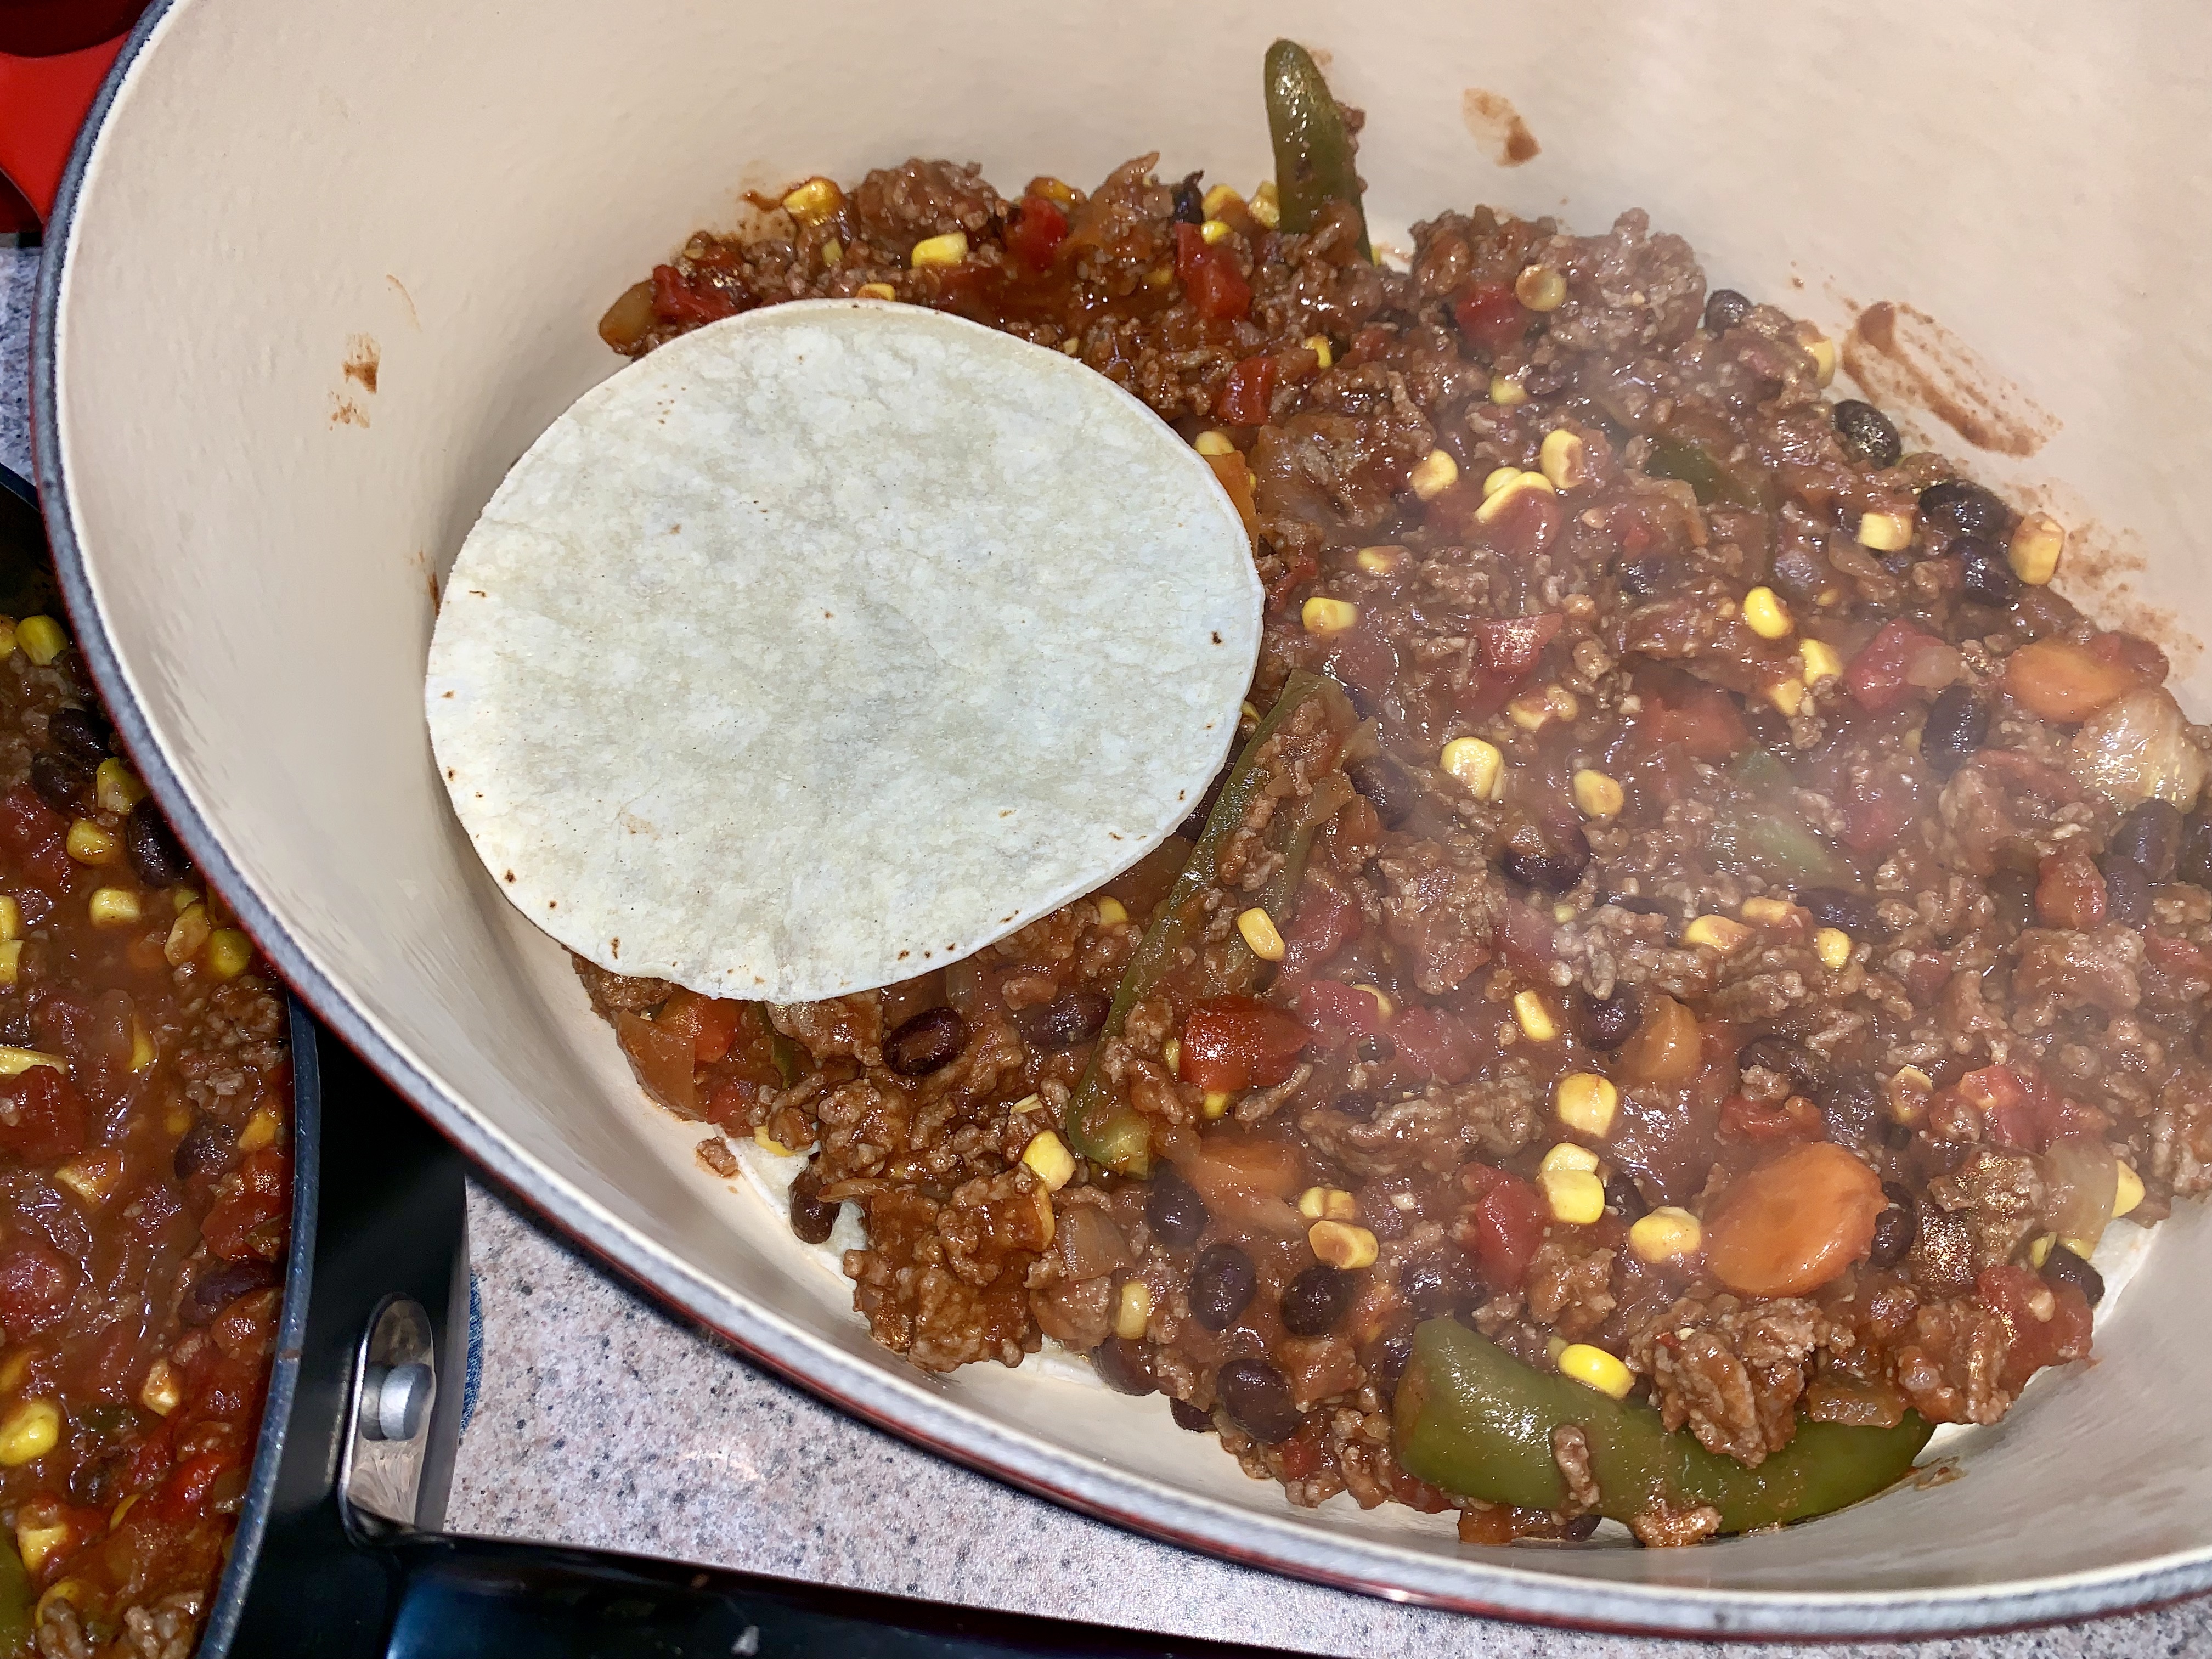
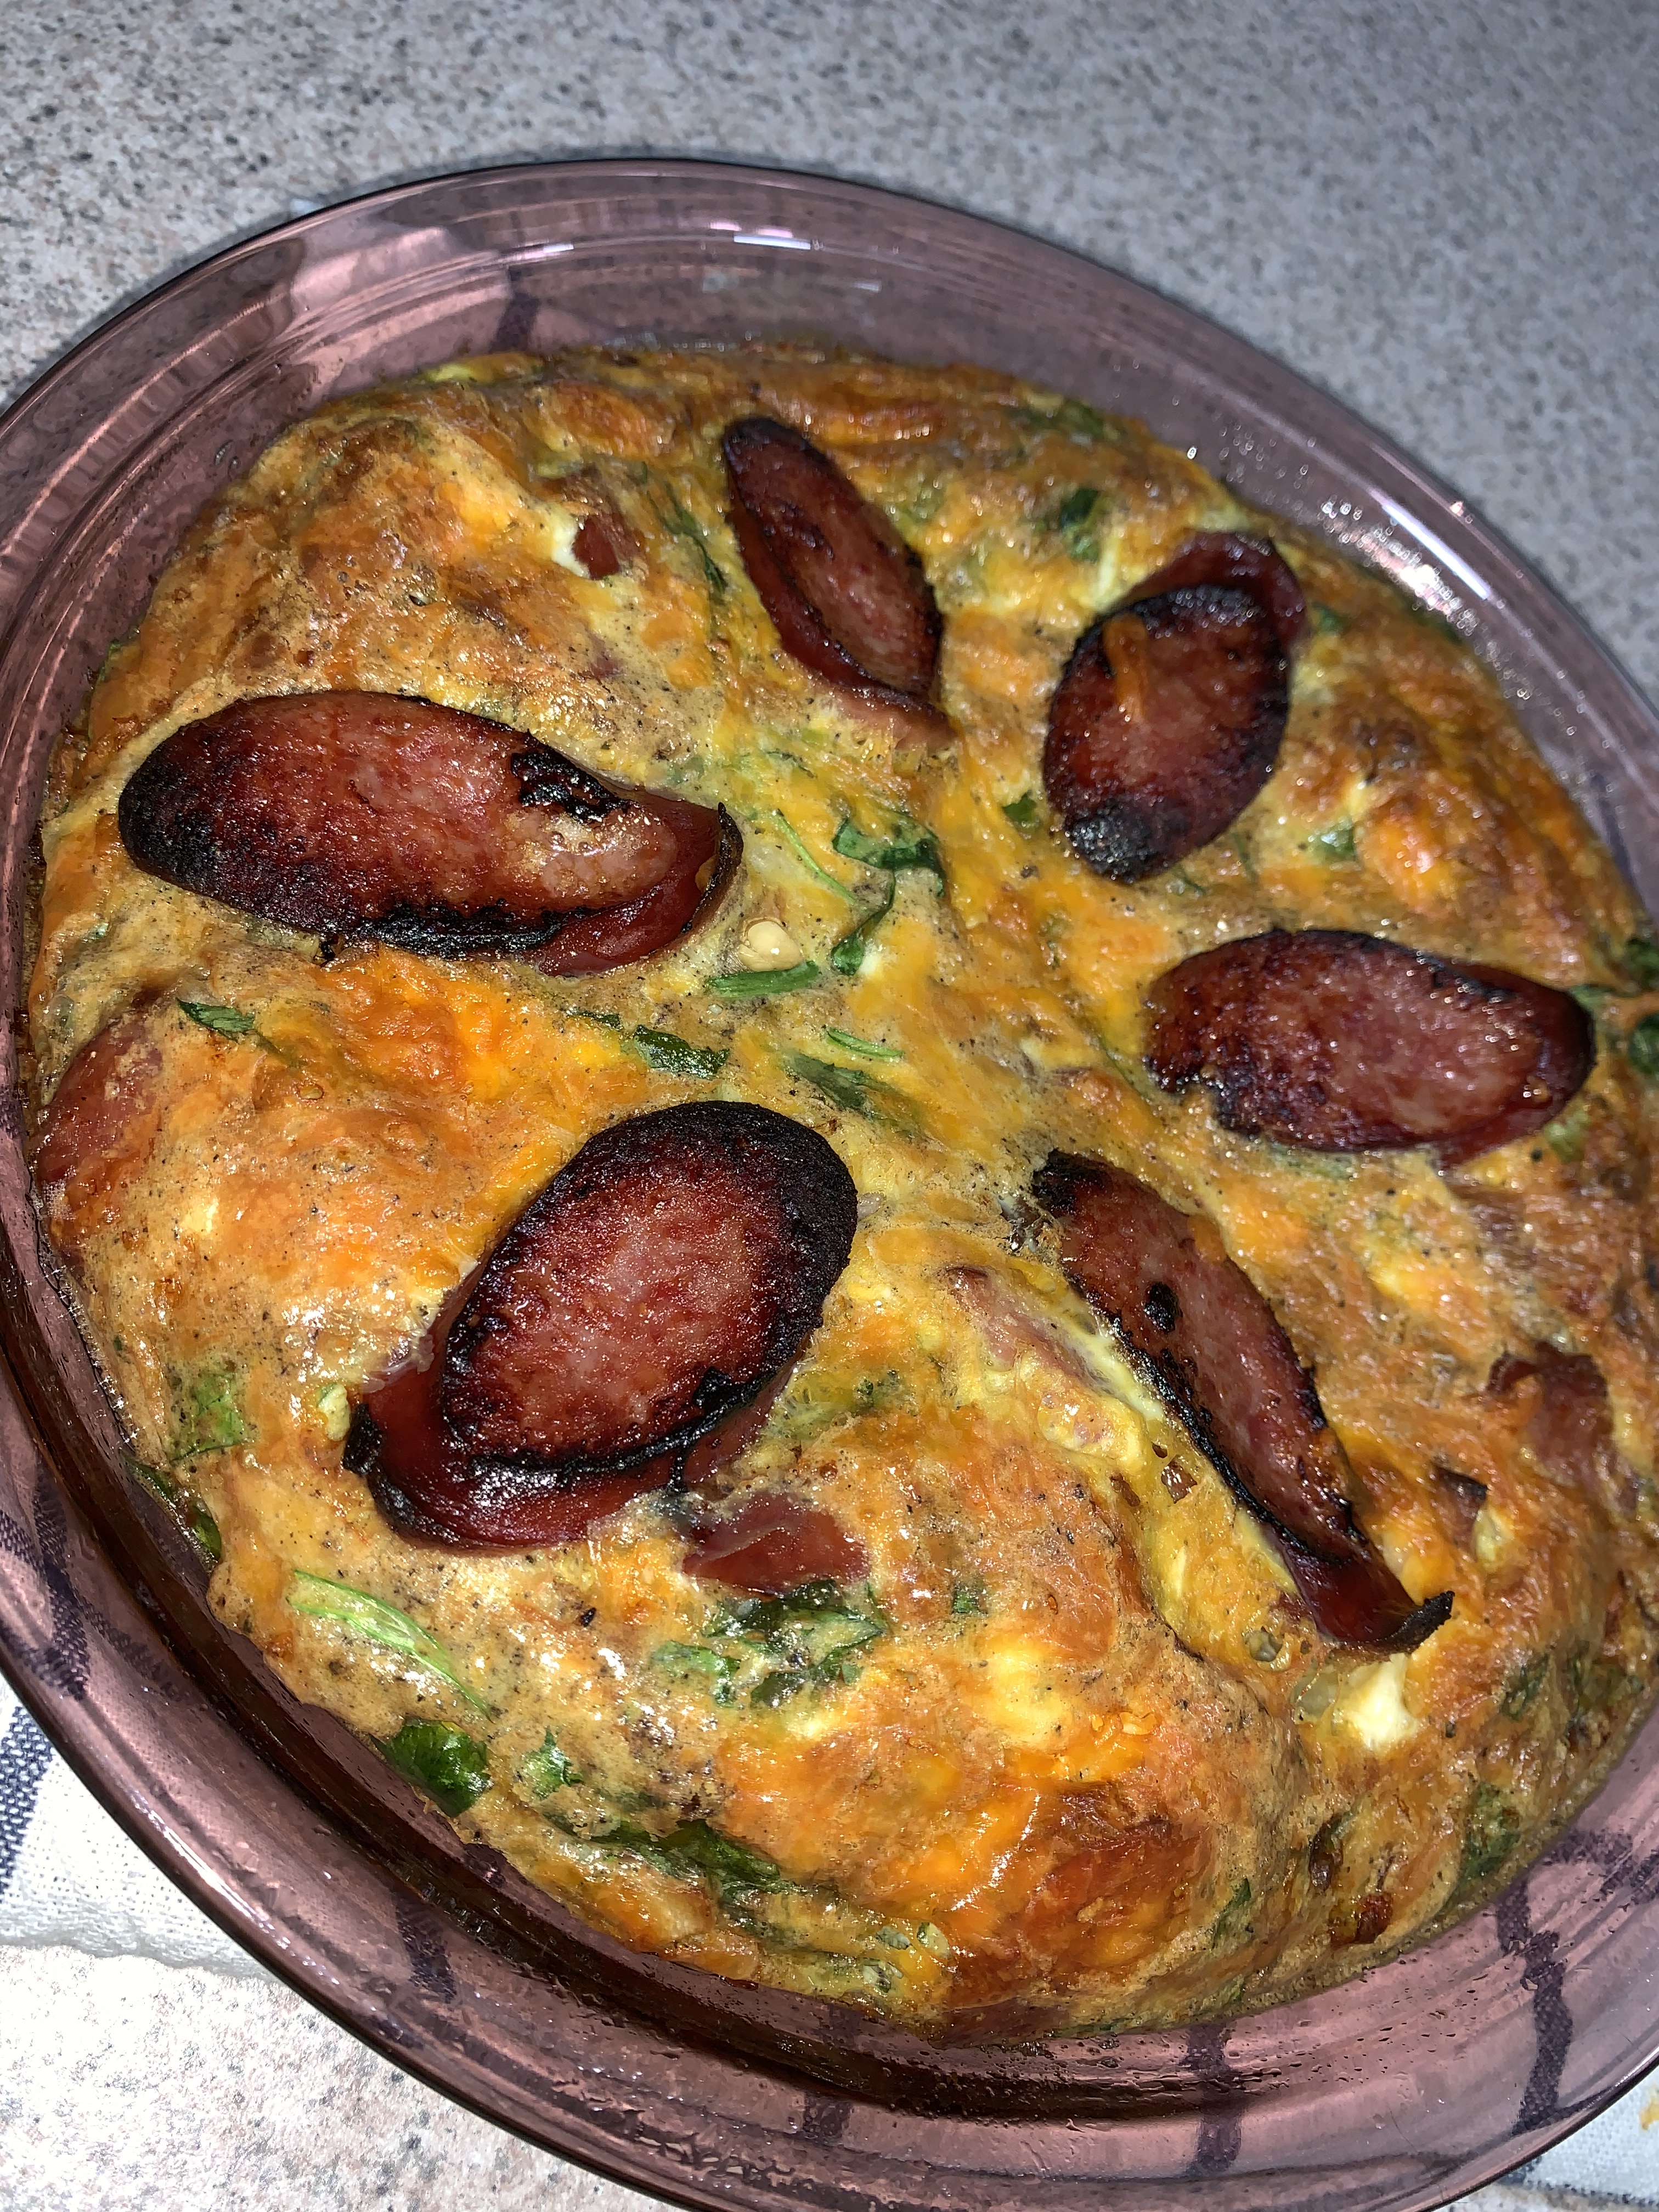
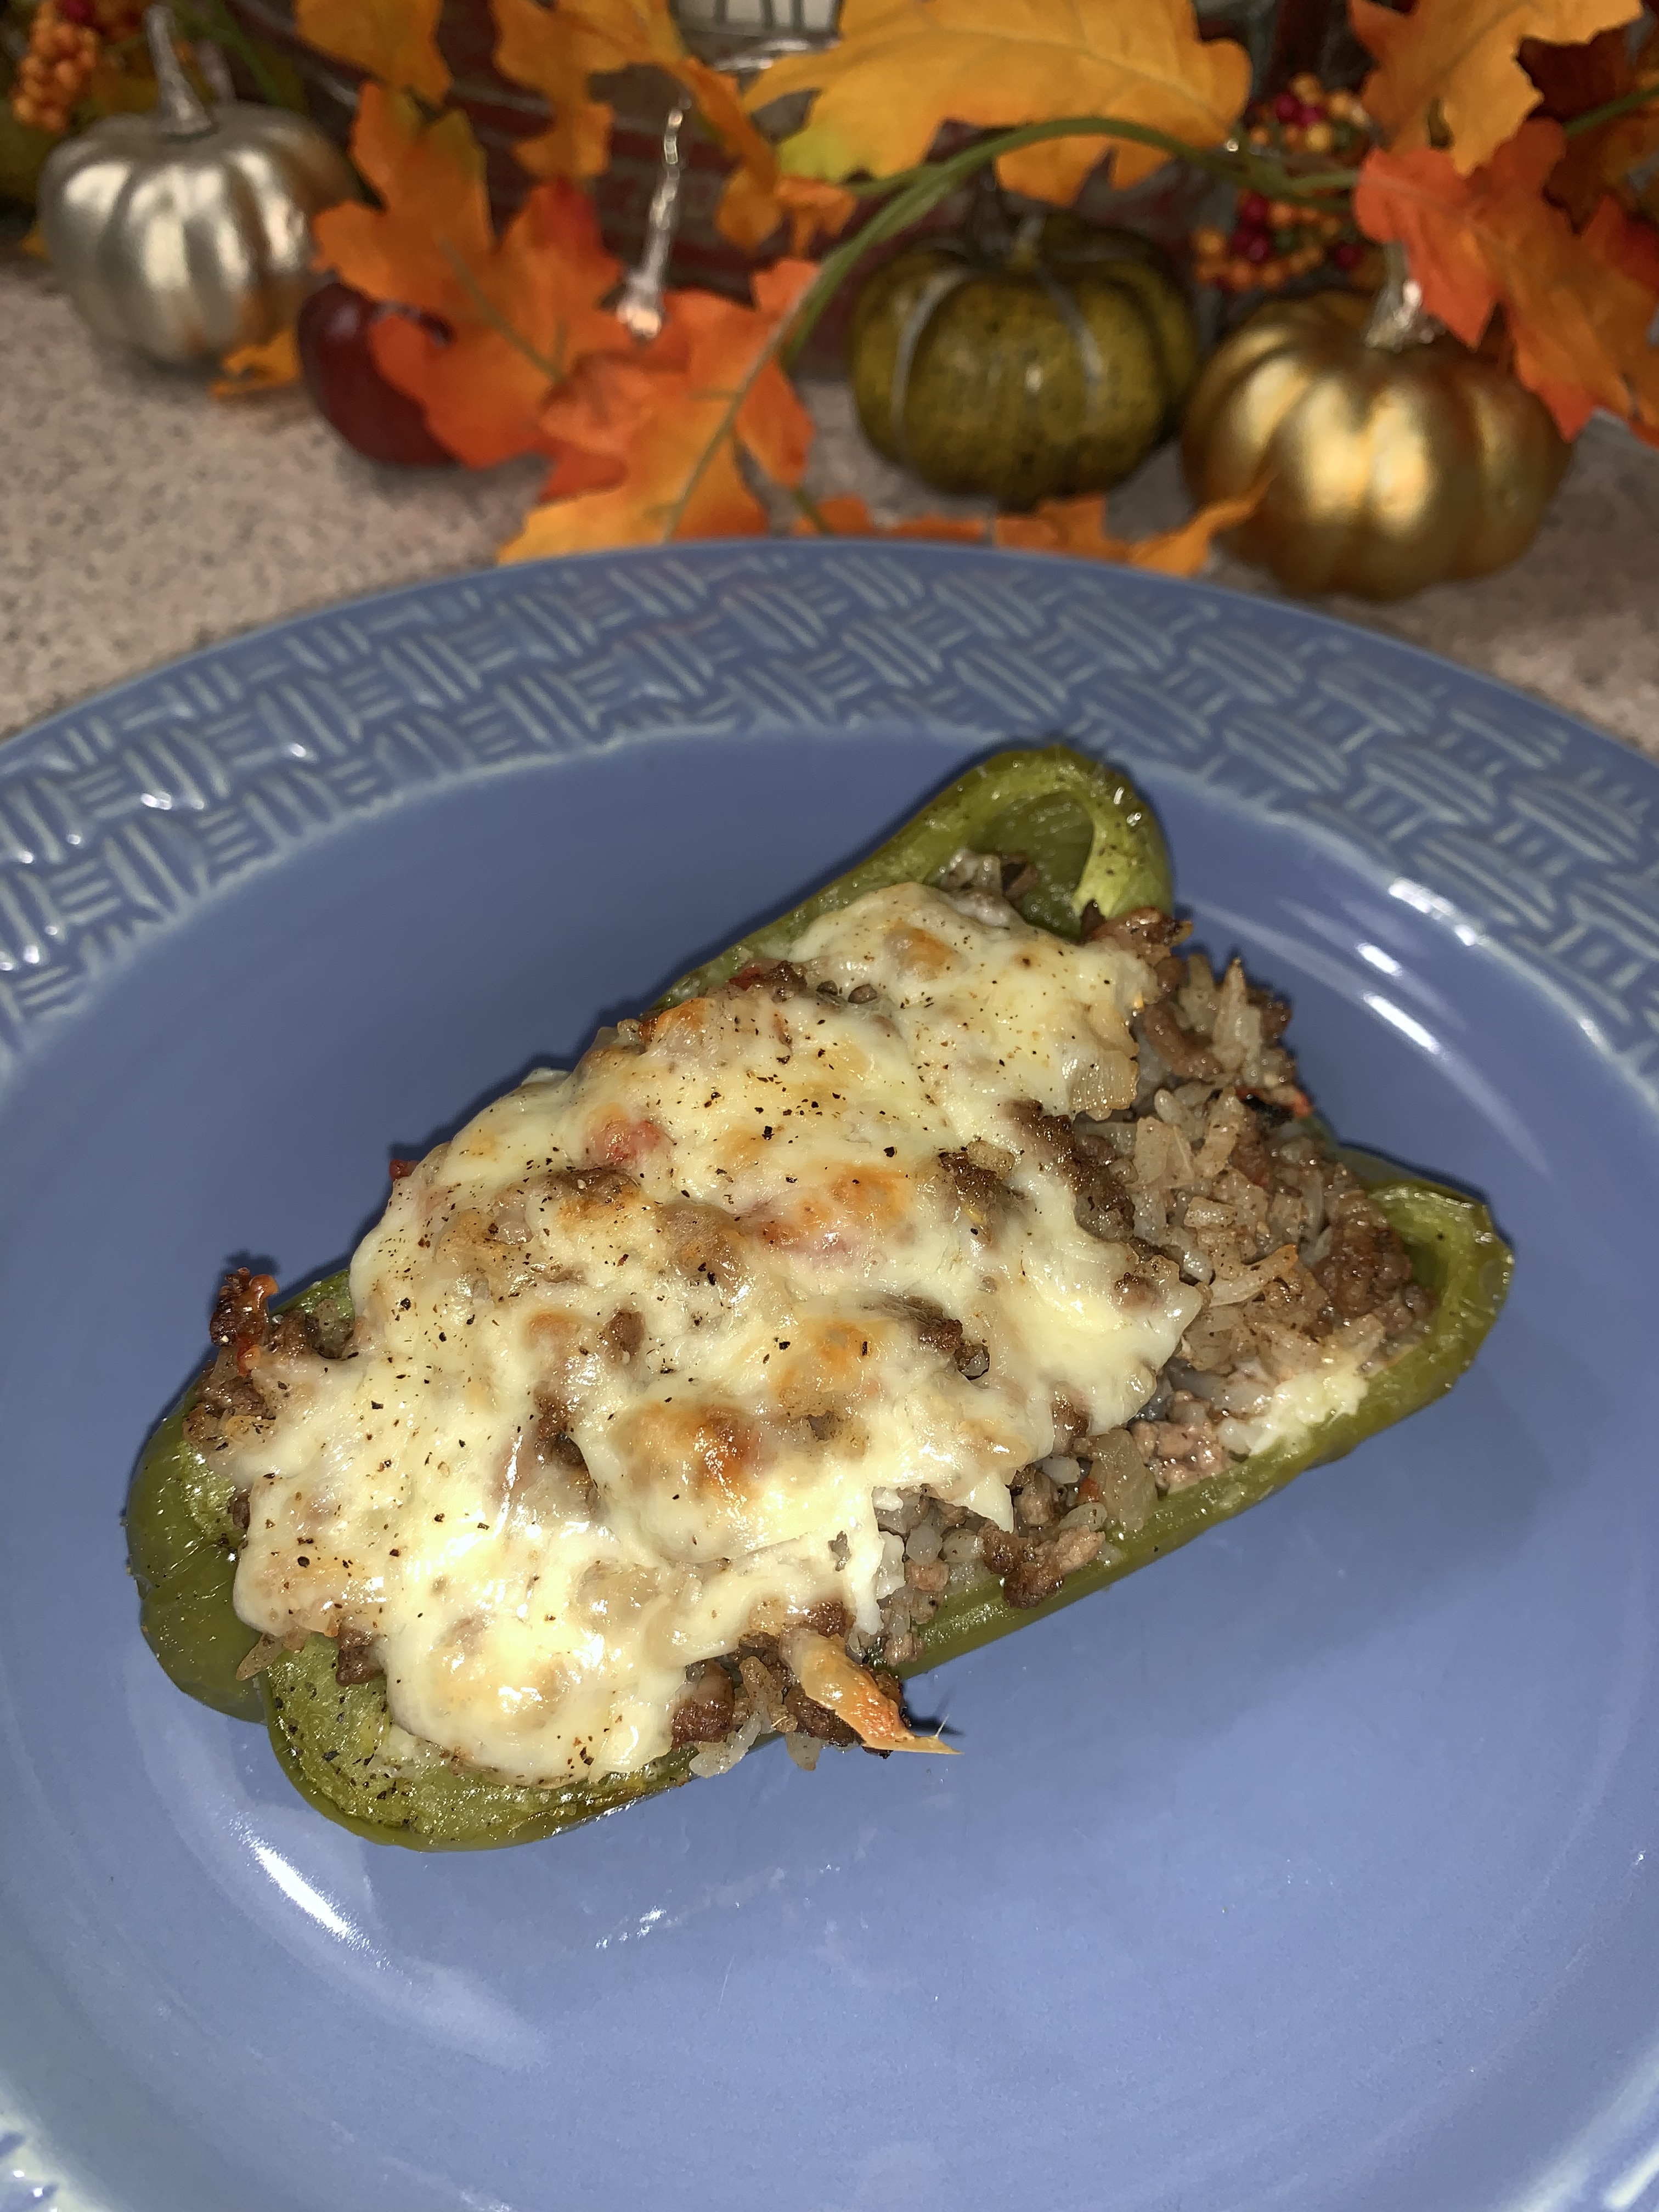
Once the filling is completed and the peppers are out of the oven – it’s time to put things together! It couldn’t be easier – just flip the peppers over in the baking dish, fill with as much filling as you’d like – top with cheese and you’re ready to put it back in the oven!

Cover the baking dish, loosely, with foil (you want to try to avoid the foil touching the cheese, so you don’t ‘loose’ your cheese when you remove the foil) and cook for 20 minutes. After 20 minutes, you’ll want to remove the foil, return to the oven and cook for a final 10-15 minutes (until the cheese starts to brown).

Stuffed Bell Peppers
Total cooking time approx. 1 hour 15 minutes

4 Bell Peppers, halved
1 lb ground beef
1 cup chopped fresh mushrooms
2 cups cooked rice (I used frozen rice that I’d made earlier)
1 can Rotel tomatoes
1/2 onion, diced
1 tbsp Worcestershire sauce
1 tbsp minced garlic
1 1/2 tsp salt
1/2 tsp pepper
olive oil

  • In large baking dish/pan – add halved bell peppers, spread a little bit of olive oil on both sides, salt and pepper. Bake peppers @ 375 degrees for 20 minutes (sliced side down)
  • Add small amount of oil to skillet – then add in onion, garlic and mushrooms to pan. Cook for approx 10 minutes, stirring occasionally
  • Add ground beef, salt and pepper to pan and cook the beef thoroughly
  • Add rice – stirring, allow rice to warm through (will take longer if you use frozen rice like I did)
  • Add in can of Rotel tomatoes, stir – cover and simmer for 10 minutes
  • Once mixture is done simmering (10 minute) and timer goes off for the peppers – remove peppers from oven
  • Flip pepper halves over in pan (peppers should be somewhat cooked, but not mushy)
  • Add filling to each pepper
  • Top with shredded cheese, add pepper if you like
  • Loosely cover pan with foil (try to ‘tent’ the foil so that your cheese doesn’t melt to it in the oven) and return to oven for 20 minutes
  • Remove foil and cook for another 10-15 (or until cheese starts to brown)

Mexican Casserole (Taco bake?! What should I call this, really?)

This dish was a huge hit! It will definitely go into our regular rotation.

It really started as a result of having lean ground beef in the refrigerator and a package of corn tortillas, which I accidentally bought (thinking I grabbed flour). What a happy, happy surprise! It was loved by all!!

As already noted, it has lean ground beef, corn tortillas, black beans (which I always have on hand!), corn and tomatoes (and the requisite onions and garlic). Luckily, I had a packet of taco seasoning in the pantry (otherwise, you could certainly use chili powder, garlic powder, onion powder, paprika, cumin, salt and pepper that you have on hand – or whatever combination of those spices you like!).

I started by rough chopping the onions and then I cooked the onions and garlic, in a small amount of oil in a hot skillet.

After the onions were translucent, I added in the ground beef and cooked until browned. Then, added in the taco seasoning.

The next step was to add in the corn, black beans, tomatoes, etc. I did hold off on adding the jalapenos, as I wanted to taste the meat mixture first to determine how much to add. Spoiler alert – I added the whole can.

Once everything was well mixed, I allowed it to simmer for 15-20 minutes.

This gave me plenty of time to grate the cheese and pre-heat the oven.

Then I started putting the casserole together – starting with a layer of tortillas. I ended up with 3 layers of tortillas – but, you can do as many layers as you like (next time I make this, I intend to add more of the tortillas, I only used 4 per layer as I prepared this today).

Once all the layers are in (end with the meat mixture on top), top with the grated cheese and put in the oven (400 degrees) for 20-25 minutes. I did turn the broiler on briefly, at the end, to get a little bit of browning on the top.

I topped it with a little bit of sour cream – and it was DELICIOUS! I definitely went back for seconds!

Mexican Casserole

2 lbs lean ground beef
1 can black beans (drained)
1 can corn (drained)
1 large can diced tomatoes (drained)
1 small can tomato paste
1 packet taco seasoning
1 tbsp garlic
1 onion (chopped)
Small corn tortillas (number will depend on size of casserole dish)
1 tsp oil
1 – 1 1/2 cups grated cheese (depends on size of casserole dish)
Salt to taste
1 can jalapeno peppers (optional)
Sour cream for garnish

  • Chop onion
  • Add oil, onion and garlic to hot skillet – cook until onion is translucent
  • Add in ground beef, cook until browned
  • Add taco seasoning and mix completely
  • Add tomatoes, tomato paste, b lack beans and corn, mix well
  • Add salt, as needed, after tasting mixture
  • If desired, add jalapenos (I used a 11 oz can of picked jalapenos with carrots and onions by San Marcos) and mix well
  • Simmer mixture for 15-20 minutes
  • Start with a layer of corn tortillas in the bottom of an oven safe dish
  • Alternate with the meat mixture, until all meat mixture is one – ending with meat mixture on top. For my casserole, this was 3 layers of corn tortillas.
  • Top with cheese and bake @ 400 degrees – for 30 minutes

Sausage and Spinach Baked Frittata

On Saturdays or Sundays, we like to do a brunch type meal – rather than a breakfast AND lunch. Frittatas are one of our ‘go to’ meals, for sure. We love eggs and a frittata, often, gives us the opportunity to ‘use up’ smallish leftovers in the refrigerator. Today’s frittata started with some Hillshire Farms sausage that was opened yesterday!

Not a pretty picture, but one that’s real. Also, didn’t use the pre-grated cheese in the picture, I had enough once I grated the block cheese.

For this dish, the first thing you want to do is to slice your sausage – I decided to be ‘fancy’ and slice a few pieces (6 – because my frittatas are usually sized for about 6 slices/servings) diagonally, to put on top of the frittata prior to putting it in the oven.

I, personally, could probably stand more than 1/2 of an onion – but, that might be overwhelming to some, so I stuck to 1/2 of an onion for this dish.

Combine the sausage and onion in a skillet, over medium – high heat.

Cook until the sausage has a sear and the onions are translucent. If you do the ‘fancy’ slices of sausage – cook them separate from the rough chopped sausage and onion, and set this all aside to cool a bit.

Grate your cheese (I ended up with about a cup, shredded, given the amount of block cheese I had left – but, you can just add as much cheese as you like – I am a big cheese lover, so rare is the occasion that I think it is ‘too much’ cheese) and chop your spinach.

In a bowl, whisk your eggs, milk, salt and pepper. Then add the other ingredients and mix well (I usually hold back a little bit of cheese, to top the mixture, as I love how it browns in the oven). Pour the mixture into a lightly greased pie plate (this is what I use) or frittata pan. Top with any reserved cheese and the diagonally sliced sausage.

Bake for 40-45 minutes (or until eggs are cooked through and top is nicely browned).

Sausage and Spinach Fritatta

6 eggs
7 oz Hillshire Farms smoked sausage (1/2 of a 14 oz rope)
1/2 onion
1 cup chopped baby spinach
3/4-1 cup grated sharp cheddar cheese
1 tbsp milk (or half and half or cream)
1 tsp salt
1/2 tsp pepper

  • Preheat oven oven to 400 degrees
  • Slice sausage (if you want, slice 6 slices cross ways to ‘top’ the fritatta)
  • Finely chop onion
  • Combine onion and sausage in skillet over medium – high heat. Cook until sausage is seared and onion is translucent – remove from pan and set aside to cool a bit
  • Shred cheese and chop spinach
  • In bowl, whist together the eggs, milk, salt and pepper
  • Add sausage/onion mixure, vegetables and cheese to eggs – mix well
  • Pour mixture into a lightly greased pie plate or fritatta pan
  • Bake for 40-45 minutes (or until eggs are fully cooked and nicely browned on top)

Cheeseburger Pie

This recipe is one that I’ve been cooking for years. Some might even say that it is my ‘signature’ dish. It’s good, comfort food! I can remember having something similar when I was a kid – over the years, I’ve tweaked it and adjusted it to our taste. It’s a layered casserole type dish that makes me so happy (it is PERFECT for leftovers – it just gets better!).

The dish is topped with mashed potatoes, so the first step is to dice up some potatoes and get them on to boil.

Then you will start making the base of the dish – the meat mixture. You’ll add your olive oil to a pan (or dutch oven) and heat it up – then, you add what all good dishes start with – garlic and onion! Cooking the onions until they are translucent.

Next, add the ground beef, salt, pepper and Italian seasoning. Cook until the ground beef is fully cooked.

The next step is to add the tomato paste, tomatoes and green beans.

Once all of the ingredients for the base of the dish have been added – cook for 10-15 minutes, allowing all the flavors to mix. Reduce the temperature to low-medium heat for the 10-15 minutes.

While the meat mixture is cooking – make your mashed potatoes. I’m a very picky about mashed potatoes and I make mine the way I grew up eating them – with Duke’s mayonnaise as part of the mix. This may not be to your liking (but, if you’ve never tried it – you should!!) – so, just make the mashed potatoes that you’d normally make.

After both components (meat mixture and potatoes) are you complete – you’ll add the potatoes on top of the meat mixture and top with grated sharp cheddar cheese (you can certainly use pre-grated cheese, but it will not be a good as if you grate it yourself !)

Put the baking dish or dutch oven in the preheated oven and cook until the cheese is bubbly and starting to brown – change the oven over to broil for the last couple minutes and you’ll have a beautifully browned top to your cheeseburger pie.

If you like, you can top it with fresh basil – but, this is definitely not necessary.

I hope you’ll enjoy this recipe as much as I do – it is, without a doubt, one of my favorite things that I make! And, has always been something that people have loved for me to make!

Cheeseburger Pie

1tbsp olive oil
1 onion, chopped
2 tbsp minced garlic
2 lbs lean ground beef
1 can french style green beans
1 small can (6 oz) tomato paste
1 large can (28 oz) diced tomatoes, drained
1 1/2 tsp salt
1 tsp pepper
1 tsp Italian seasoning
4 oz (1/2 small block) grated sharp cheddar cheese
Mashed Potatoes (my recipe below)

  • In pan (or dutch oven, if you want less to wash 🙂 ), warm up the olive oil
  • Add onion and garlic ad cook until onion is translucent
  • Add ground beef, salt, pepper and Italian seasoning and cook until ground beef is fully cooked (if you use lean enough ground beef, there is no need to drain the meat, otherwise, drain out the excess oil before next step)
  • Add in tomato paste, tomatoes and green beans and combine – allow mixture to cook for 10-15 minutes
  • If you did the meat mixture in a pan, transfer to a large baking dish – other wise, you’ll use the dutch oven for the next step.
  • Top meat mixture with mashed potatoes and cheese
  • Put in 400% oven for 30 minutes (on the last couple minutes, turn oven to broil to help brown the top).

Mashed Potatoes
8-10 potatoes, diced
1/2 cup milk
3/4 cup Duke’s mayonnaise
2 tbsp butter
salt to taste

  • Boil potatoes in salted water, until fork tender. Drain potatoes and return to pot
  • Add butter, milk and mayonnaise
  • Mash with masher to your desired consistency (I don’t like mine too smooth)
  • Salt to taste