Homemade Salmon Stew

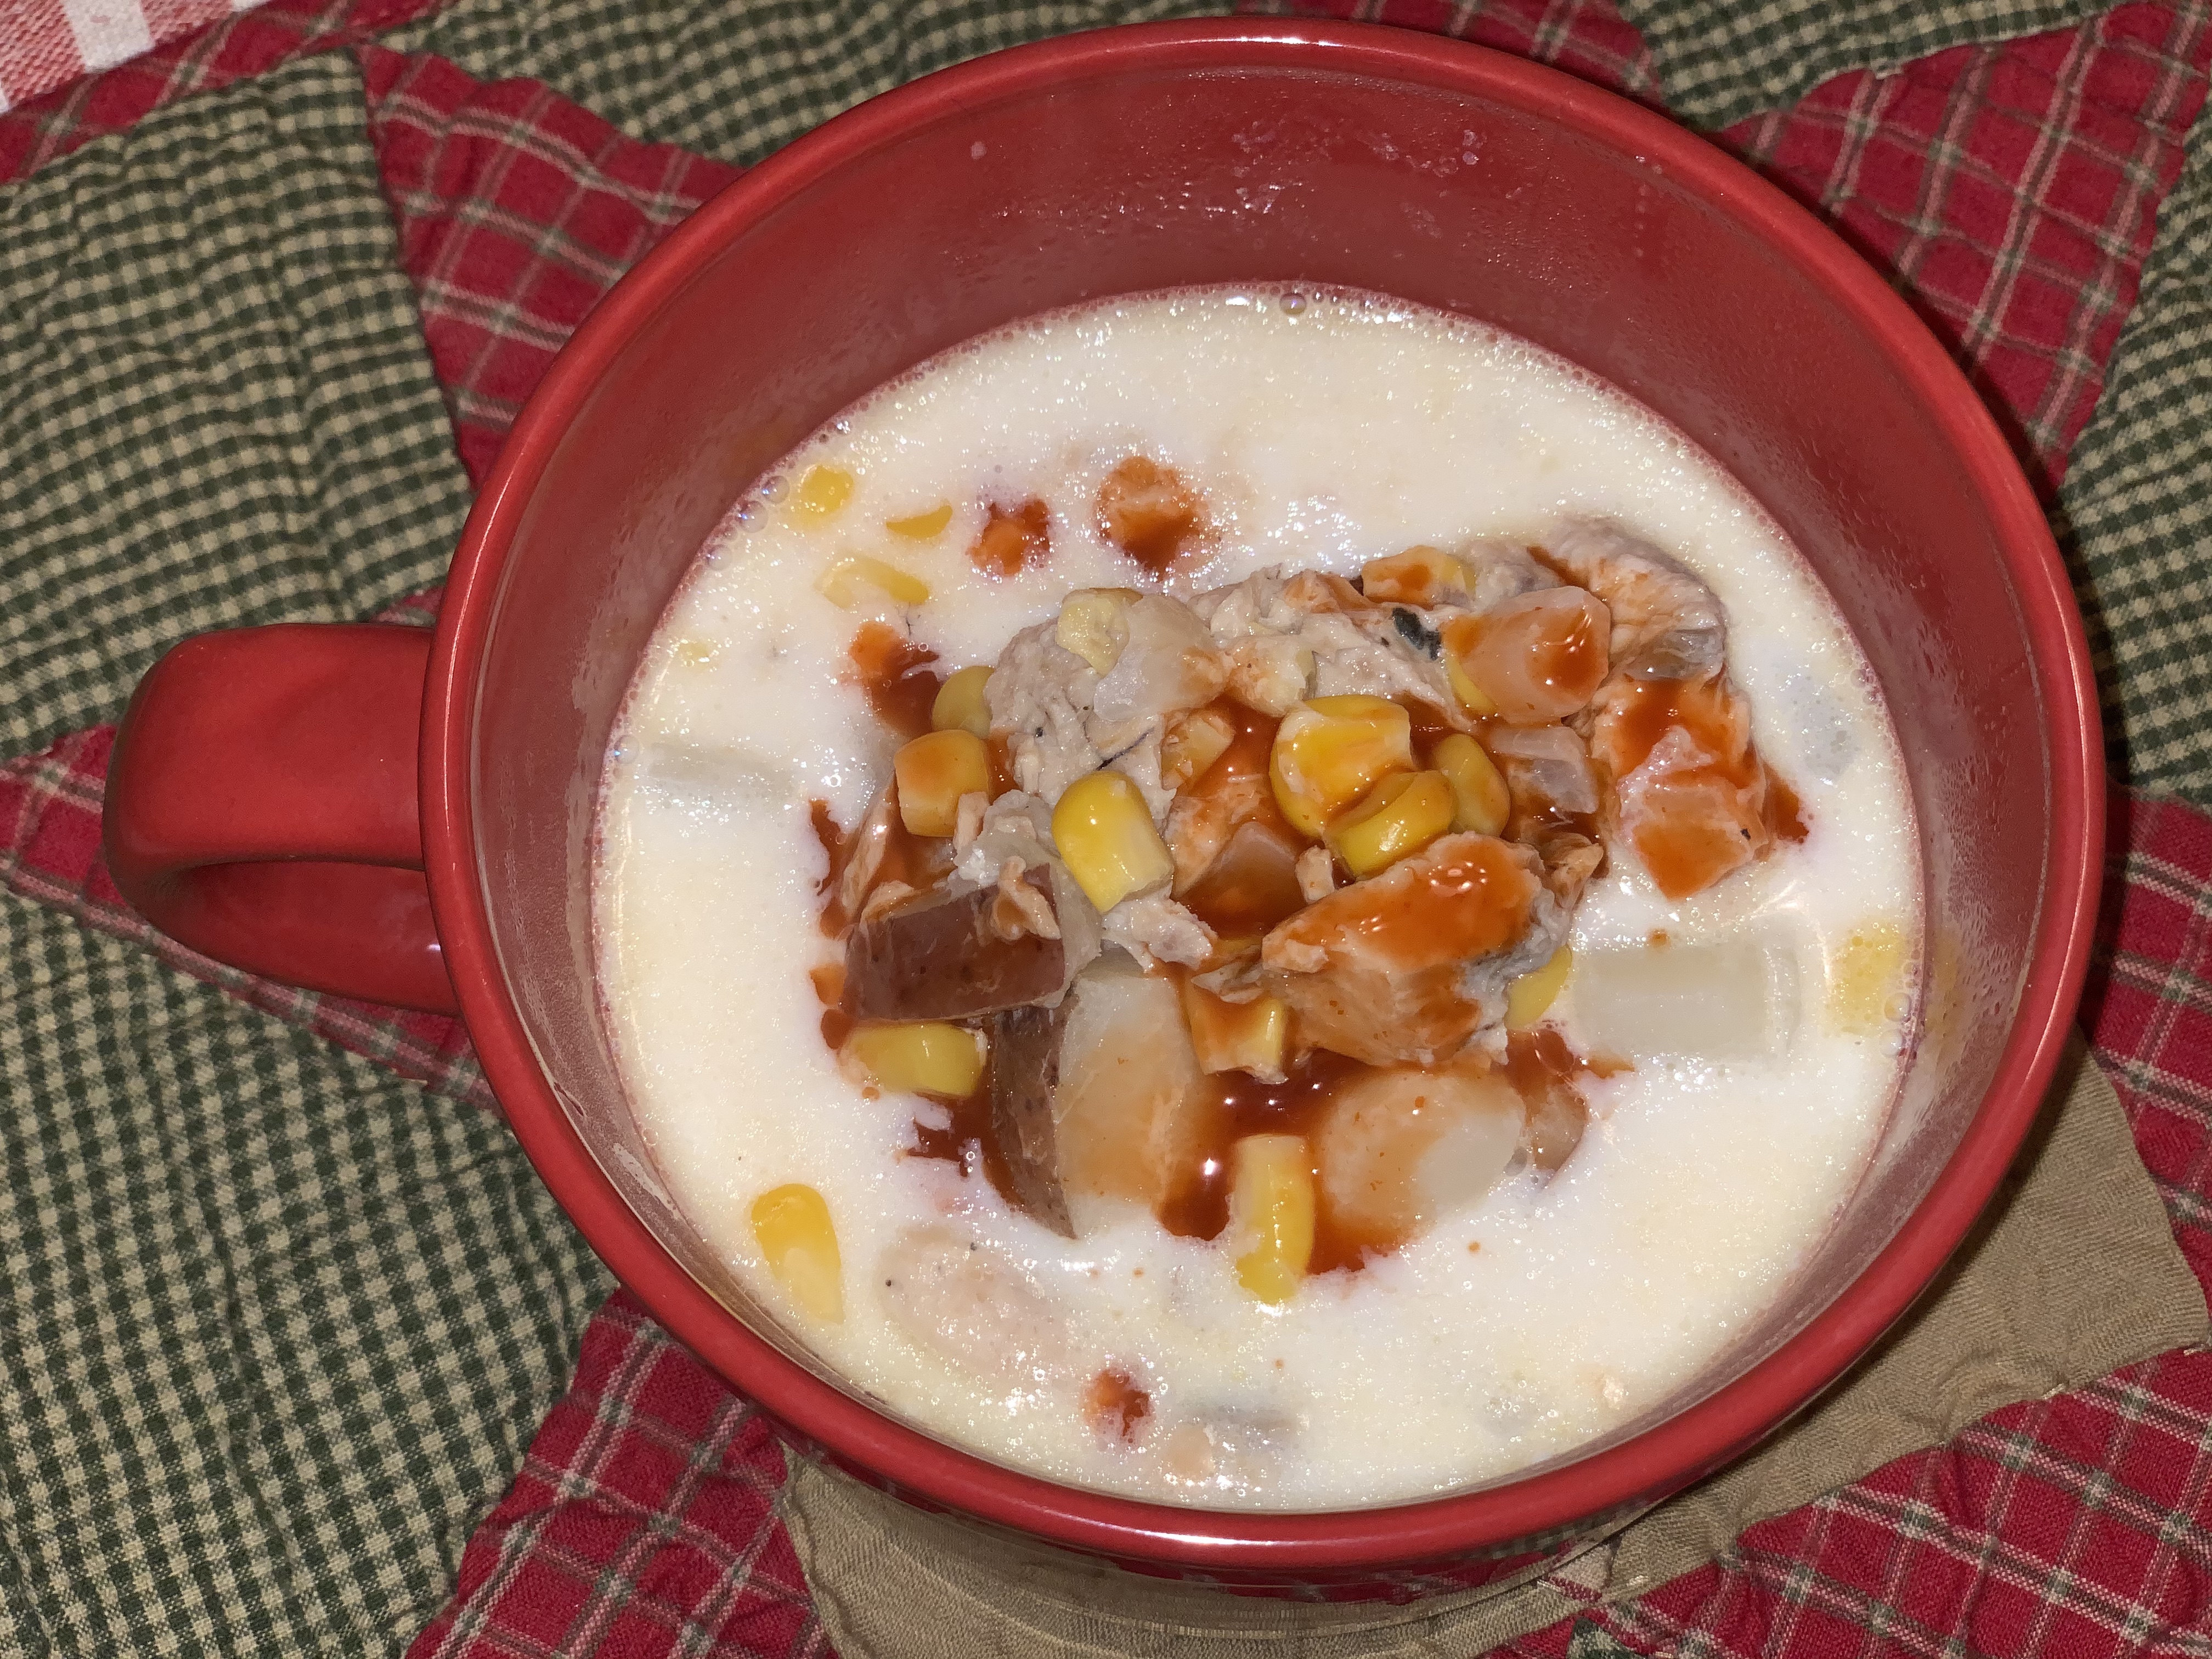
Few things go better with a cool, rainy night than stew of some kind. Salmon stew is one that we haven’t made for a while – so that is what we landed on.

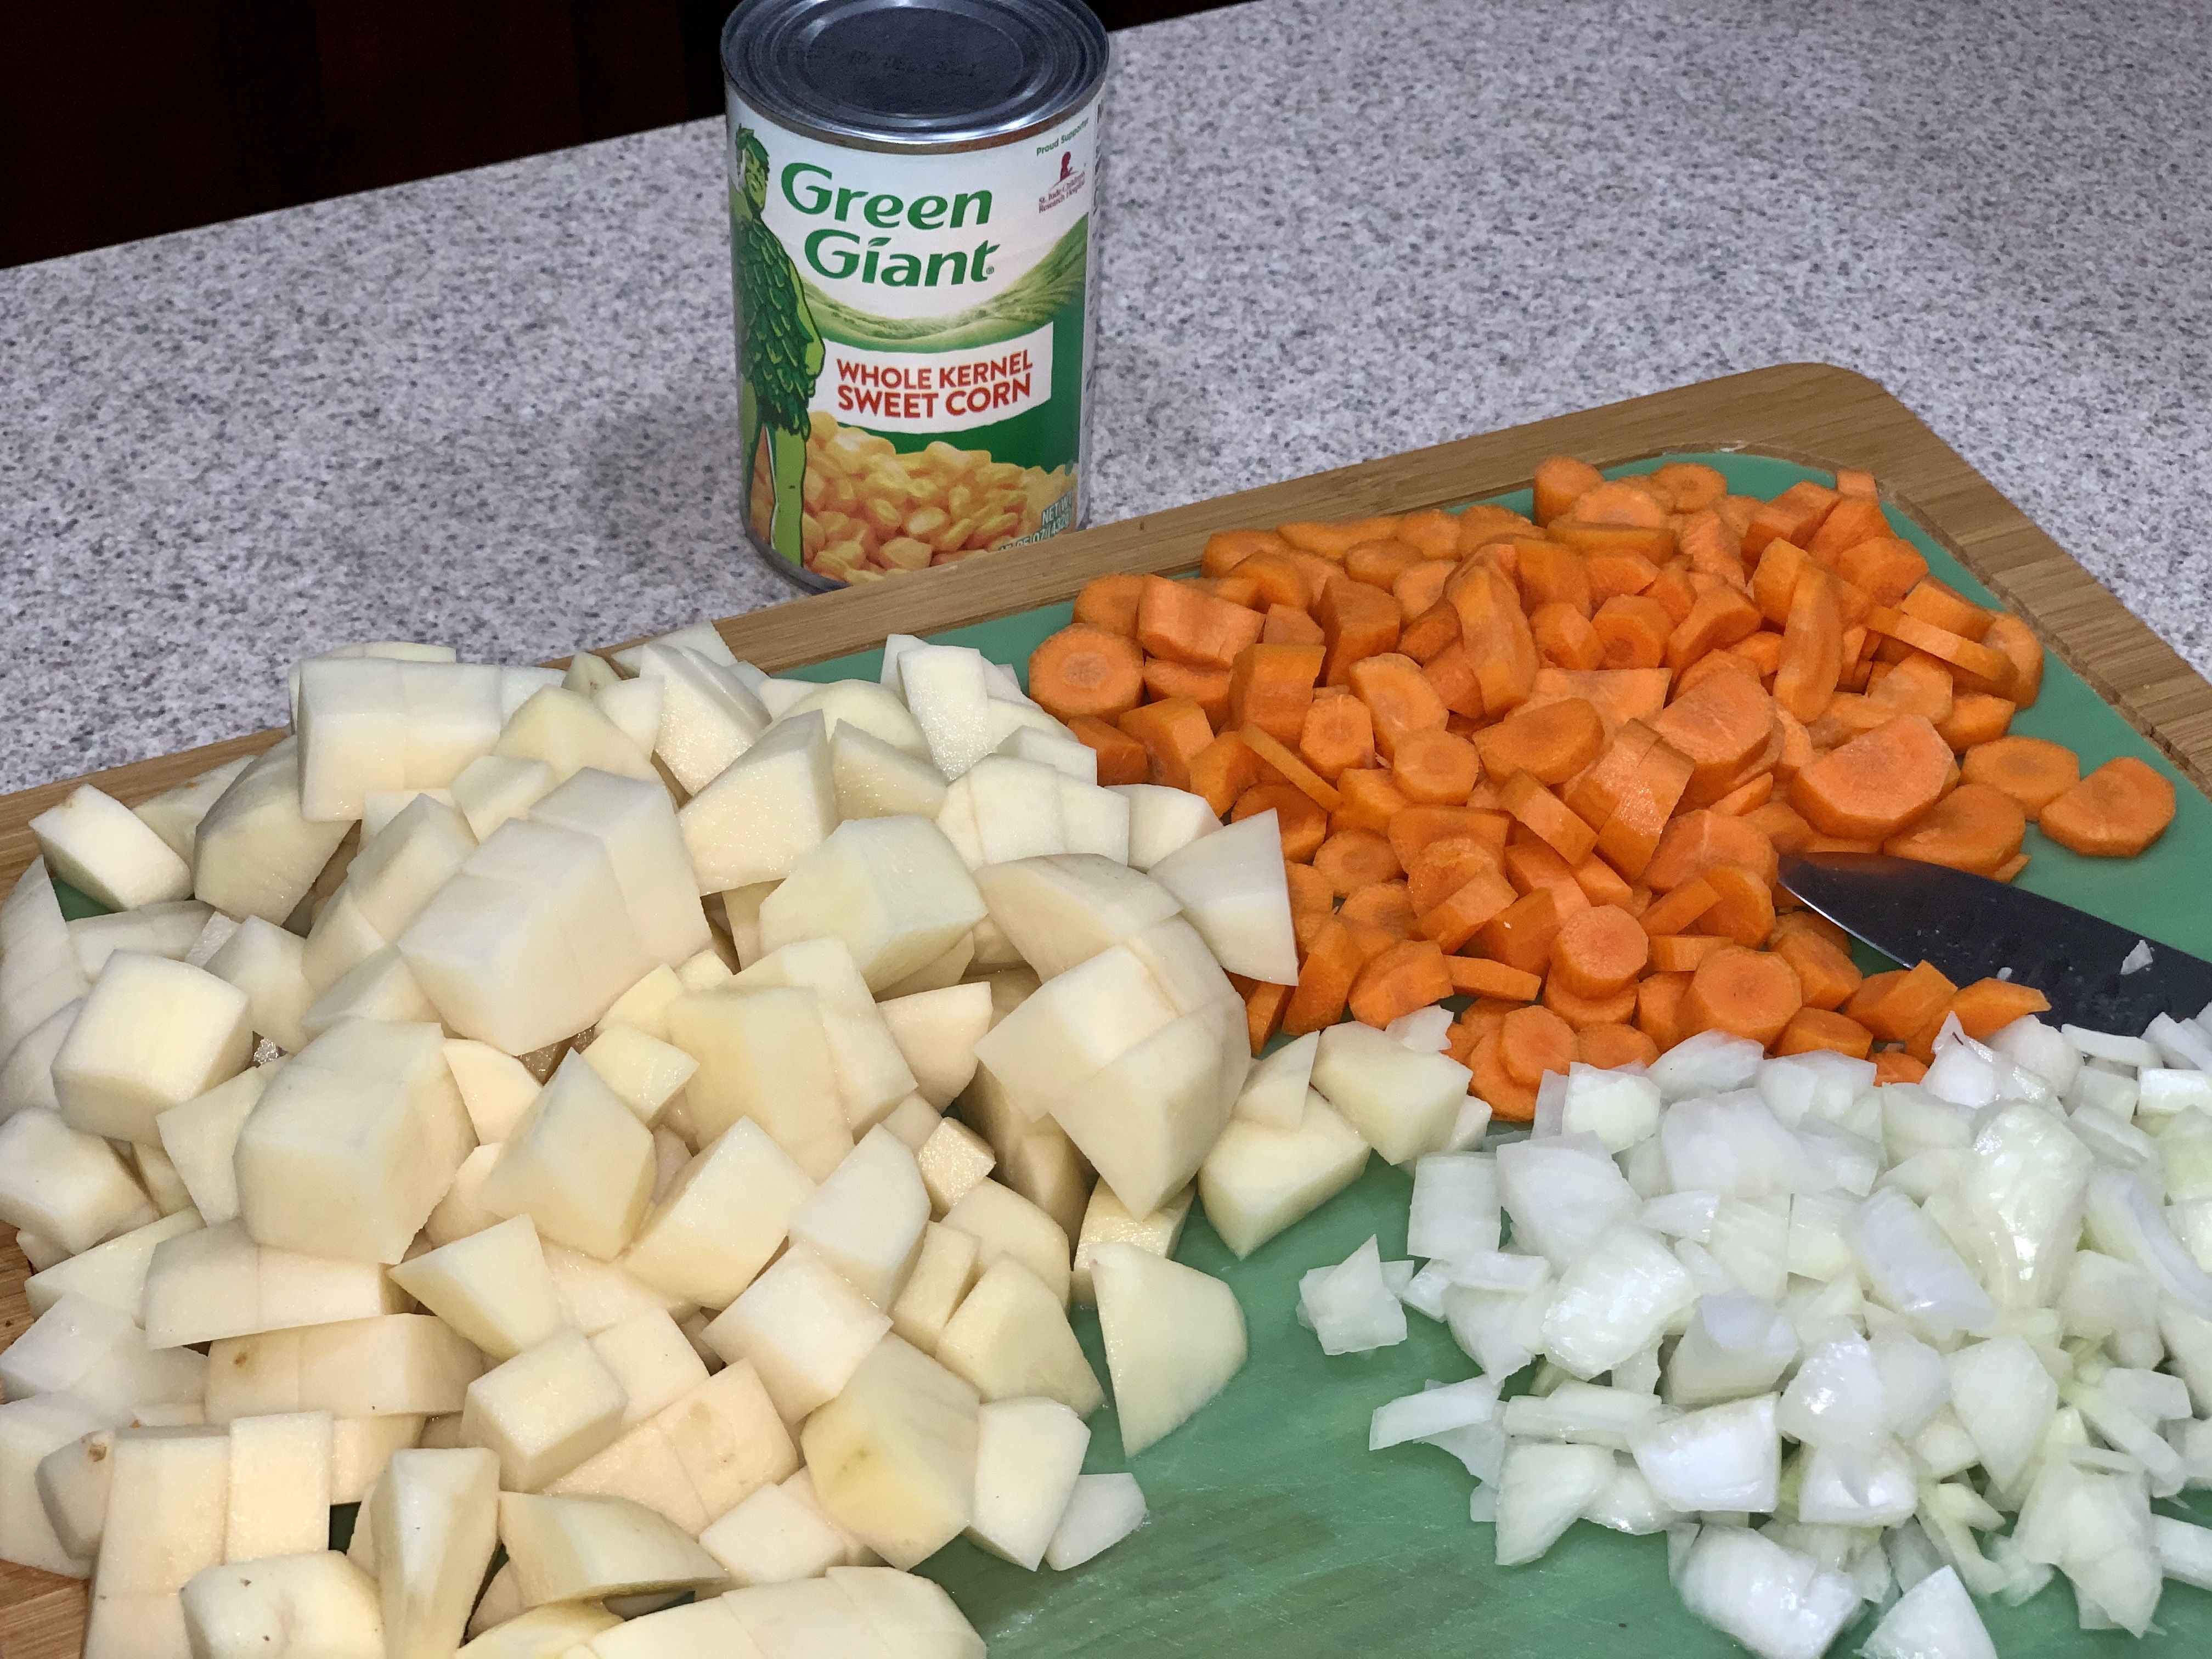
There are just a few simple ingredients – milk, butter, potatoes, corn and of course canned salmon. Speaking of canned salmon, have I just been out of the loop or has canned salmon gone up in price, tremendously? I think it was like $4.50 a can.

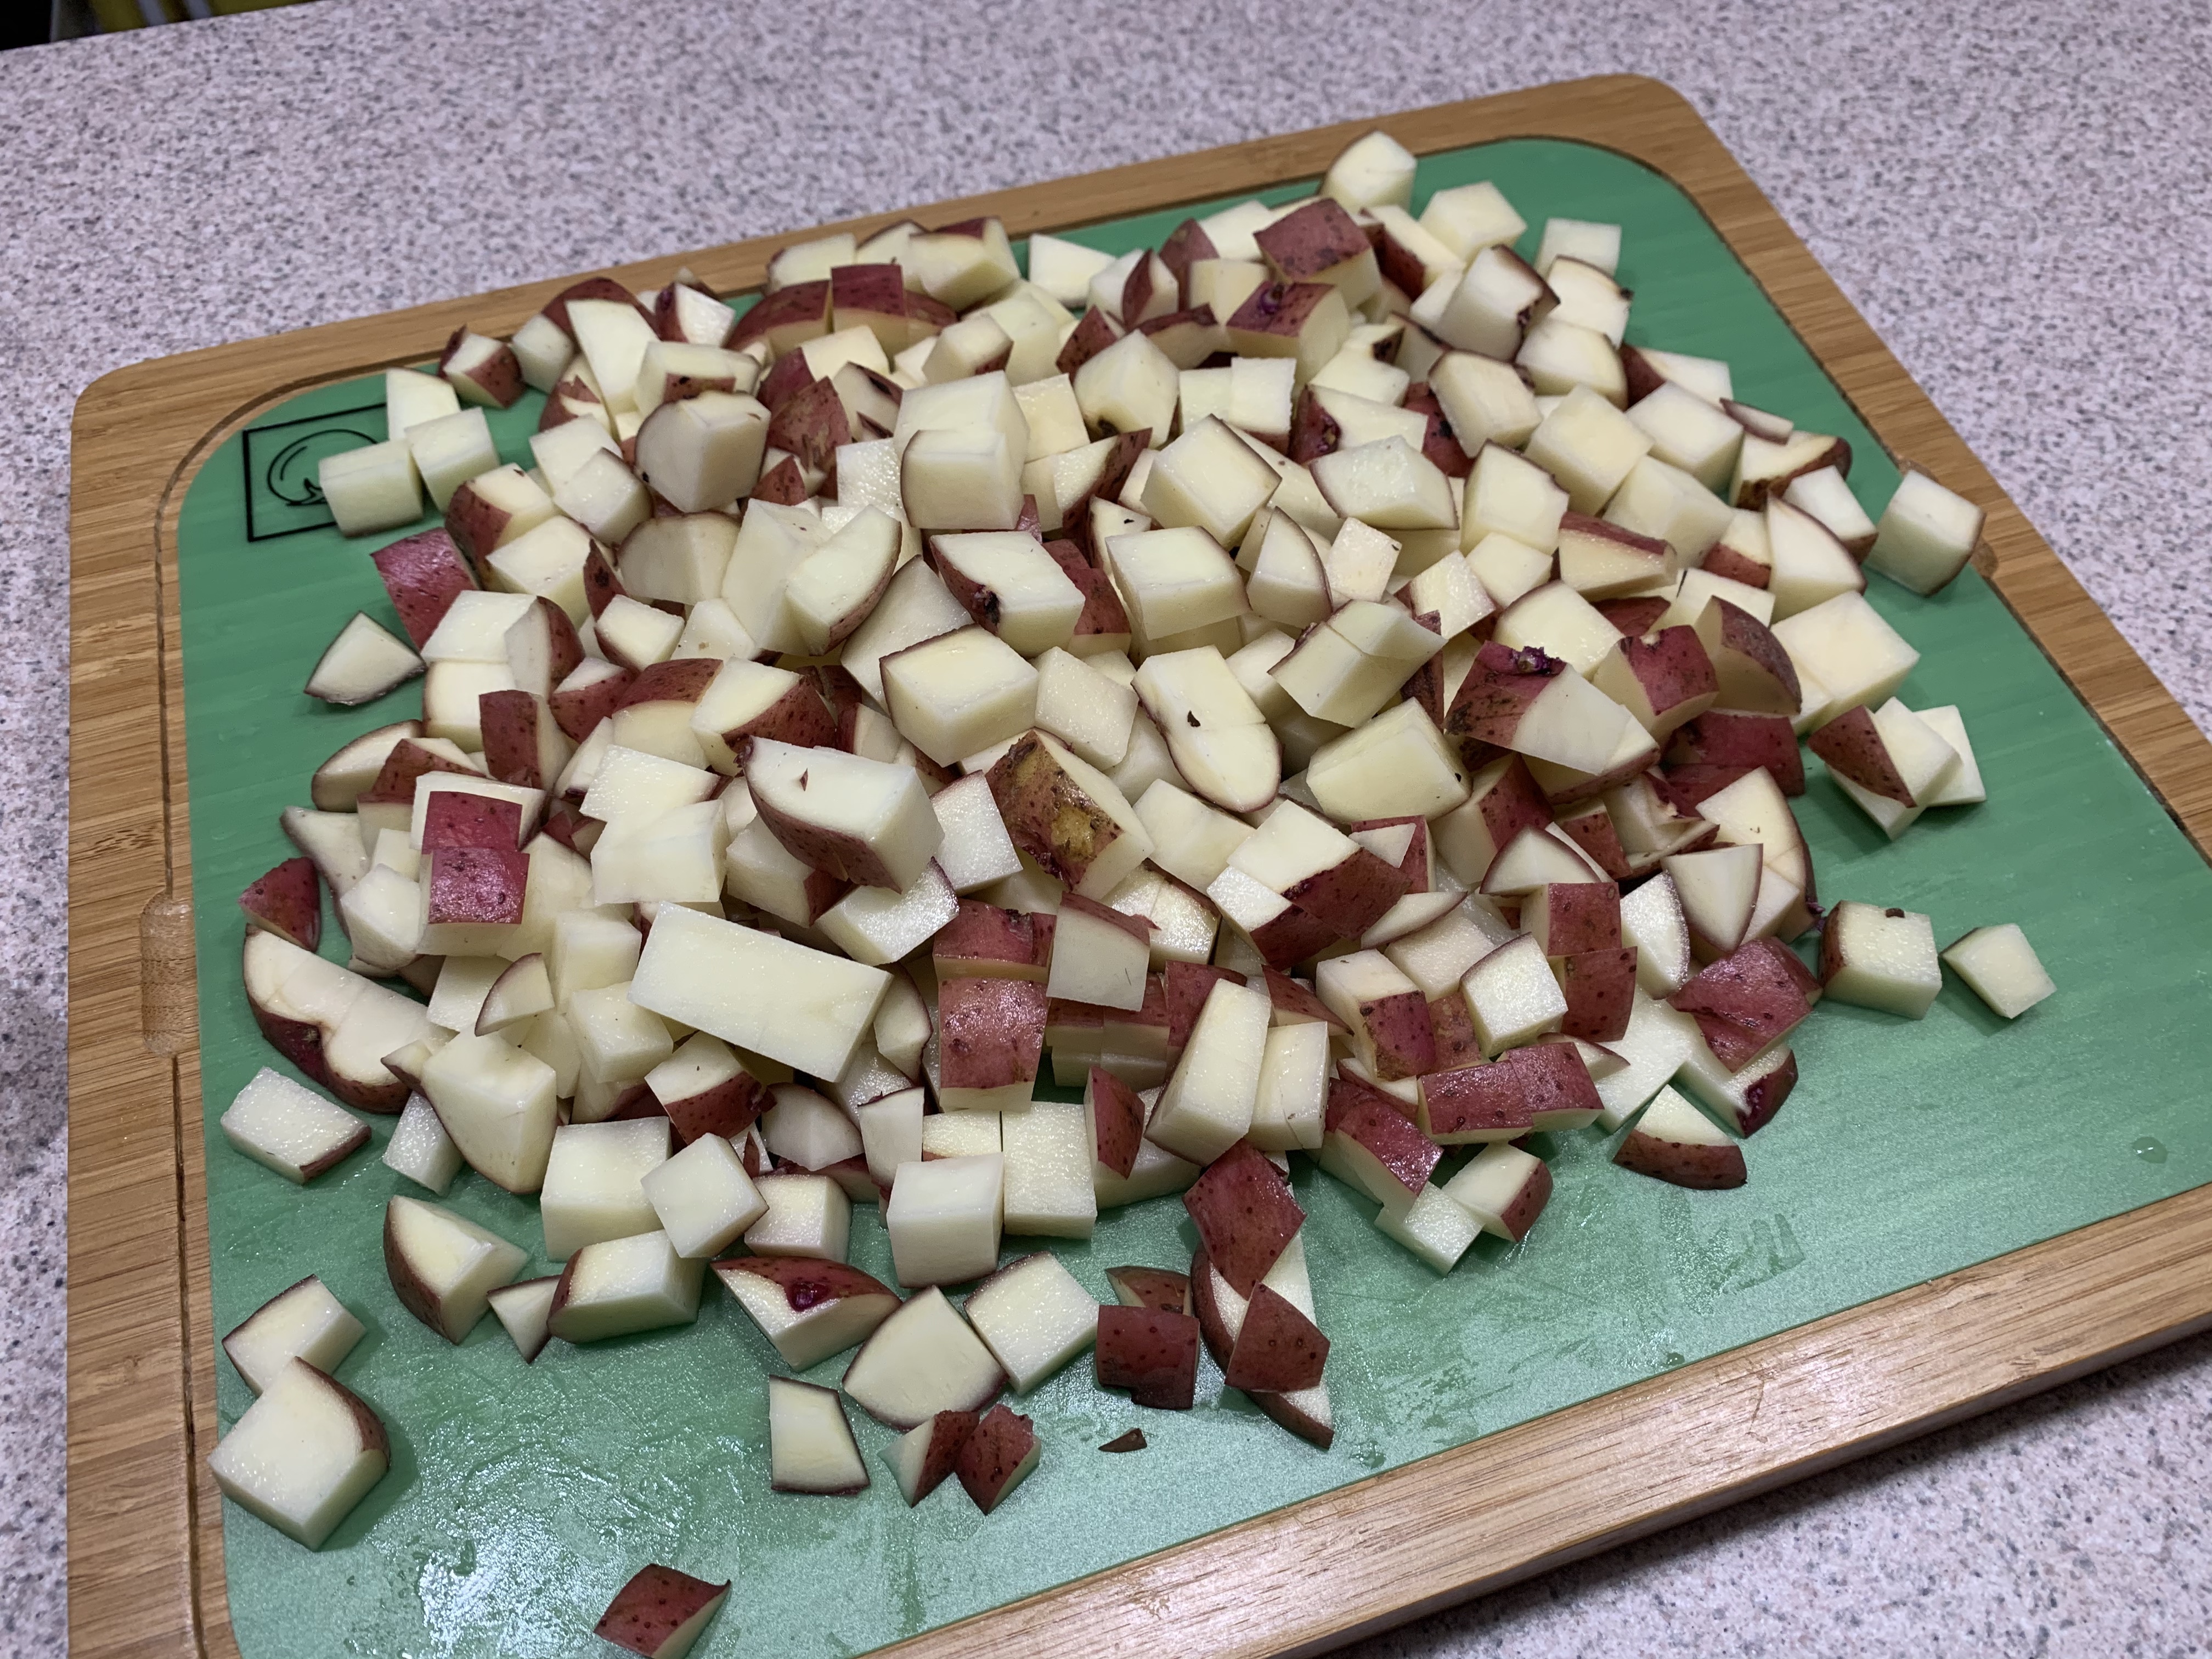
I didn’t get pictures throughout the process, but I’ll just walk you through it. You’ll want to start by prepping your potatoes and onions. When choosing your potatoes – you need to decide if you want a starchy potato (it will make the stew a little thicker), like a russet or a waxy potato (it will hold his shape more), like a red potato. I, personally, prefer a more starchy potato – but, to get rid of the red potatoes we had – we used those in this stew.

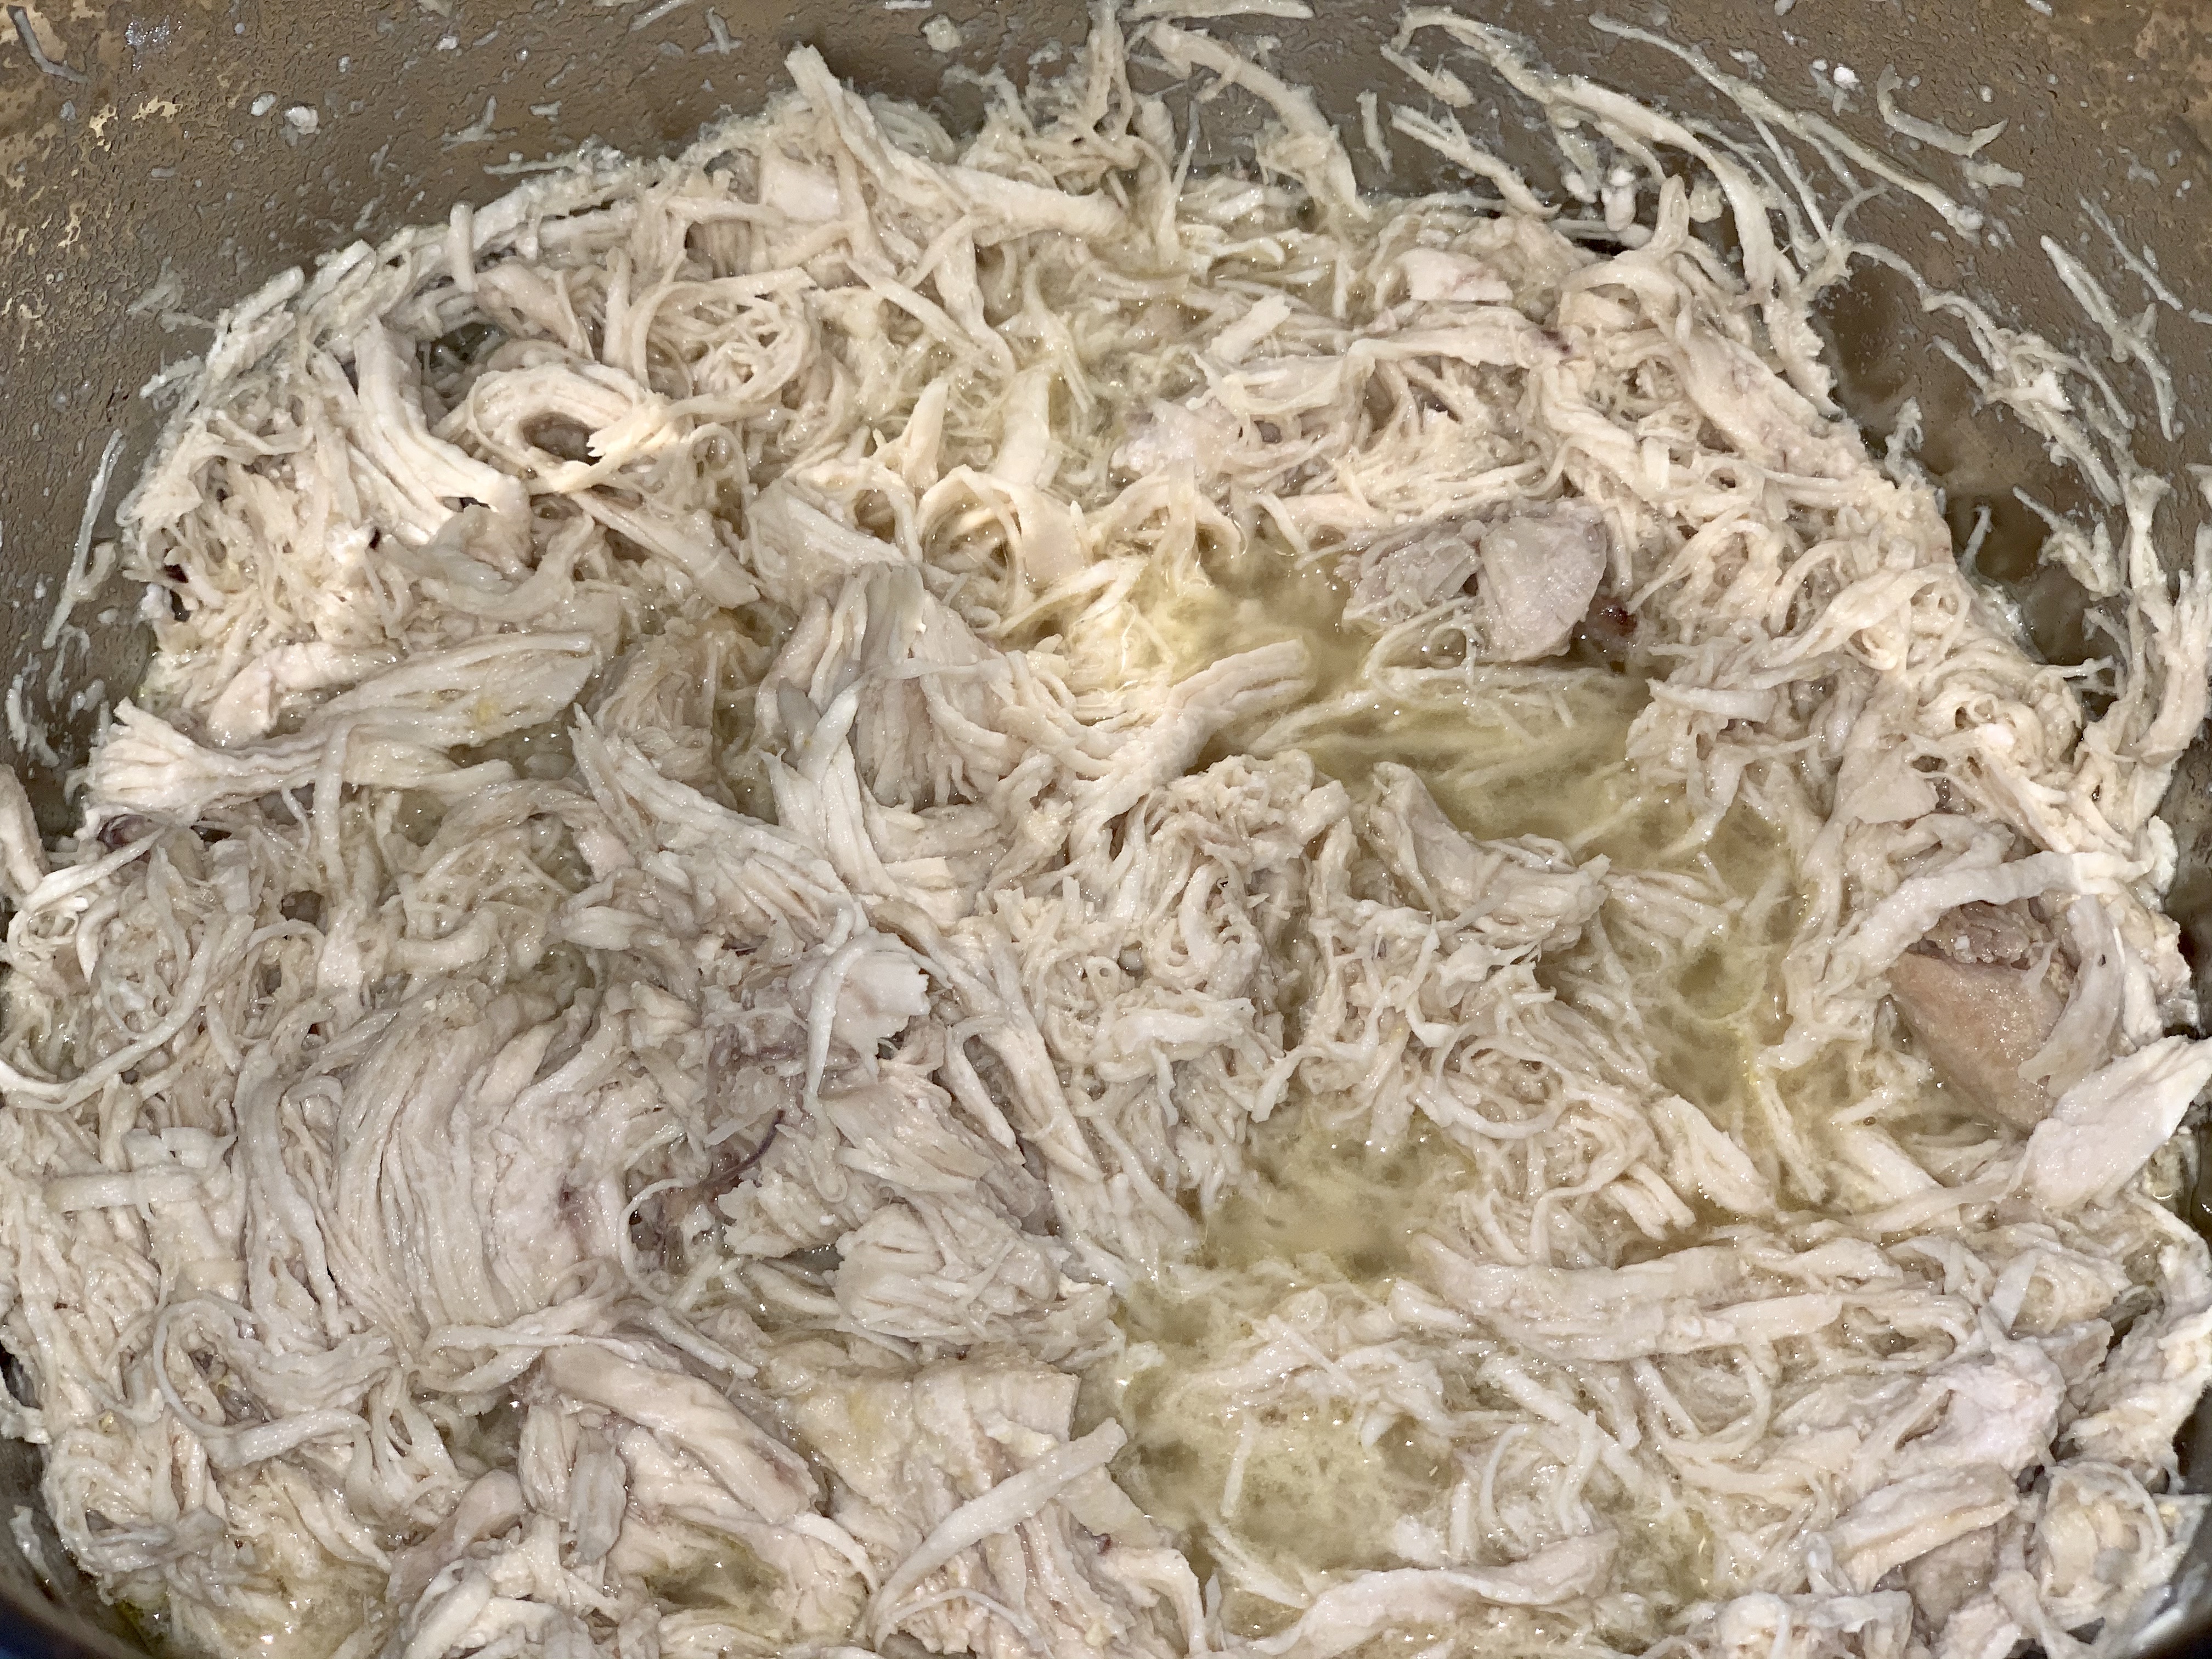
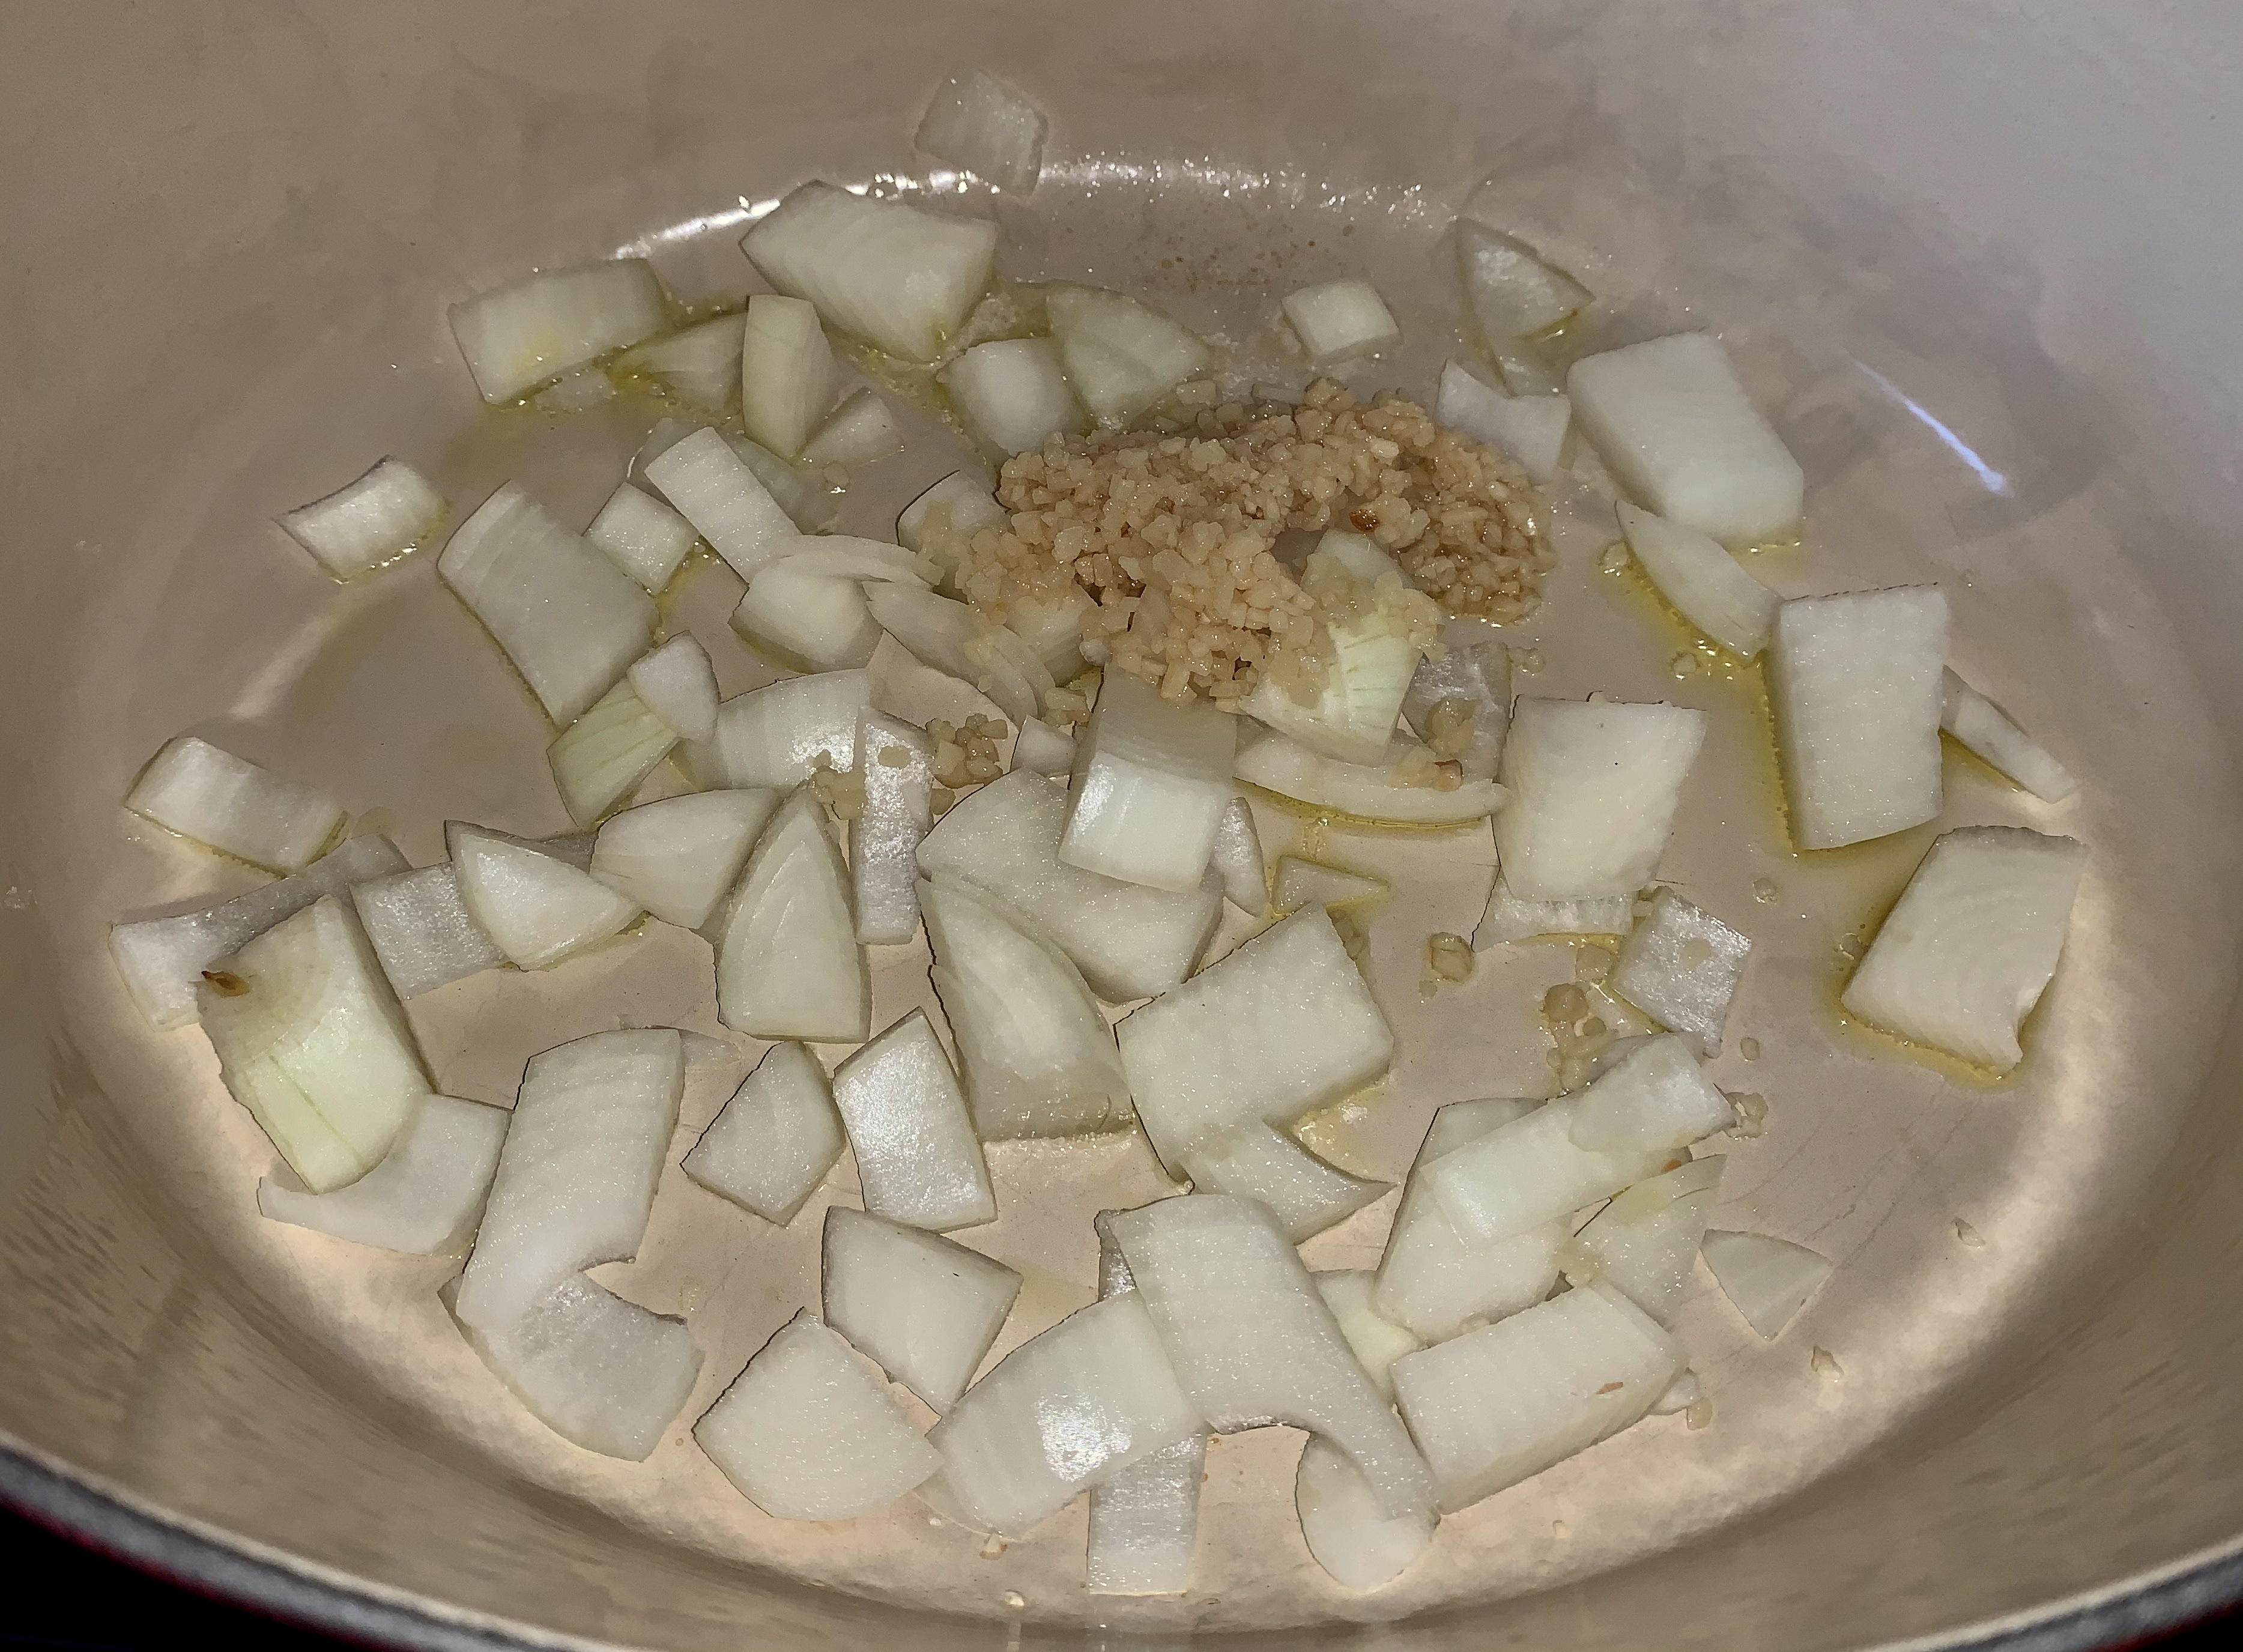
In order to amp up the fragrance and flavor of the onions, they were sauteed in 1tbsp of the butter and set aside, while the cubed potatoes were being boiled. This is also a good time to pick the bones and skin out of your salmon.

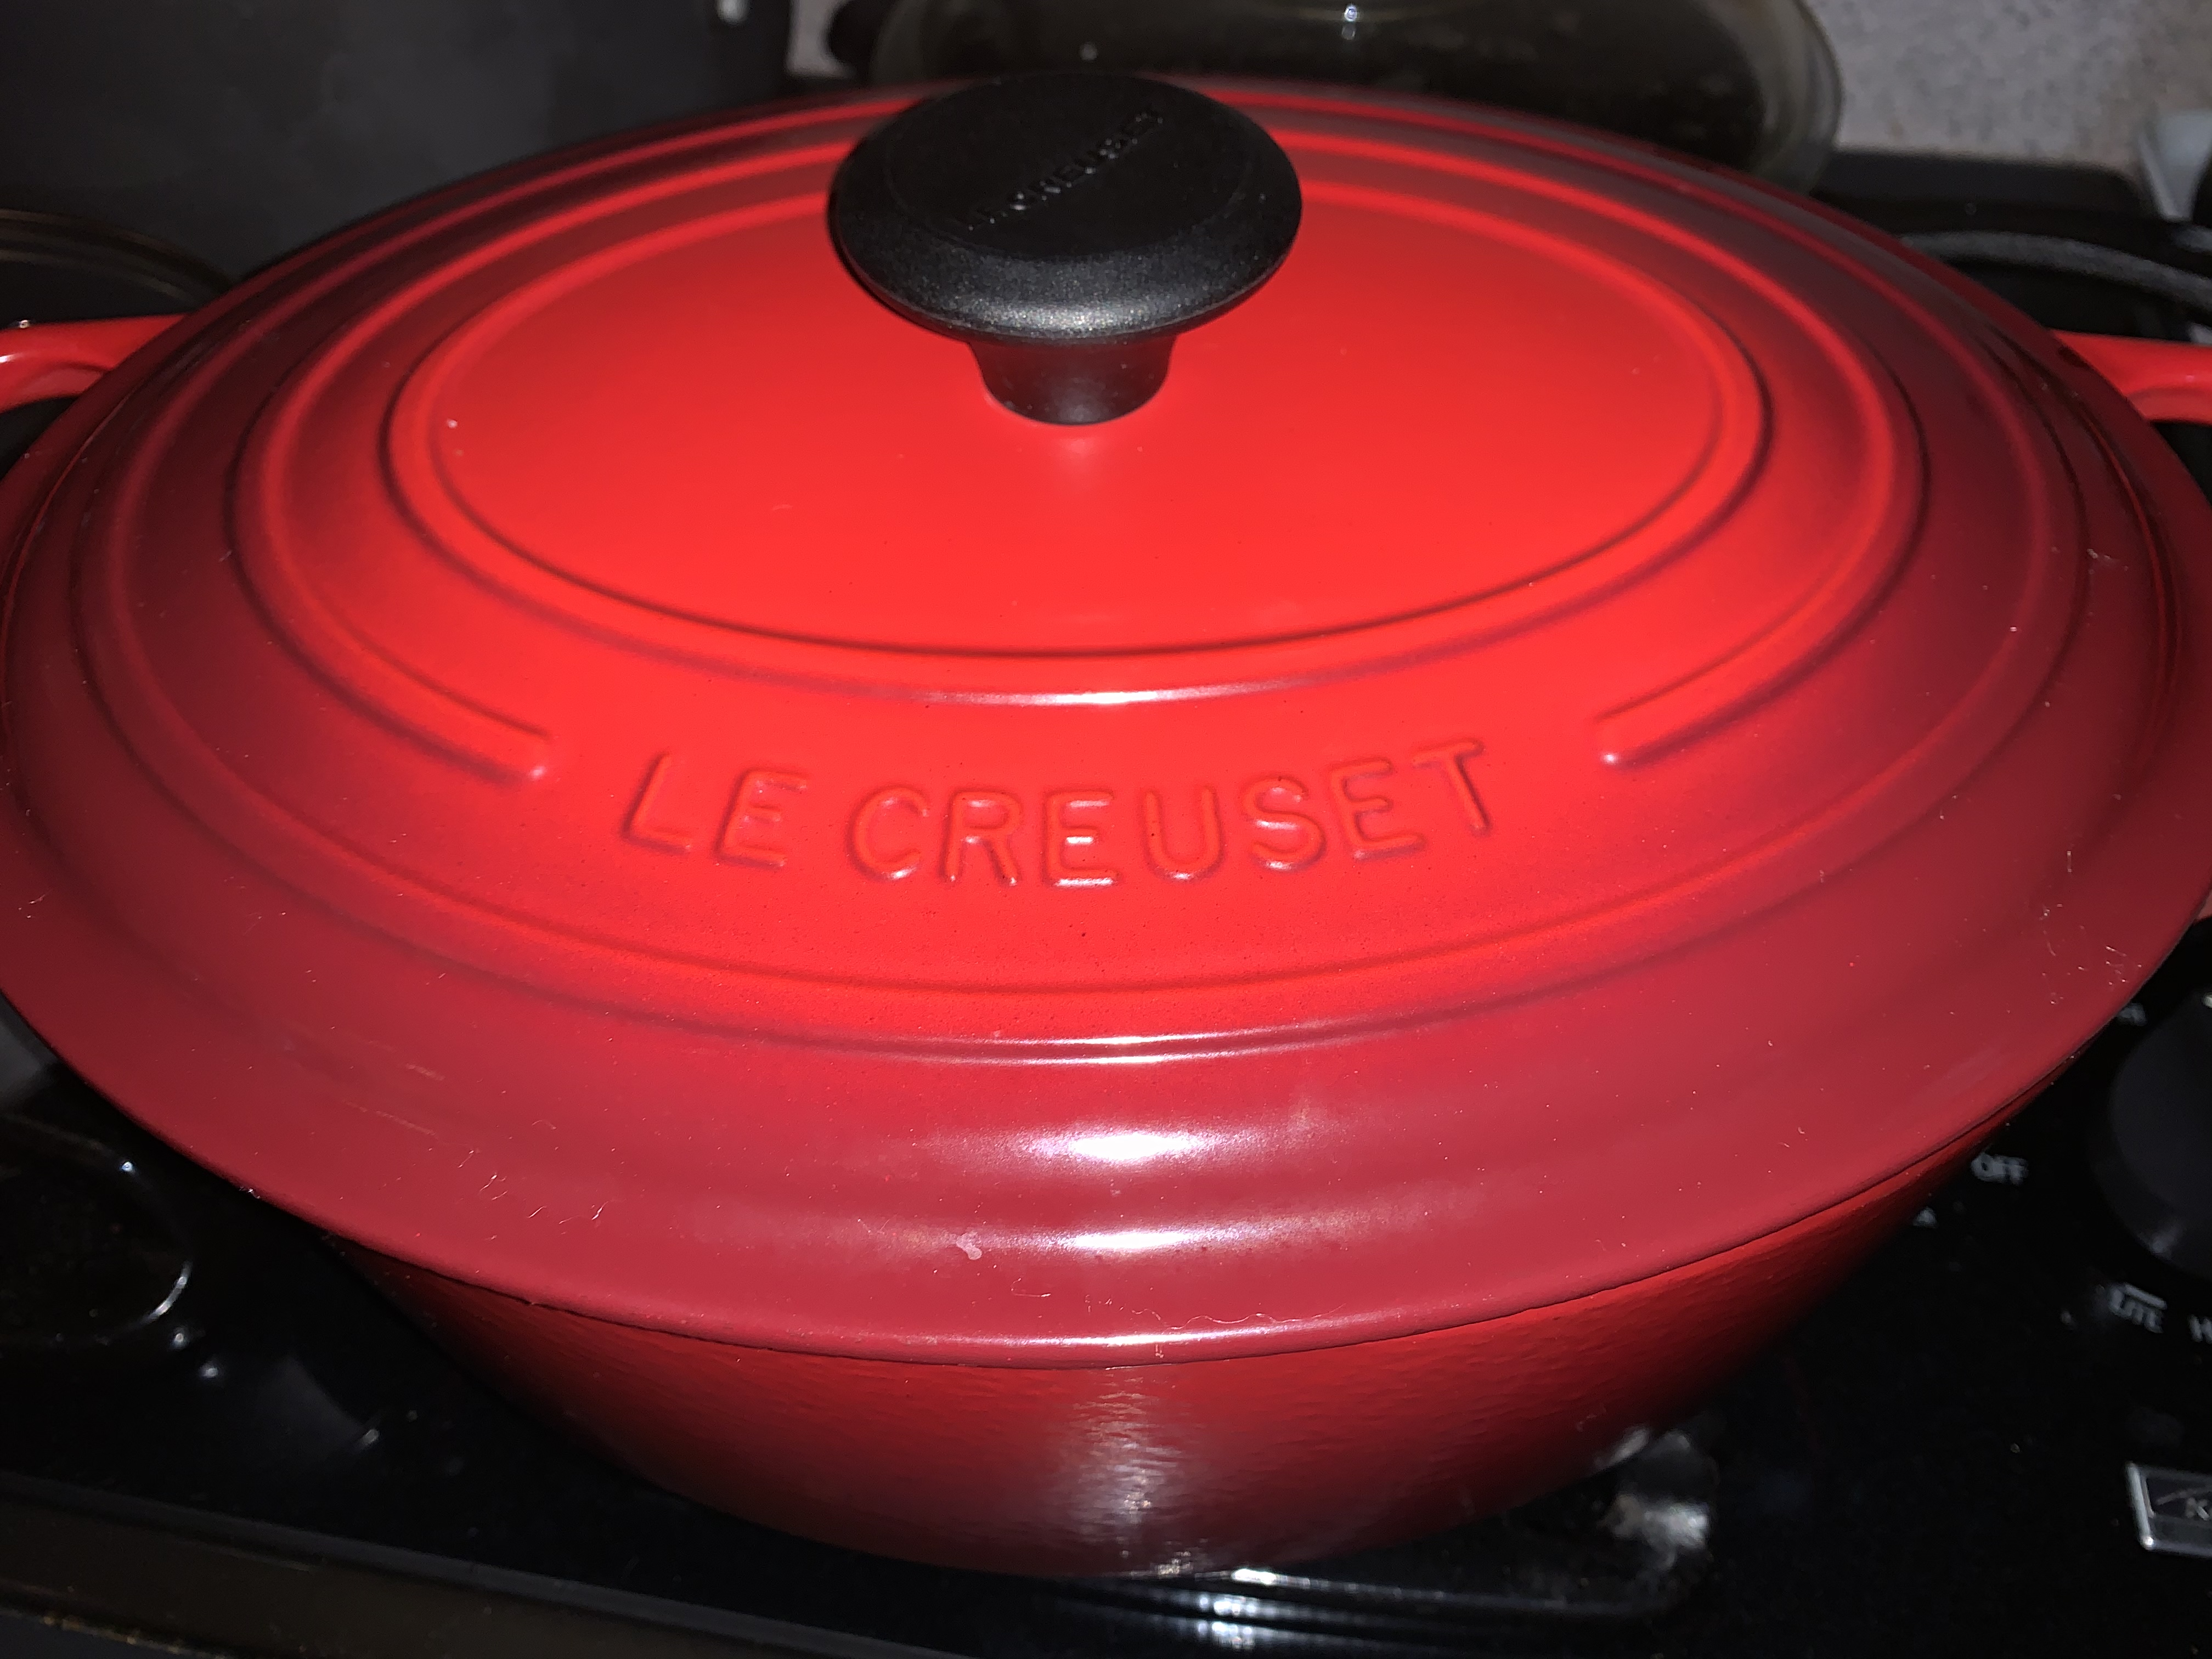
Once the potatoes were nearly done, they were drained and added back into the pot – along with the remaining ingredients. At this point, in order to keep the milk from scorching, you’ll want to ensure that you’re not on high heat and that you’re stirring constantly.

Once the stew has been brought up to a boil, without scorching your milk, you’ll want to turn the heat off, cover the pot and let it sit for about 30 minutes. This will finish cooking the potatoes and ensure that everything is perfectly warmed through.

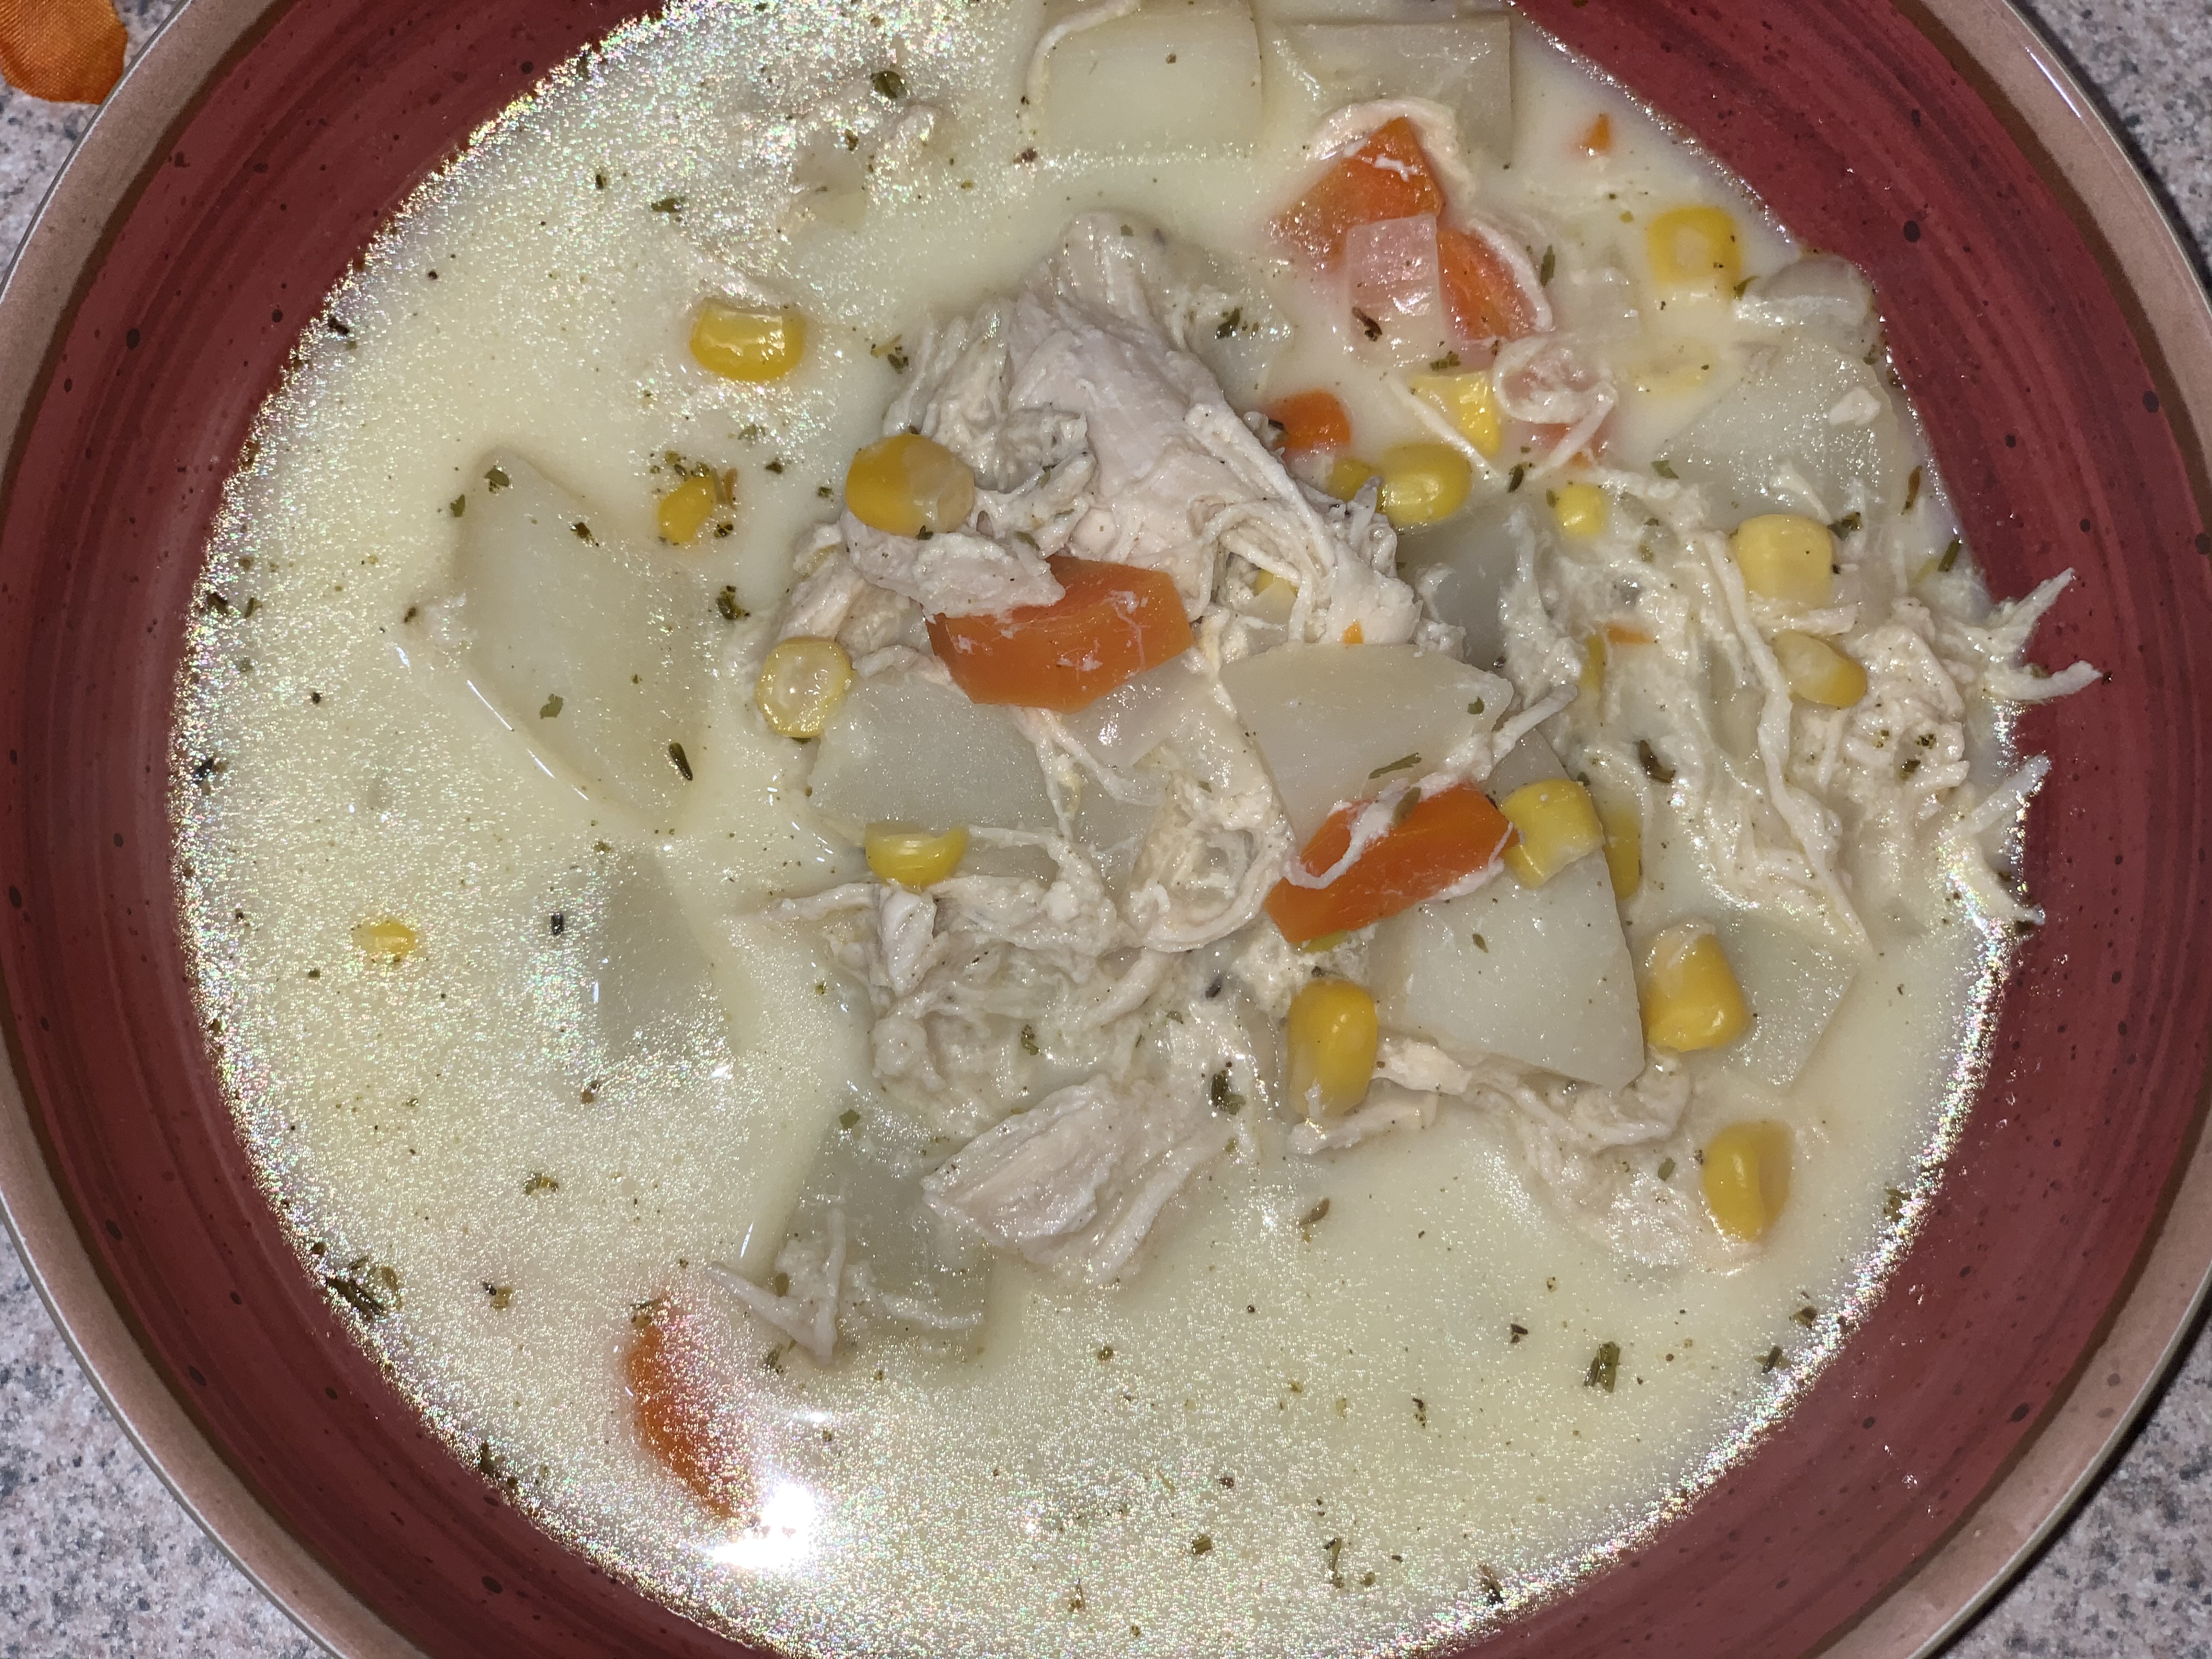
Serve with saltines or oyster crackers and a little hot sauce, if you like!

Homemade Salmon Stew

2 cans salmon (remove any bones and skin)
2 cans corn, drained
3-4 medium potatoes (Russet potatoes are best, as they are more startchy)
1 small onion, chopped
5 tbsp butter
3 tsp salt
1/2 tsp pepper
2/3 gallon of milk

  • Dice potatoes
  • Cut up onions
  • Boil potatoes until nearly done
  • Saute onions in 1 tbsp butter, set aside
  • Drain potatoes and return to pot
  • Add remaining ingredients to potatoes, bring to a boil – over medium heat – stir constantly so the milk doesn’t scorch
  • Turn off heat, cover and allow to sit for about 30 minutes

Smoked Sausage and Potato Hash

What do you do when you forget to put something in the refrigerator to thaw for dinner? Often times, for me, I look to make something using a rope of smoked sausage – such was the case this evening.

I like to have a rope of smoked sausage on hand for evenings just like this. I’ve used it to make a delicious sausage, broccoli and red pepper pasta using this sausage. I thought of doing another pasta, but decided that I’d do a potato hash, instead.

I started by dicing 5-6 red potatoes.

In addition to the potatoes, I sliced the sausage and 2 onions.

I sprayed the hot wok (I used my wok because it is big and cast iron) with avocado oil, and added in the onions and the seasonings. After cooking a few minutes, I also added in the garlic.

After the onions have started to soften, add in the potatoes and sausage – add one at a time, allowing each to get a little brown (if you use a hot cast iron skillet or wok, this will be easy!).

After the potatoes and sausage get a little brown, pour in the water – stir through and cover. Stir occasionally to keep the potatoes from sticking.

Once the potatoes have softened, you’re good to go!

Smoked Sausage and Potato Hash

1 rope of smoked sausage, sliced
5-6 red potatoes, diced
2 onions, sliced thin
1 tbsp minced garlic
1 tbsp Cavender’s Greek Seasoning
1 tsp dried parsley
1 tsp black pepper
1 tsp salt
1 cup water
Avocado oil spray

  • Dice potatoes
  • Slice smoked sausage
  • Slice onions
  • Add avocado oil to a large skillet or wok
  • Add in onions and seasonings and cook until the onions start to soften
  • Add in the garlic and cook for 3-5 min
  • Add in the potatoes and, finally, the sausage
  • After allowing the sausage and vegetables to get a little brown, add in the cup of water
  • Cover skillet and cook until potatoes are done (stir occasionally)

Creamy Chicken and Vegetable Stew

I love chicken stew. Here in the south, at least chicken stew I’ve had all my life, chicken stew is usually just chicken in a milk based broth with seasonings. And, is eaten with hot sauce and saltine crackers. I started to make that (and I will sometime, and will share it when I do!), but I decided I wanted some vegetables – so I came up with something a little different.

I started with shredded chicken. I realize I sound like a broken record, but I will say it again, for anyone that may have missed it – if you ever need shredded chicken, and you own an instant pot, use your instant pot – and cook your chicken (you can even do it from frozen, if you forgot to thaw it out), with some chicken stock – and then shred it with a hand held mixer. You can get more details here.

While my chicken was cooking, I prepped my vegetables. I used 7 potatoes, 4 carrots and 1 onion. I also added a can of whole kernel corn.

I love my Le Creuset and I use it several times a week. Tonight was no exception. It is, truly, one of my favorite things in my kitchen. I had wanted one for quite a while, but never could justify dropping that much money on one – but, I was given the opportunity to get one as my 20 year anniversary gift from the place I work. I didn’t know I would love it as much as I to – but, I digress… that that to say, I cooked the chicken stew in my Le Creuset. I have 6 3/4 oval Dutch oven, in Cerise.

I added the olive oil, onions and carrots and cooked until they started to soften.

I then added in the seasonings (when I can, I like to add seasonings, like thyme, before adding the liquids – I feel like it opens up the flavor more, if you do). and I just stirred it all through.

I then added in 1 cup of the chicken stock and made sure to pull up any of the brown bits from the bottom of the pot. Once that was done, I added in the potatoes, the corn, the chicken (including the stock from the instant pot), the remaining stock and the milk and brought the stew up to a boil. Then, reduced the heat, covered the pot and let it simmer for 45 minutes.

A couple tips:

  • Since the chicken is precooked, you can eat the stew as soon as your vegetables are soft, but the longer you let it simmer, the more the flavors will meld.
  • I didn’t have whole milk, but wanted a creamy soup – so I used some skim milk and some heavy cream. Feel free to adjust which milk to your taste. If I would have had whole milk, I would have just used all whole for the 5 cups the recipe calls for.
  • If you prefer a less ‘creamy’ stew (or just want to make it a little healthier), just adjust the broth to milk ratio, to your liking – but, we definitely prefer the chicken stew with more milk, than broth.
  • If you like a thicker stew, you can certainly add a slurry at the end to thicken.
  • Try it with some hot sauce – that’s how we like it! And, some saltine crackers if you have them – unfortunately, we didn’t tonight.

Chicken and Vegetable Stew

3 large chicken breasts, shredded (with stock from cooking)
4 carrots, chopped
6-8 potatoes, diced
1 onion, diced
1 can whole kernel corn, drained
3 cups chicken stock (one cup comes from cooking the chicken breasts – if you cook in instant pot, like I do)
5 cups milk
1 1/2 tsp salt
1 tsp parsley flakes
1 tsp poultry seasoning
1/2 tsp thyme
1 tsp olive oil

  • Cook chicken and shred
  • Prep vegetables
  • In large pot or dutch oven, add olive oil, onions and carrots and cook for 4-5 minutes
  • Add in seasonings and stir through
  • Add in chicken stock, pulling up any brown bits from the bottom of the pot
  • Add the potatoes, then the chicken (including stock from cooking)
  • Finally add in milk – and bring to a boil
  • Reduce heat, cover and simmer for 45 minutes (or until vegetables are tender)

Hearty Beef Stew

When it starts to get cooler, it’s really hard to beat a good stew. And, beef stew is one of our favorites. It’s warm, filling and feeds a lot – what’s not to love about it?! OH, and it is super easy to make!

I started by chopping my vegetables. Since it was going in a stew, I just rough chopped everything.

The cooking started with, as so many things that I love do, a little bit of olive oil, the onions I chopped and garlic. I cooked the onions and garlic until they started to get soft.

Then I added in the stew meat and browned it – adding in the seasonings, when it started to get browned.

Finally, I added in 4 cups – or one carton – of beef stock, the can of crushed tomatoes and the vegetables.

I let it come to a boil and then reduced the heat and covered the stew.

** Side note, the recipe is written up to indicate that you should, after lowering the heat cook it for about an hour (which is what I would normally do) – however, tonight, my daughter had volleyball and I was getting the dinner ready prior to leaving for the match, so I deviated slightly. I brought it up to a boil and then simmered for about 30 minutes or so. I had preheated my oven to 450 degrees. When I had to leave, I put the dutch oven (lid on) in the oven, turned off the oven and let it continue to cook in the oven. While this isn’t necessary for this recipe, and isn’t even how I would normally do it, I do mention it in case it is helpful to someone! The Le Creuset dutch oven is so well insulated, that this works perfectly – and kept the beef stew nice and warm for the time that we were away from the house. It was nice to be able to come home, only needing to thicken the stew before eating!

When we got home, I removed the dutch oven from the oven and returned it to the stove, as I wanted to add a quick slurry (just a couple tablespoons of corn starch mixed with about 1/2 cup or so of cold water) to the stew to thicken it a bit. To help it thicken, I brought it back up to a boil prior to adding in the slurry. Point of note – even after being in the oven, which wasn’t on – but, had been preheated to 450 degrees, for a couple hours – the stew was still pretty hot and was up to a boil in a matter of about 2 minutes.

We were hungry and we were cold – we enjoyed our beef stew about 10 – 15 minutes after adding the slurry! Super easy – super filling – super delicious – super perfect for this busy evening.

Hearty Beef Stew

2.5 – 3 lbs stew meat
5 carrots, chopped
1 onion, chopped
6-8 red potatoes, diced
1 large can (28 oz) crushed tomatoes
4 cups beef stock
1 tbsp minced garlic
1 tbsp olive oil
1 tbsp Italian seasoning
3/4 tbsp salt
1/2 tbsp pepper
1 tbsp Umami seasoning

  • Chop vegetables
  • In a large dutch oven, add olive oil and then onions and garlic, cook until soft
  • Add in stew meat and brown, add in seasonings
  • Add in tomatoes and beef stock, bring to a boil – then reduce to a simmer, cover and cook for approximately 1 hour (timing may vary depending on the size you cut your veggies)
  • Just before serving, bring back up to a boil – and add in a slurry of cold water and corn starch to thicken

Weekday Chicken Pot Pie

As I didn’t make a homemade crust, I guess this is a cheater chicken pot pie – or, I like Weekday Chicken Pot Pie better, since using a prepared pie crust makes it super easy!

While I didn’t make a homemade pie crust, I did use fresh veggies – carrots, celery, onion and potatoes to be exact. All chopped similar size. I also cooked 2 large chicken breasts, in my instant pot, and shredded them. To make this recipe even easier – you could use frozen veggies and rotisserie chicken!

In a pan, with some butter, I softened the onions – then added the remaining vegetables and seasonings, to cook a bit on the stove.

After cooking for 5-10 minutes, I added in some flour (which will help to thicken the filling as it cooks). I stirred the mixture well, allowing the flour to get well distributed in the pan. Finally, I added in chicken (along with the stock from when I cooked it and shredded it in the instant pot – you can see how I do this, on this post. I will never do shredded chicken any way but this way, ever again! It is so easy and I can start with frozen chicken!!) – and mixed through.

I added in the additional stock and the milk, and mixed well. I allowed the filling to cook until it was the thickness I like for my chicken pot pie.

While the filling was thickening, I prepared my casserole by adding one of the pie crusts to the bottom. I, ultimately, needed to cut a bit off of the other pie crust to ensure that the full casserole was covered.

Once the filling was the appropriate thickness, I removed it from the stove and spooned it into the casserole dish.

Finally, I topped the mixture with the remaining pie crust. I cut a few vents and crimped the edges to create a good seal.

The pot pie is baked for a little more than hour in a 400 degree oven. After 40 minutes, I did end up putting a little bit of melted butter on top – cooking for 10 more minutes, uncovered. Then, for the remaining time, I covered it with tin foil (to avoid too much browning of the crust).

After removing from the oven, I allowed it to sit for about 10 minutes and it was ready to go! Fairly quick, super easy, very delicious Weekday Chicken Pot Pie!

Weekday Chicken Pot Pie

1 box refrigerated pie crusts (for top and bottom) – or make your own pie crust
2 chicken breasts, shredded (reserve stock from cooking)
2 1/2 carrots, chopped
1 stalk celery, chopped
2 potatoes, chopped
1 onion, chopped
2 tbsp butter
1/4 flour
1/2 cup milk (I used 1/4 cup skim and 1/4 cup heavy cream)
1/2 cup chicken stock (in addition to the stock from when you cooked chicken)
2 tsp salt
1 tsp pepper
1 tbsp Umami seasoning

  • Cook and shred chicken breasts, set aside
  • Chop vegetables to similar size
  • In large skillet, melt butter and add onions and cook 2-3 minutes
  • Add in remaining vegetables, along with seasonings and cook until they start to soften (probably 5-10 minutes)
  • Add in flour and mix well
  • Add chicken (with stock from cooking chicken) into pan
  • Add in additonal stock and stir well
  • Add in milk and allow filling to thicken, slightly
  • Once filling is desired thickness, add into a casserole dish, which has been lined with one of the pie crusts
  • Top with remaining pie crust
  • Vent top of crust and cook for 1 hour (you may want to top with foil after 40 minutes or so, so your crust doesn’t get too brown) @ 400 degrees.