Easy Chicken and Rice Casserole

I was looking for something easy to make tonight – and I knew I wanted to use chicken. So, I decided to make an easy chicken and rice casserole – that I could just throw together, put in the oven and forget about it (for the most part). Is it just me or should a casserole be comfort food? Maybe it is because I love casseroles, but I tend to associate them with comfort food. After a night of not sleeping well, and feeling poorly as a result of that, comfort food sounded just like what I needed.

Comfort food, at least in my house, tends to be creamy! And, what could make a casserole more creamy than Campbell’s ‘cream of whatever’ soup? For this recipe, I decided to use a cream of chicken and a cream of celery. To that, I added some celery, carrots and onion – to go with the rice and chicken.

As far as seasonings, I used salt, pepper, garlic powder, paprika and umami seasoning.

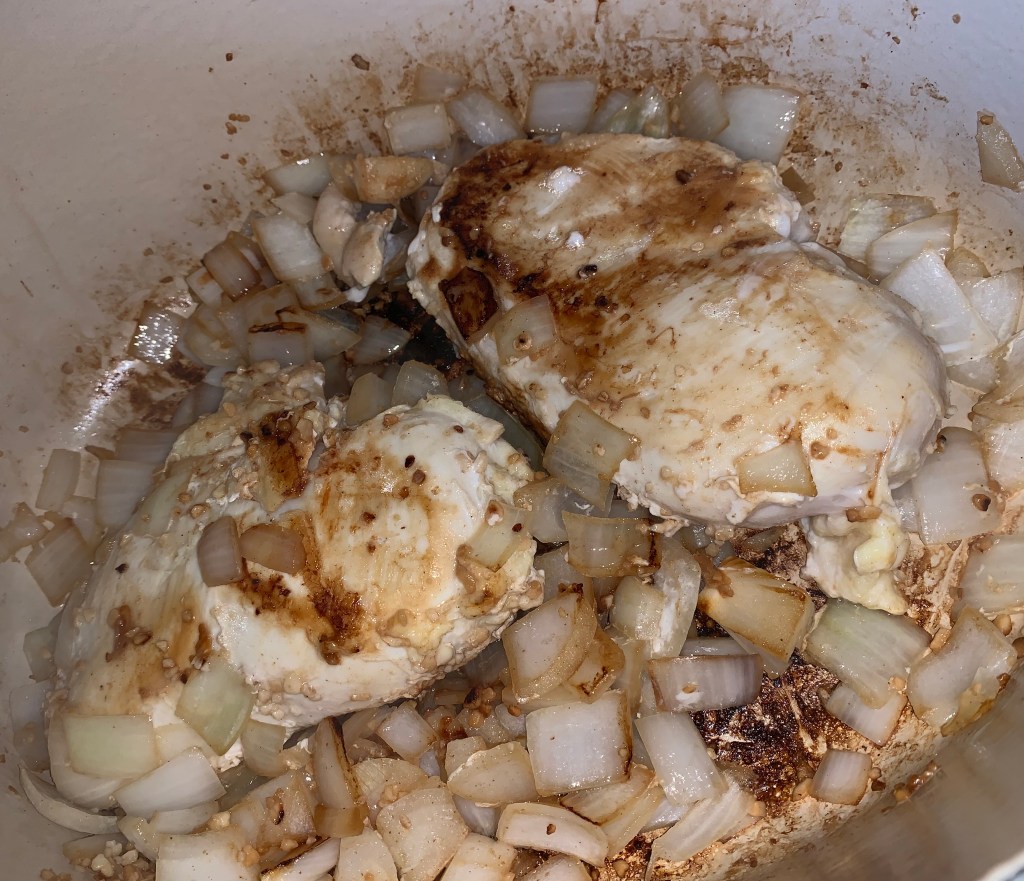
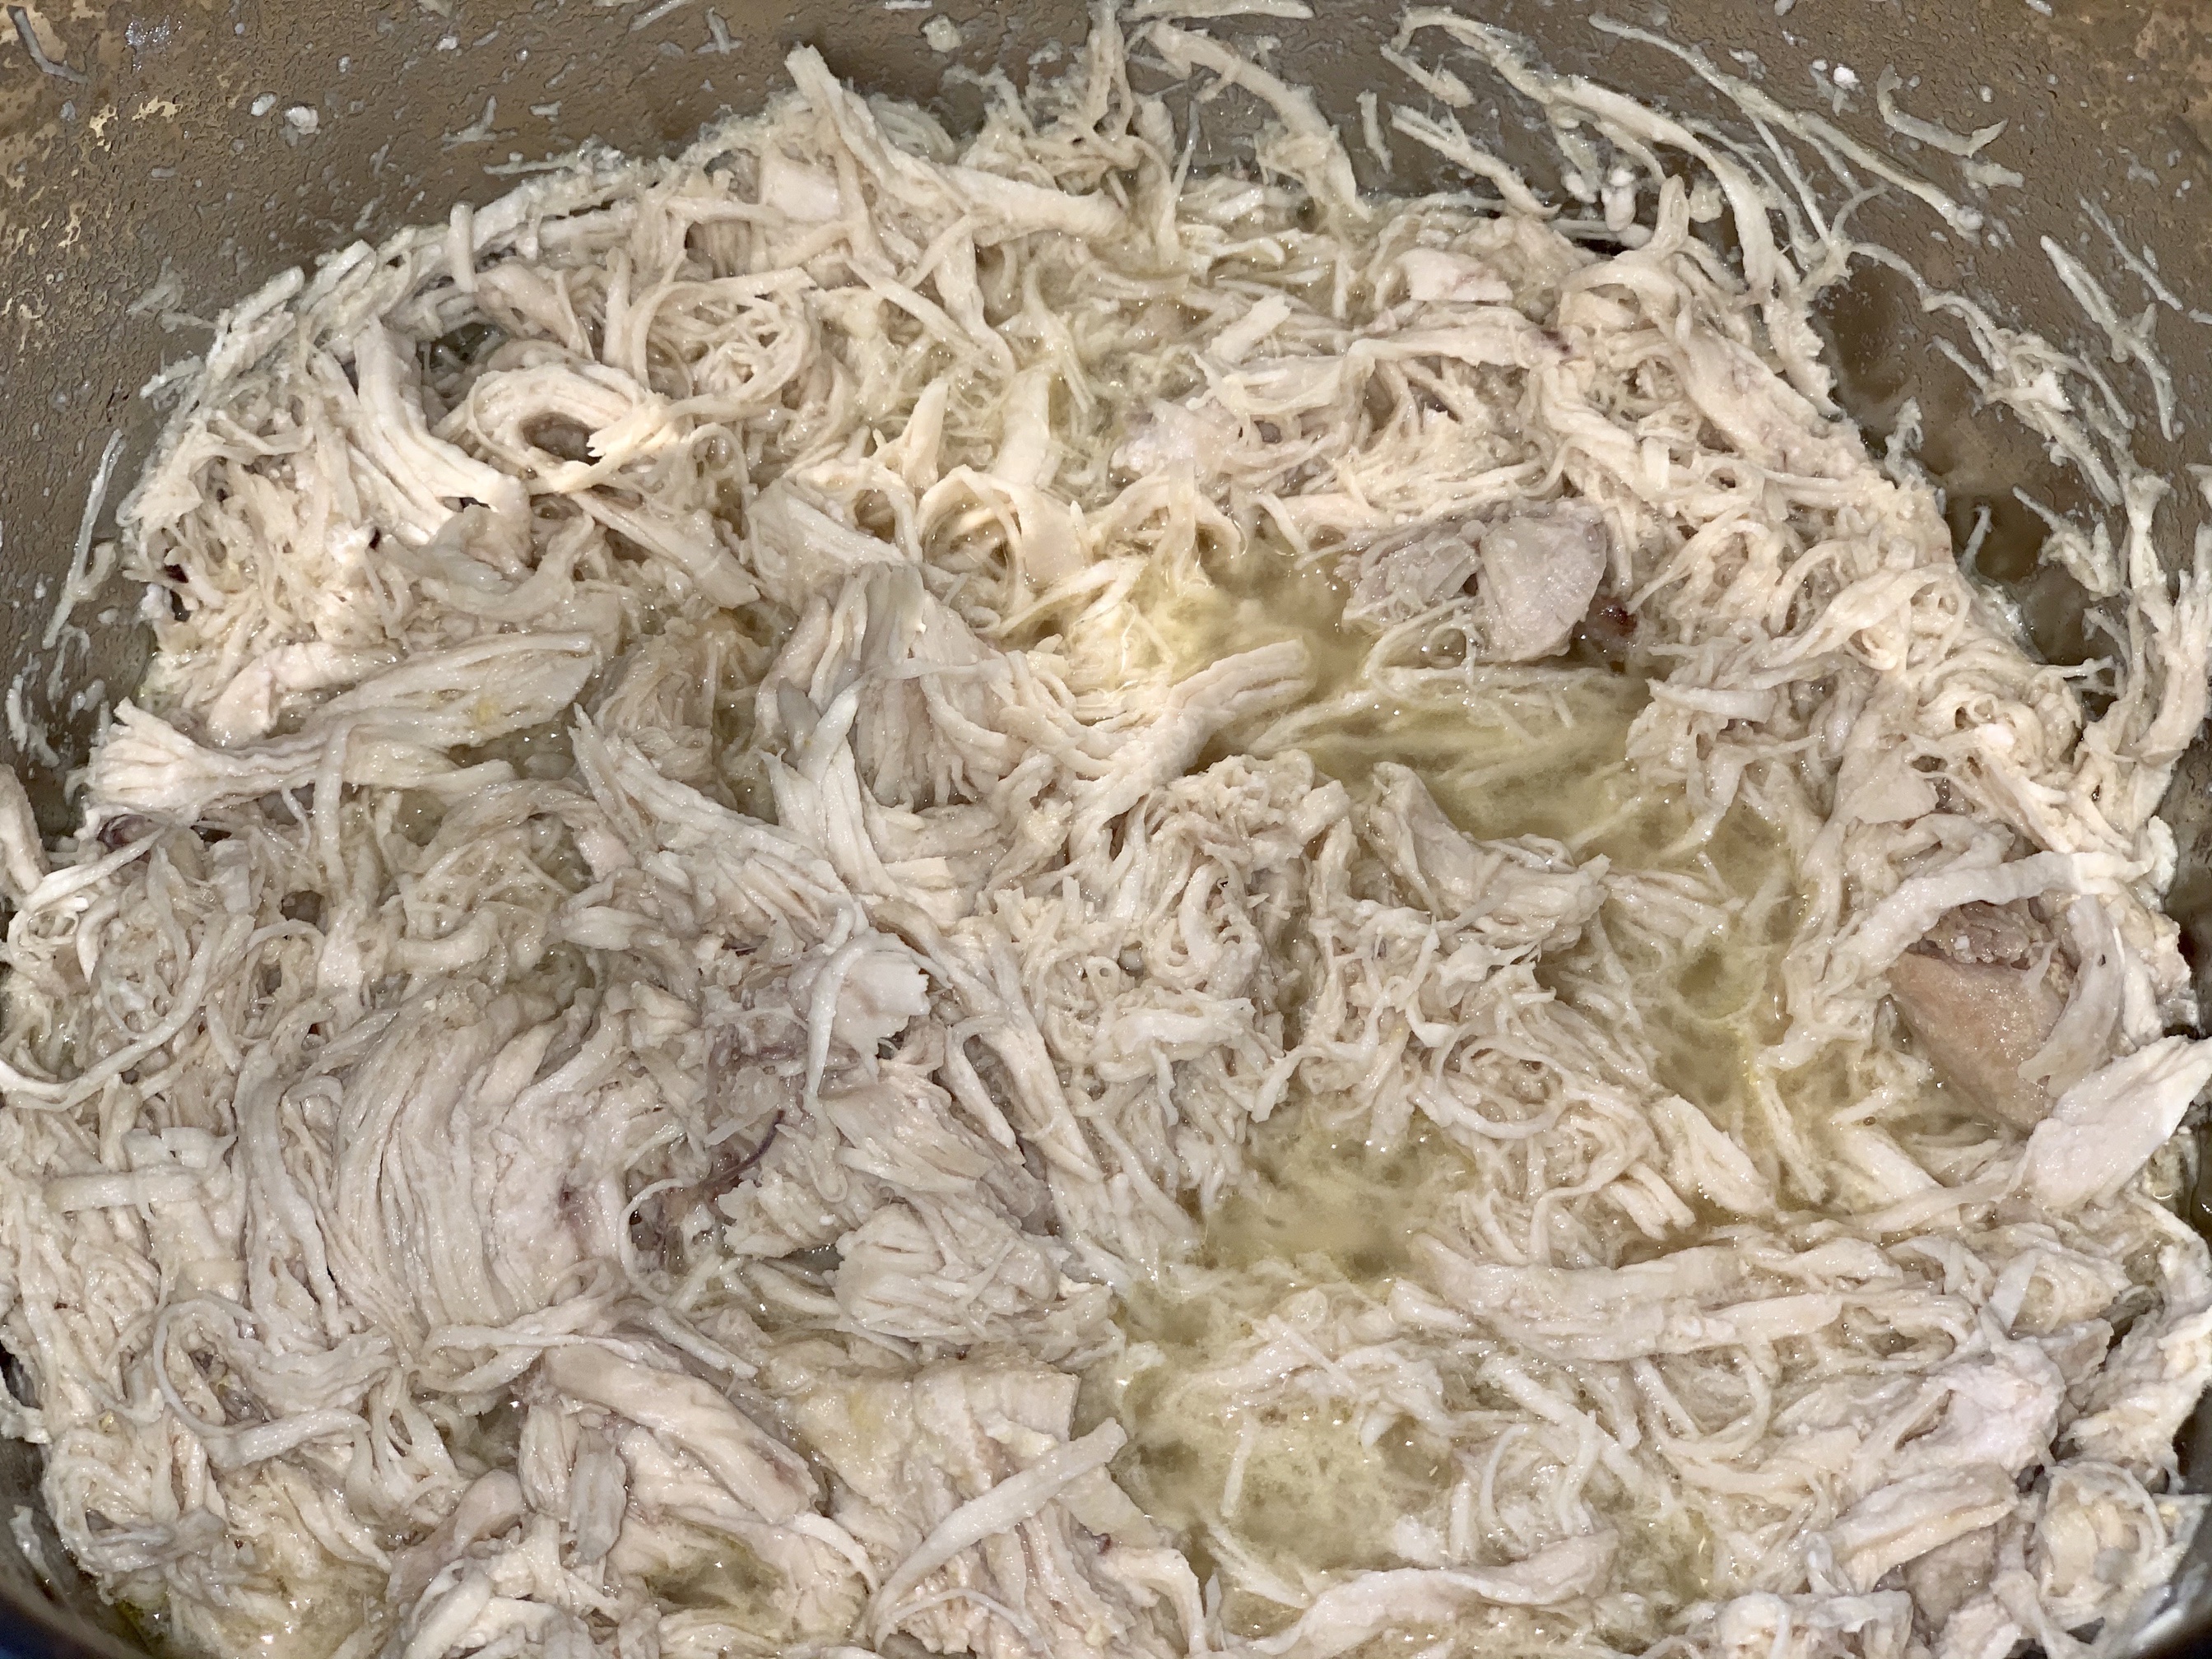
For the chicken, I used my instant pot to cook it (in 1 cup of stock, which I also added to the casserole). I cooked 2 very large chicken breasts, from frozen in 20 minutes – and used my hand mixer to shred it. I’ve blogged about this before – and, I still stand by the fact that I’ll never do shredded chicken any other way!

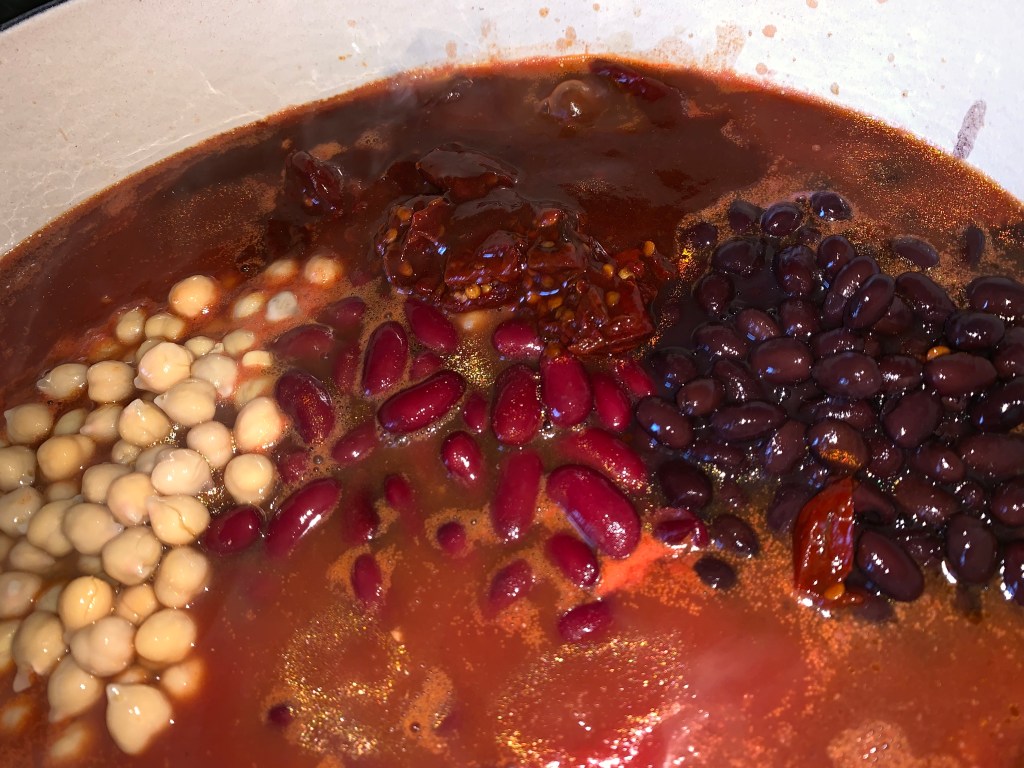
I chose to make the casserole in my large dutch oven. Once all the vegetables were chopped and the chicken was shredded, I just dumped everything into the dutch oven.

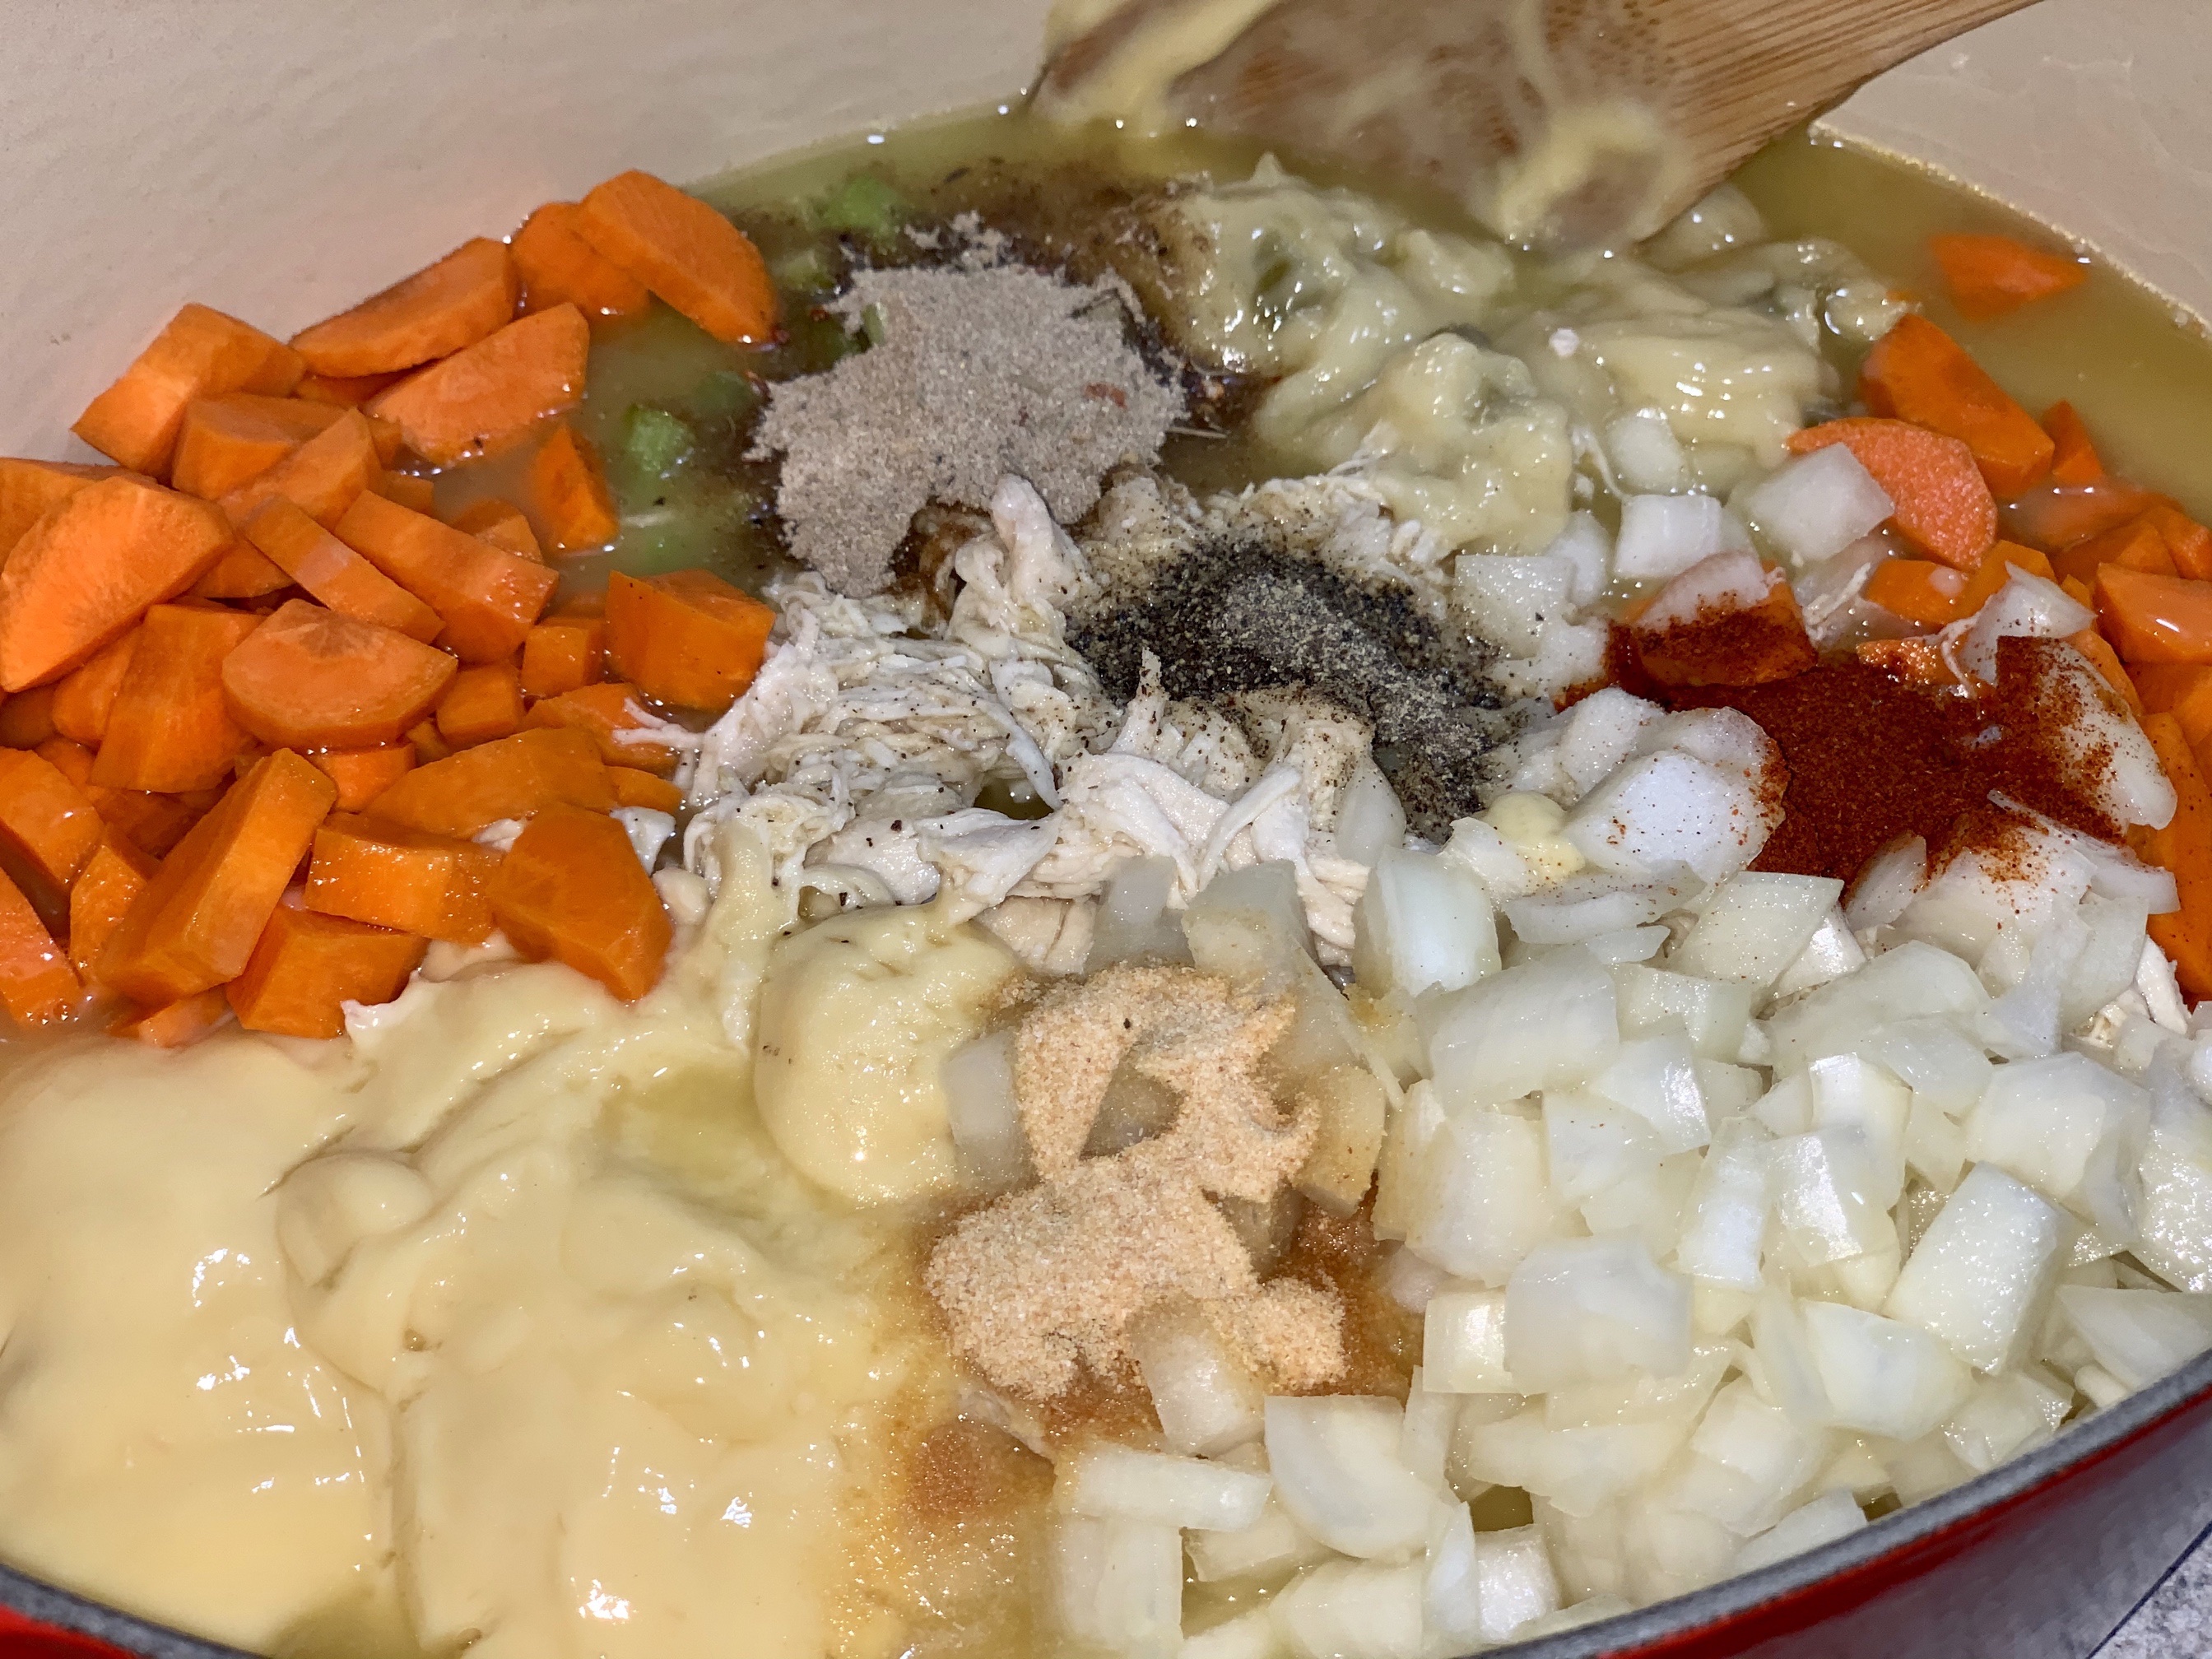
And stirred… Yes, it is really that simple! Dump the ingredients and stir!

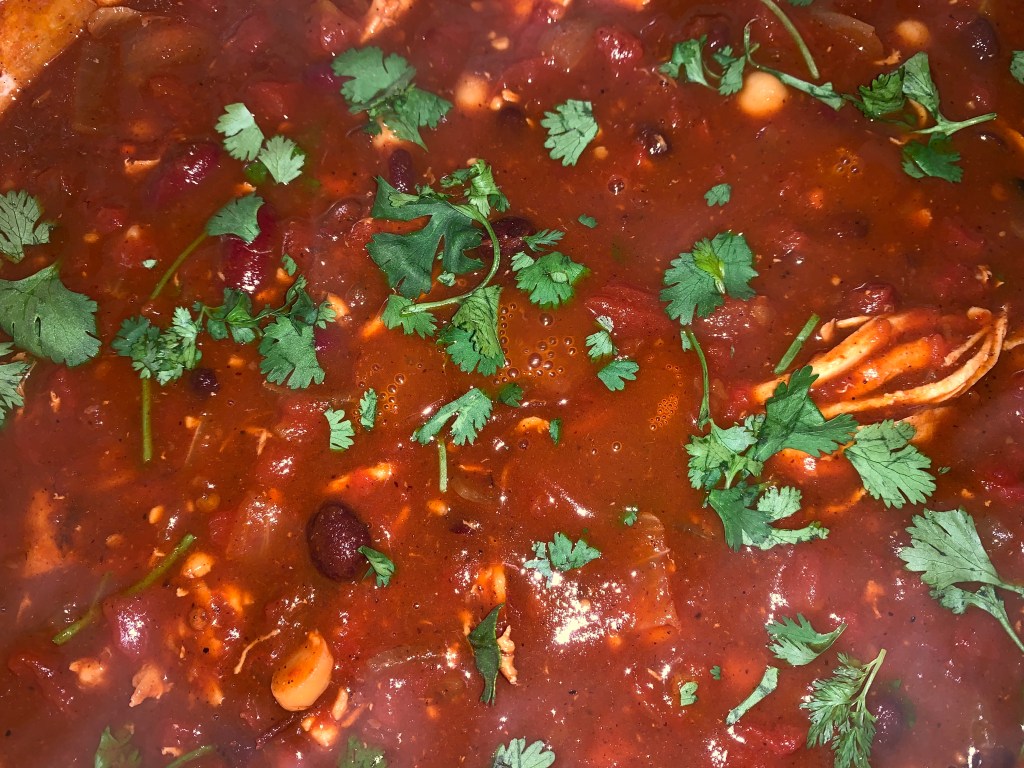
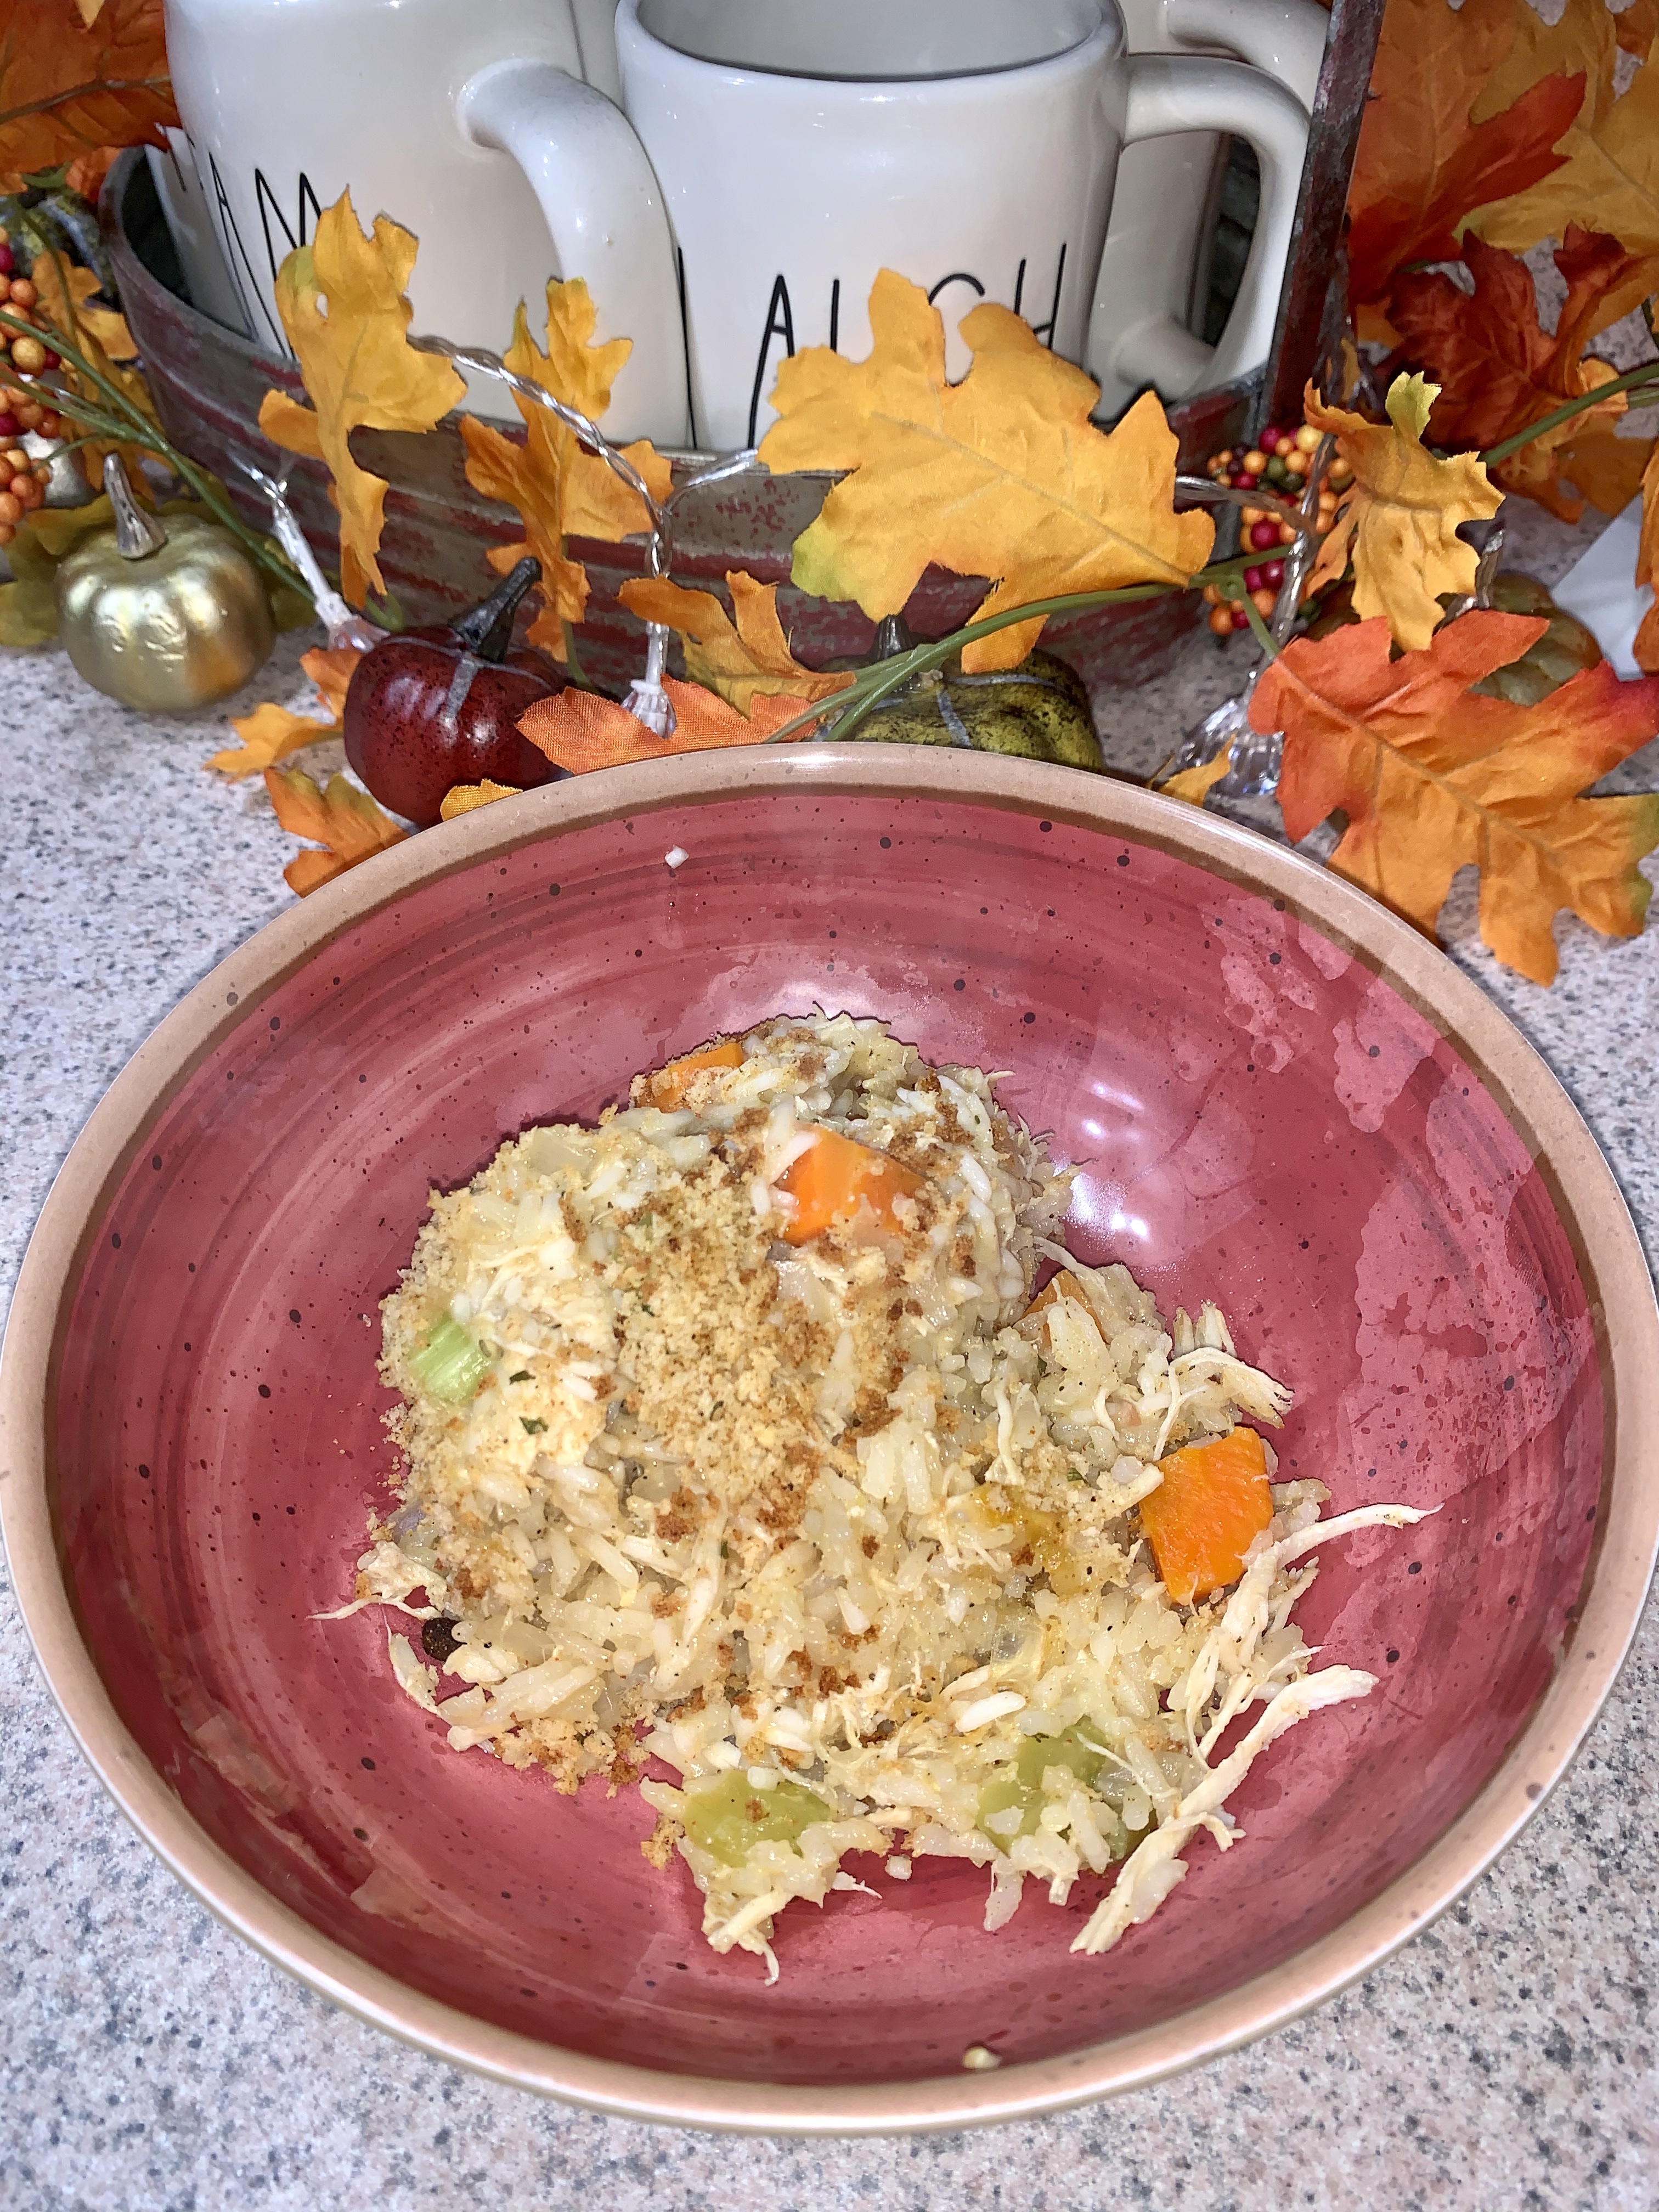
I then put the lid on, and put the dutch oven in a 400 degree oven for 45 minutes. After 45 minutes, I removed it from the oven, uncovered, topped with bread crumbs. You don’t want to add the bread crumbs until some of the liquid from the casserole have been absorbed – otherwise, it will just get mushy, instead of adding a little crispiness to the top of the casserole.

And back into the oven it went, uncovered – for another 20 minutes.

There are vegetables in the casserole, but if you want – you can serve alongside another vegetable or side. I had some field peas with mine.

Easy Chicken and Rice Casserole

2 – 3 large chicken breasts, cooked and shredded (along with stock from cooking the chicken breasts)
2 1/2 cups rice
1 can cream of chicken soup
1 can cream of celery (or mushroom) soup
2 1/2 ‘cans’ (using soup can to measure) chicken stock
1 stalk celery, chopped
2 carrots, chopped
1 onion, diced
1 tsp salt
1 tsp garlic powder
1/2 tsp pepper
3/4 tsp paprika
2 tsp Umami seasoning
2/3 cup panko bread crumbs

  • In a large dutch oven, mix all ingredients (yes, it is really that easy – dump it all in!)
  • Cover dutch oven and cook for 45 minutes, at 400 degrees
  • Uncover – top with Panko bread crumbs – and bake for another 20 minutes, uncovered

Sweet Potato Hash and Eggs

I really love sweet potatoes, but don’t eat them nearly as much as I’d like. I planned to remedy that, Sunday morning, when I decided to have some for breakfast/brunch.

I decided to do a quick sweet potato hash, using sweet potatoes, bacon, onion and maple syrup.

I started by dicing the sweet potatoes and onions (make sure your sweet potatoes aren’t too big, or it will take too long to cook them!). You can peel the sweet potatoes if you want, but I didn’t – there are so many nutrients in the peel! I also cut up 4 slices of thick cut bacon.

I cooked the bacon first. After it was done, I removed it from the pan as I didn’t want it to get too crisp.

Then I added the onions and sweet potatoes (sprinkled with a pinch of salt and pepper) and allowed them to cook, until the sweet potatoes were softened (this took around 10 minutes, given the size I cut my potatoes).

I added the bacon back in and added in 1 tbsp of pure maple syrup. I used Anderson’s, but any would do. Unless you really don’t like maple syrup – don’t skip this part, it makes it perfect!

I turned off the burner, covered the pan and let it sit while I cooked my fried egg. Just do your egg however you would normally fry an egg (or eat with scrambled eggs – or just make the hash as a side dish!).

Finally, dish up the hash and top with your egg. Delicious!!

I like the egg to be a little runny – it makes this dish perfect, for my tastes!

Sweet Potato Hash (2 servings)

2 medium sweet potatoes, diced (I didn’t peel the potatoes – just washed them really well)
1 onion, diced finely
4 slices of thick bacon, cut into pieces
salt / pepper to taste
1 tbsp pure maple syrup

  • Prep the vegetables and set aside
  • Cut the bacon and then cook in a hot skillet – once done, remove
  • Add in onions and potatoes
  • Salt / Pepper to taste
  • Allow the vegetables to sit for a bit, to get some color – then stir around in pan and allow them to finish cooking (about 10 minutes)
  • Add the bacon back in and mix
  • Finish with 1 tbsp maple syrup

If desired, top with a fried egg – or serve the sweet potato hash as a side dish!

Breakfast Egg Muffins

Please don’t judge my janky muffin tin – I need new ones – one day!

My youngest, in the infinite wisdom that only a 16 year old possesses, told me one morning this week that I need to get up every morning and cook her a meal. No, the granola bar was not sufficient. No, a piece of toast would not do. She needed a meal with eggs and meat! As a mother that, also, works full time – there is no way I’m getting up Monday – Friday and making a full on breakfast – nope, nada, not going to happen.

What I will do, though, is make something that would ‘keep’ in the fridge or in the freezer that my little 16 year old princess can easily pop in the microwave on her way out the door – Breakfast Egg Muffins it is!

I decided to do eggs, sausage, cheese, onions and tomatoes – all things that my family loves.

Originally, I was going to make them in silicon muffin cups (spoiler alert – I still wish I had! More on that later), but decided to use paper cups instead (what – with my loathing of doing dishes, I felt sure that this was the right decision – see spoiler alert above, one of the few times – HA! – that I was wrong). At the end, I’ll give some ‘lessons learned’ and ‘what I’ll do next time’ commentary!

As I chose to use Jimmy Dean breakfast sausage, I cooked up half the chub on the stove and set it aside to cool a bit.

I just whisked my eggs and poured into the muffin cups and I was ready to complete building the muffins! I suppose you could just whisk it all together and pour it in, but I chose to add the other ingredients into the egg muffins, one at a time (who knows why – don’t try to figure me out, I’ve lived with me for 46 years and even I don’t understand me) – just do it how you want to.

After all ingredients were added, I sprinkled on some pepper and they were ready for the oven!

45 minutes later – and I have breakfast for the next several days! I just portioned them out into sandwich baggies (after they had cooled) and threw them into the fridge for when they are needed.

Lessons Learned:

  • Paper muffin cups don’t work great with egg muffins (they stick), so either use the silicon muffin cups or well greased muffin pan – will definitely do this differently next time
  • It might be quicker to just mix everything together and add it into the muffin cups (rather than doing each ingredient individually) – but you do have more control over the amount of ingredients in each muffin – will probably still do it individually next time

Breakfast Egg Muffins

8 eggs
3/4 cups cheese (I used mozarrella)
1/2 chub of Jimmy Dean breakfast sausage, cooked
Cherry tomatoes (I used 3 halves per muffin)
salt / pepper

  • Cook sausage in pan and set aside to cool
  • Whisk eggs in bow (add salt to taste)
  • Add eggs to each muffin cup (filling about 1/2-3/4 way – this will depend on how much of the other stuff you add to each muffin, you just don’t want it to overflow)
  • Add ingredients into each muffin cup
  • Cook in preheated 375 degree oven for approx 45 minutes (my oven tends to take a little longer, so give them a check around 35 minutes to be sure not to overcook them)

Easy Red Chicken Chili

WHAT?! It is Sunday and I’m not making pasta? What in the world is happening here?? Oh, well… chicken chili it is!

This recipe is very easy to throw together and you likely have all of the ingredients on hand. I had 2 chicken breasts (3 may have been better – but, you work with what you have!) that I had defrosted in the refrigerator (thinking that I’d be making pasta – best laid plans, I guess!). Cans of beans and tomatoes in the pantry and some fresh cilantro and Colby & Monterrey Jack cheese. Chicken chili sounded good!

The chicken breasts were separated from a family pack, into a separate freezer bag (it’s cheaper to buy the family pack and repackage to amounts you’d use!). I’ve, since, bought a very inexpensive vacuum sealer that I’m using – if you’re interested in which one I got – let me know, I can do a review on here!!

As all good recipes do, this one started with me chopping up some onion…

Rather than cube the chicken, I decided to cook it whole and then shred it. Given that direction, I sprayed the dutch oven (have I mentioned how much I LOVE my Le Creuset dutch oven? I’m not a fancy person, at all, but was given this as a 20 year anniversary gift from the company I work for – and I, absolutely, adore it!!) with some olive oil – added in the onion and garlic (medium to high heat), cooking until the onions were mostly translucent. Then I added the chicken breasts, browning both sides to lock in the moisture.

While the chicken was browning, I opened the can of chipotle peppers and rough chopped them (my daughters probably wouldn’t be excited to get a mouth full of a chipotle pepper, so chopping makes sense). I did not throw out the adobo sauce, as it really adds to the chili, so hold onto it!!

After the chicken is browned and the chipotle peppers are chopped, it was time to start adding everything to the pot – tomatoes, beans, peppers – all straight into the pot. Also, add the chili seasoning at this time (and any salt and pepper you may want). I allowed the pot to come to an initial boil, then reduced the heat – covered and set a timer. You’ll want to let it simmer for 45 minutes to an hour (longer is better, in my opinion).

Once the timer goes off – remove the chicken breasts from the pot and shred.

Then return to the pot, add some cilantro, cover and simmer for another 30 minutes!

I decided to top mine with some grated Colby & Monterrey Jack cheese (fresh grated is best!) and cilantro – perfection!

Easy Red Chicken Chili

2-3 chicken breasts
1 tsp cumin
1 large onion, rough chopped
2 tbsp garlic, minced
1 small can Rotel tomatoes and chilis
1 large can petite diced tomatoes
1 large can crushed tomatoes
1 can garbanzo beans
1 can dark red kidney beans
1 can black beans
1 small can chipotle peppers in adobo sauce (chop peppers, reserve sauce)
1 packet of McCormicks chili seasoning mix
avocado spray
salt / pepper to taste
Cilantro and cheese to garnish (I also add some cilantro to the pot of chili at the end of cooking)

  • Rough chop the onion
  • Spray pan with avocado oil and add onion, garlic and cumin. Cook until onions are translucent.
  • Add whole chicken breasts – cook until browned on both sides (locks in the moisture!)
  • Add all tomoatoes, beans and (chopped) chipotle pepper (with sauce) to pot.
  • Stir through to combine all ingredients
  • Add seasoning mix, salt and pepper – stir and bring to boil.
  • Reduce heat, cover and simmer for 45 min – 1 hour.
  • Remove chicken breasts from pot, shred and return to pot.
  • Add cilantro, stir and serve.
  • Top with more cilantro and cheese for garnish (** would also be good topped with sour cream, jalapenos, corn chips, etc.)