Mexican Casserole (Taco bake?! What should I call this, really?)

This dish was a huge hit! It will definitely go into our regular rotation.

It really started as a result of having lean ground beef in the refrigerator and a package of corn tortillas, which I accidentally bought (thinking I grabbed flour). What a happy, happy surprise! It was loved by all!!

As already noted, it has lean ground beef, corn tortillas, black beans (which I always have on hand!), corn and tomatoes (and the requisite onions and garlic). Luckily, I had a packet of taco seasoning in the pantry (otherwise, you could certainly use chili powder, garlic powder, onion powder, paprika, cumin, salt and pepper that you have on hand – or whatever combination of those spices you like!).

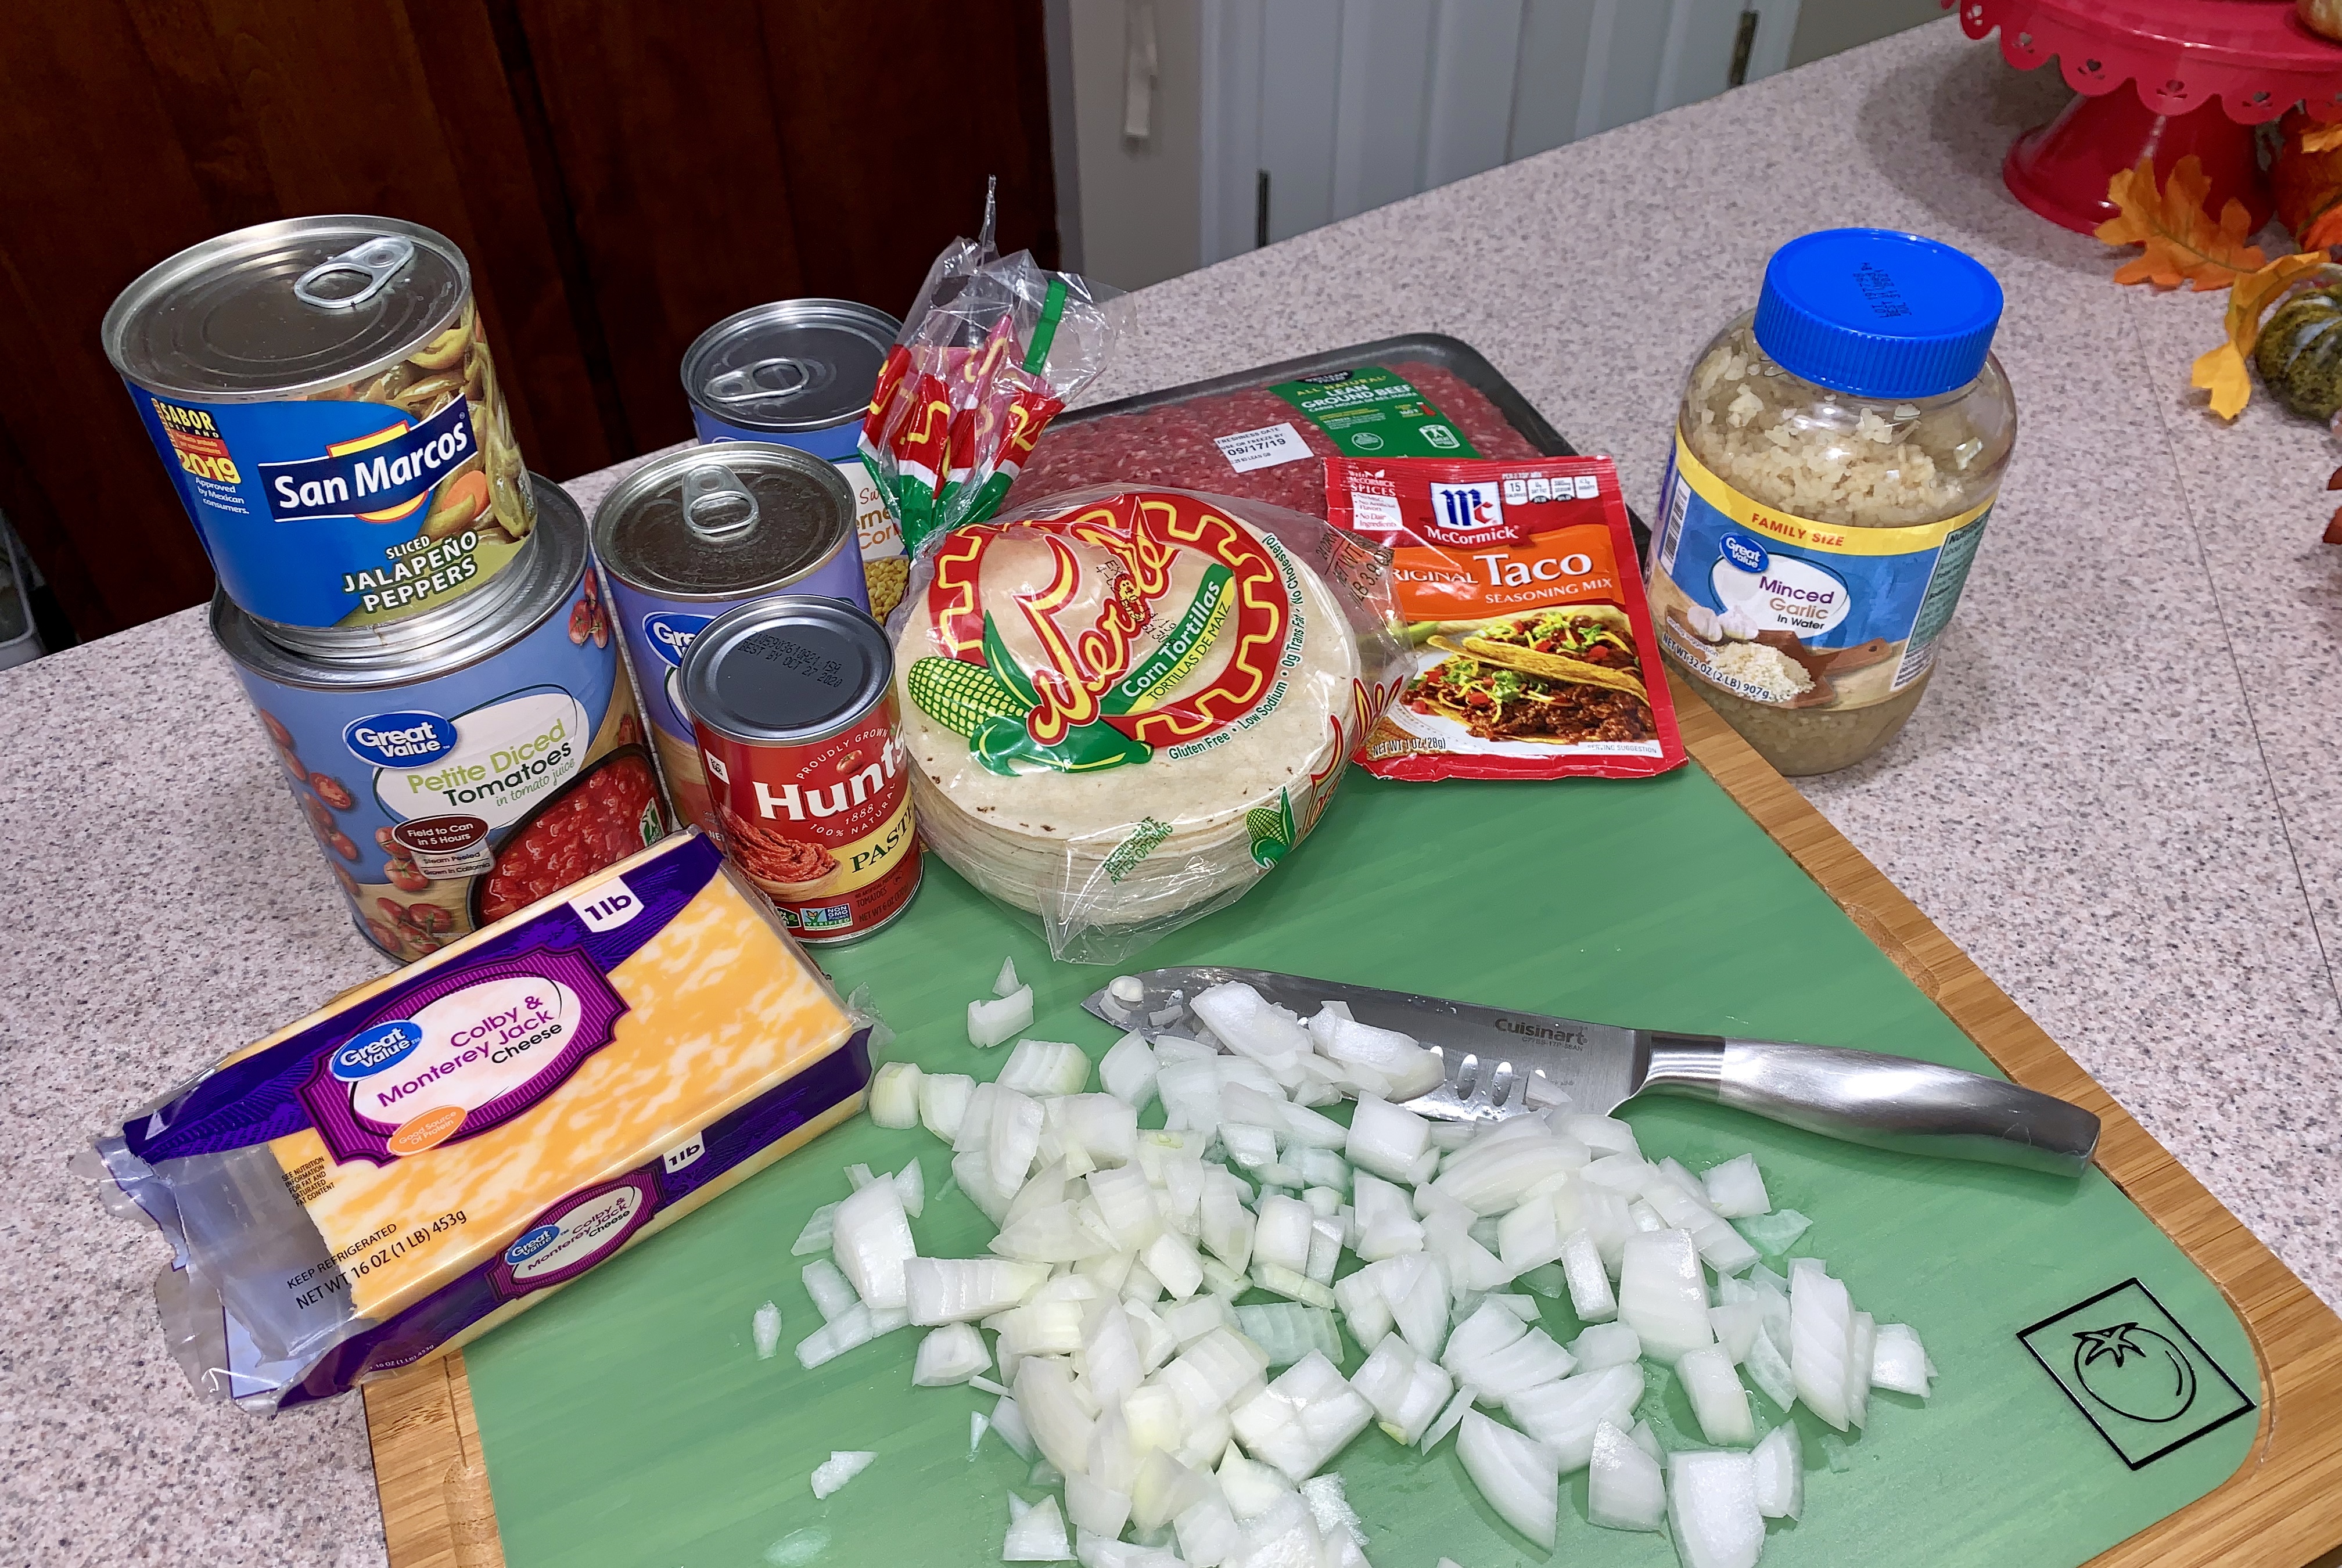
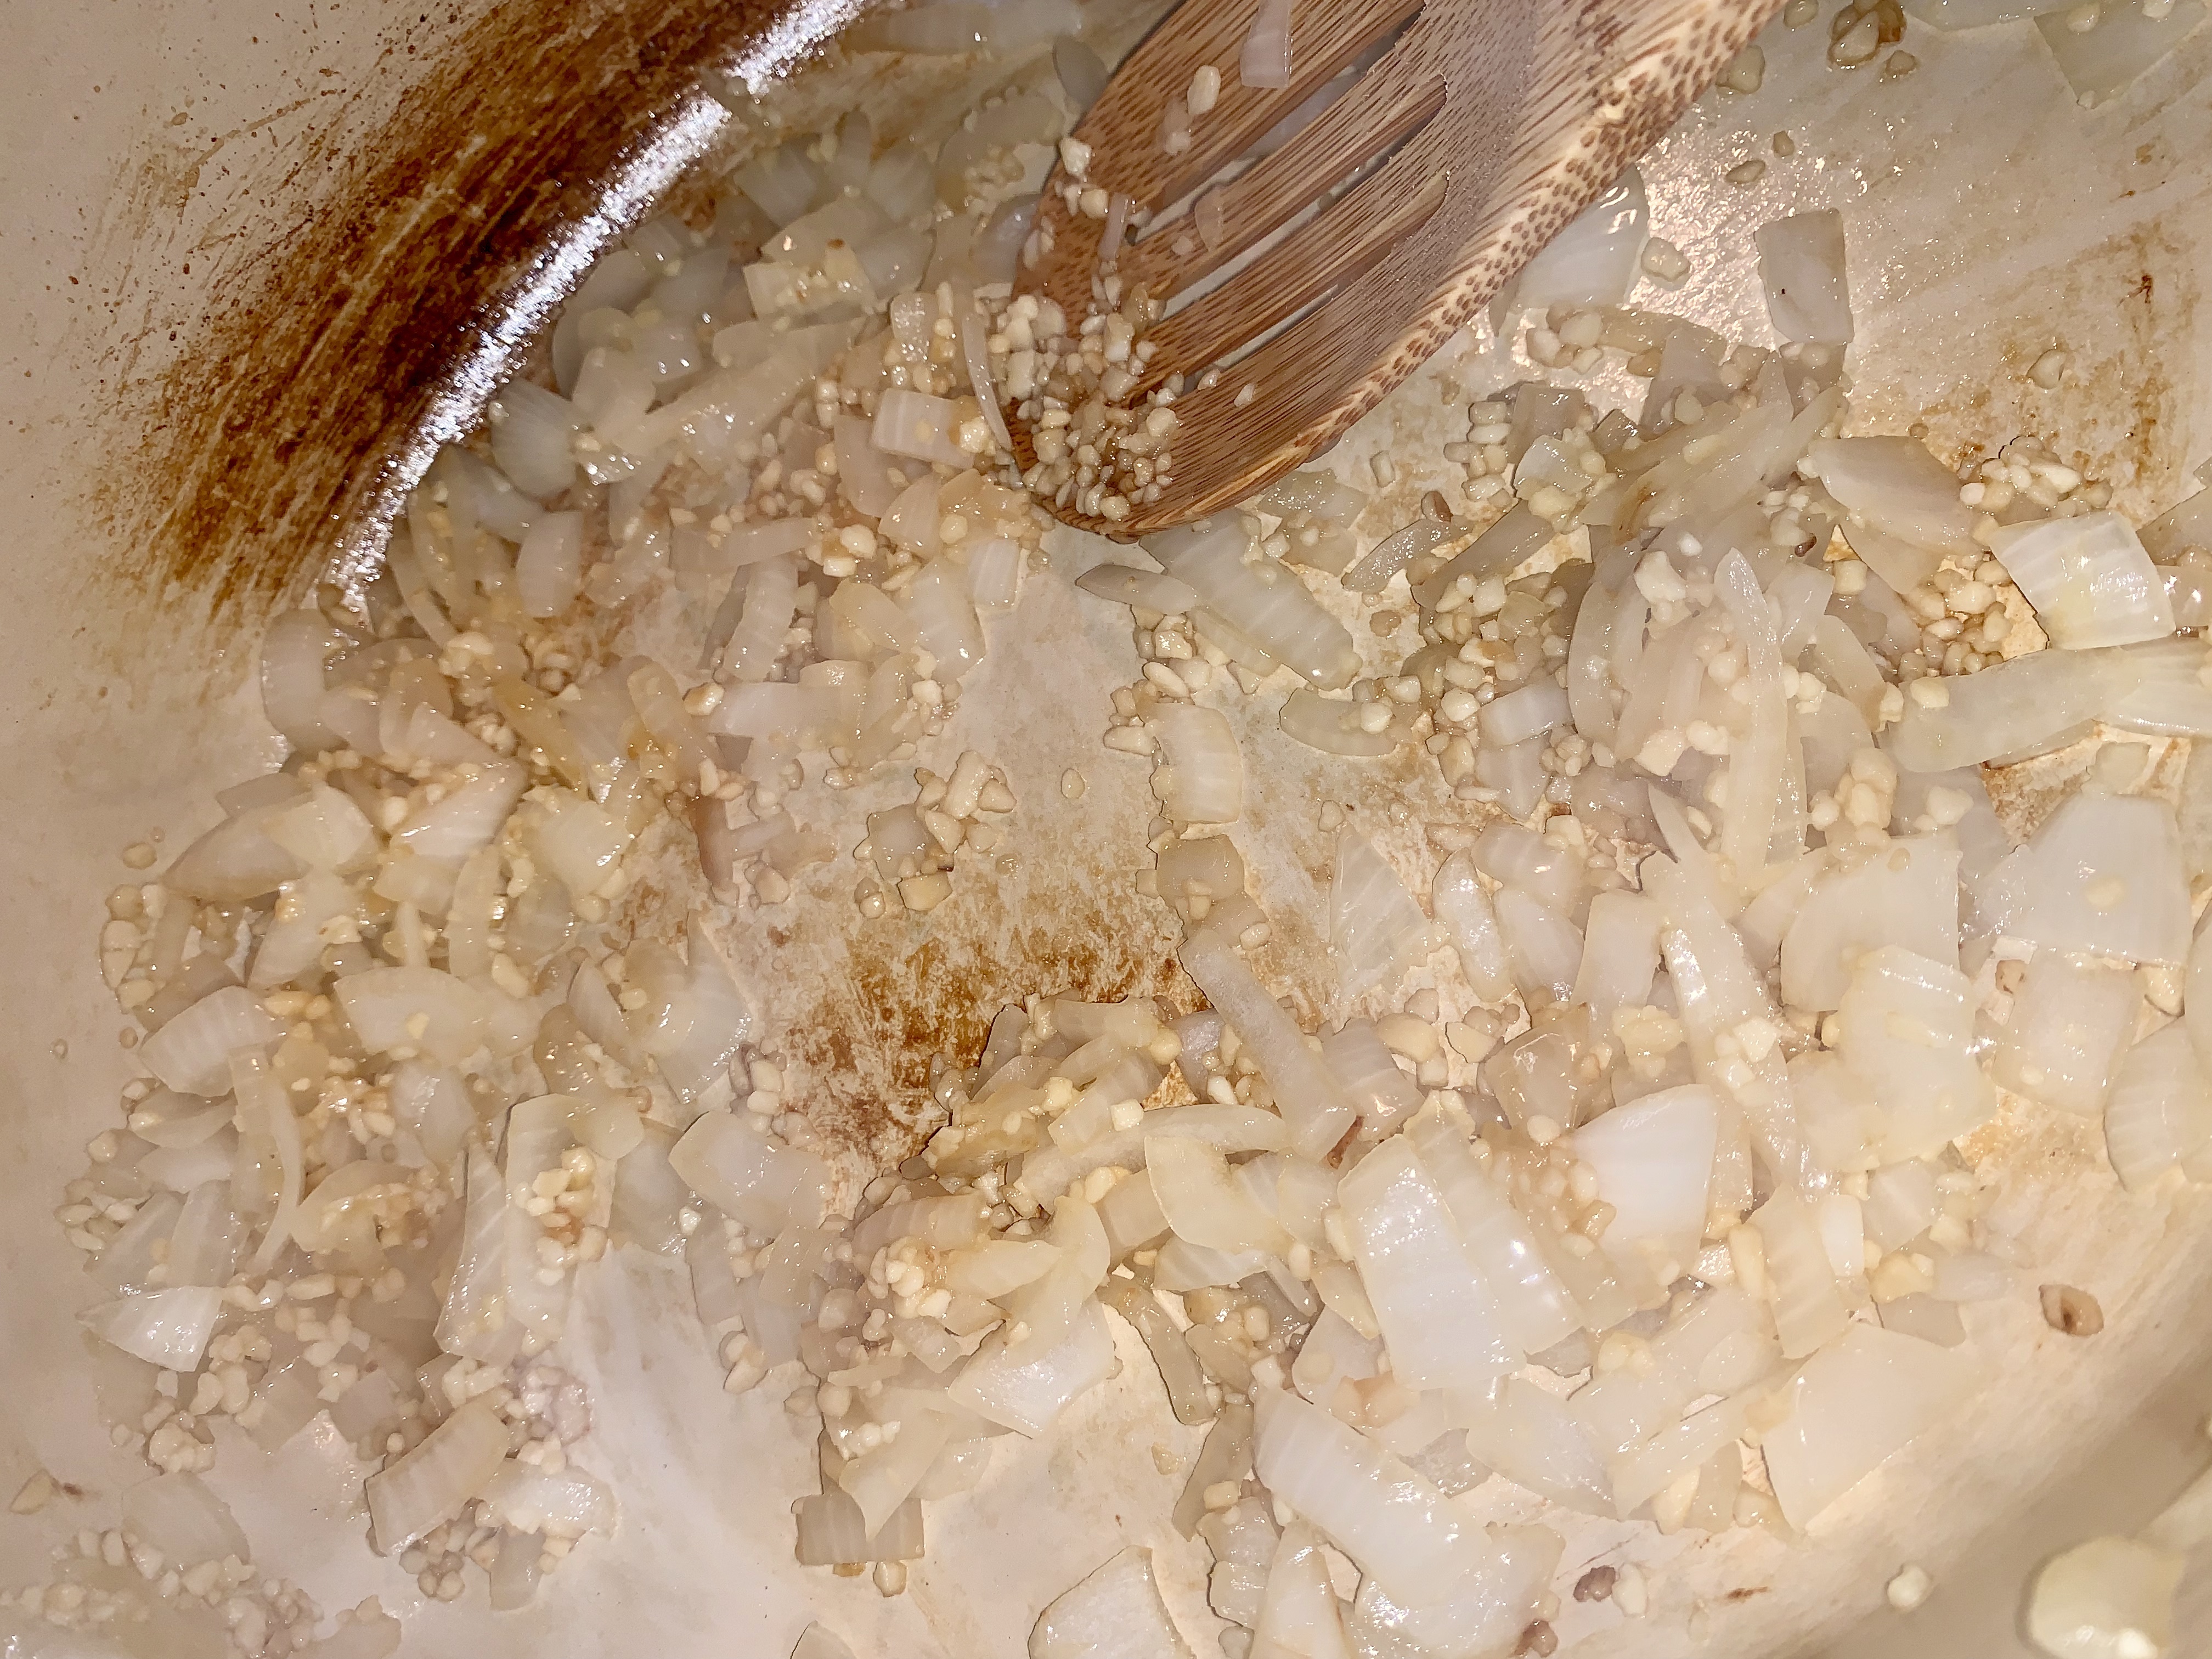
I started by rough chopping the onions and then I cooked the onions and garlic, in a small amount of oil in a hot skillet.

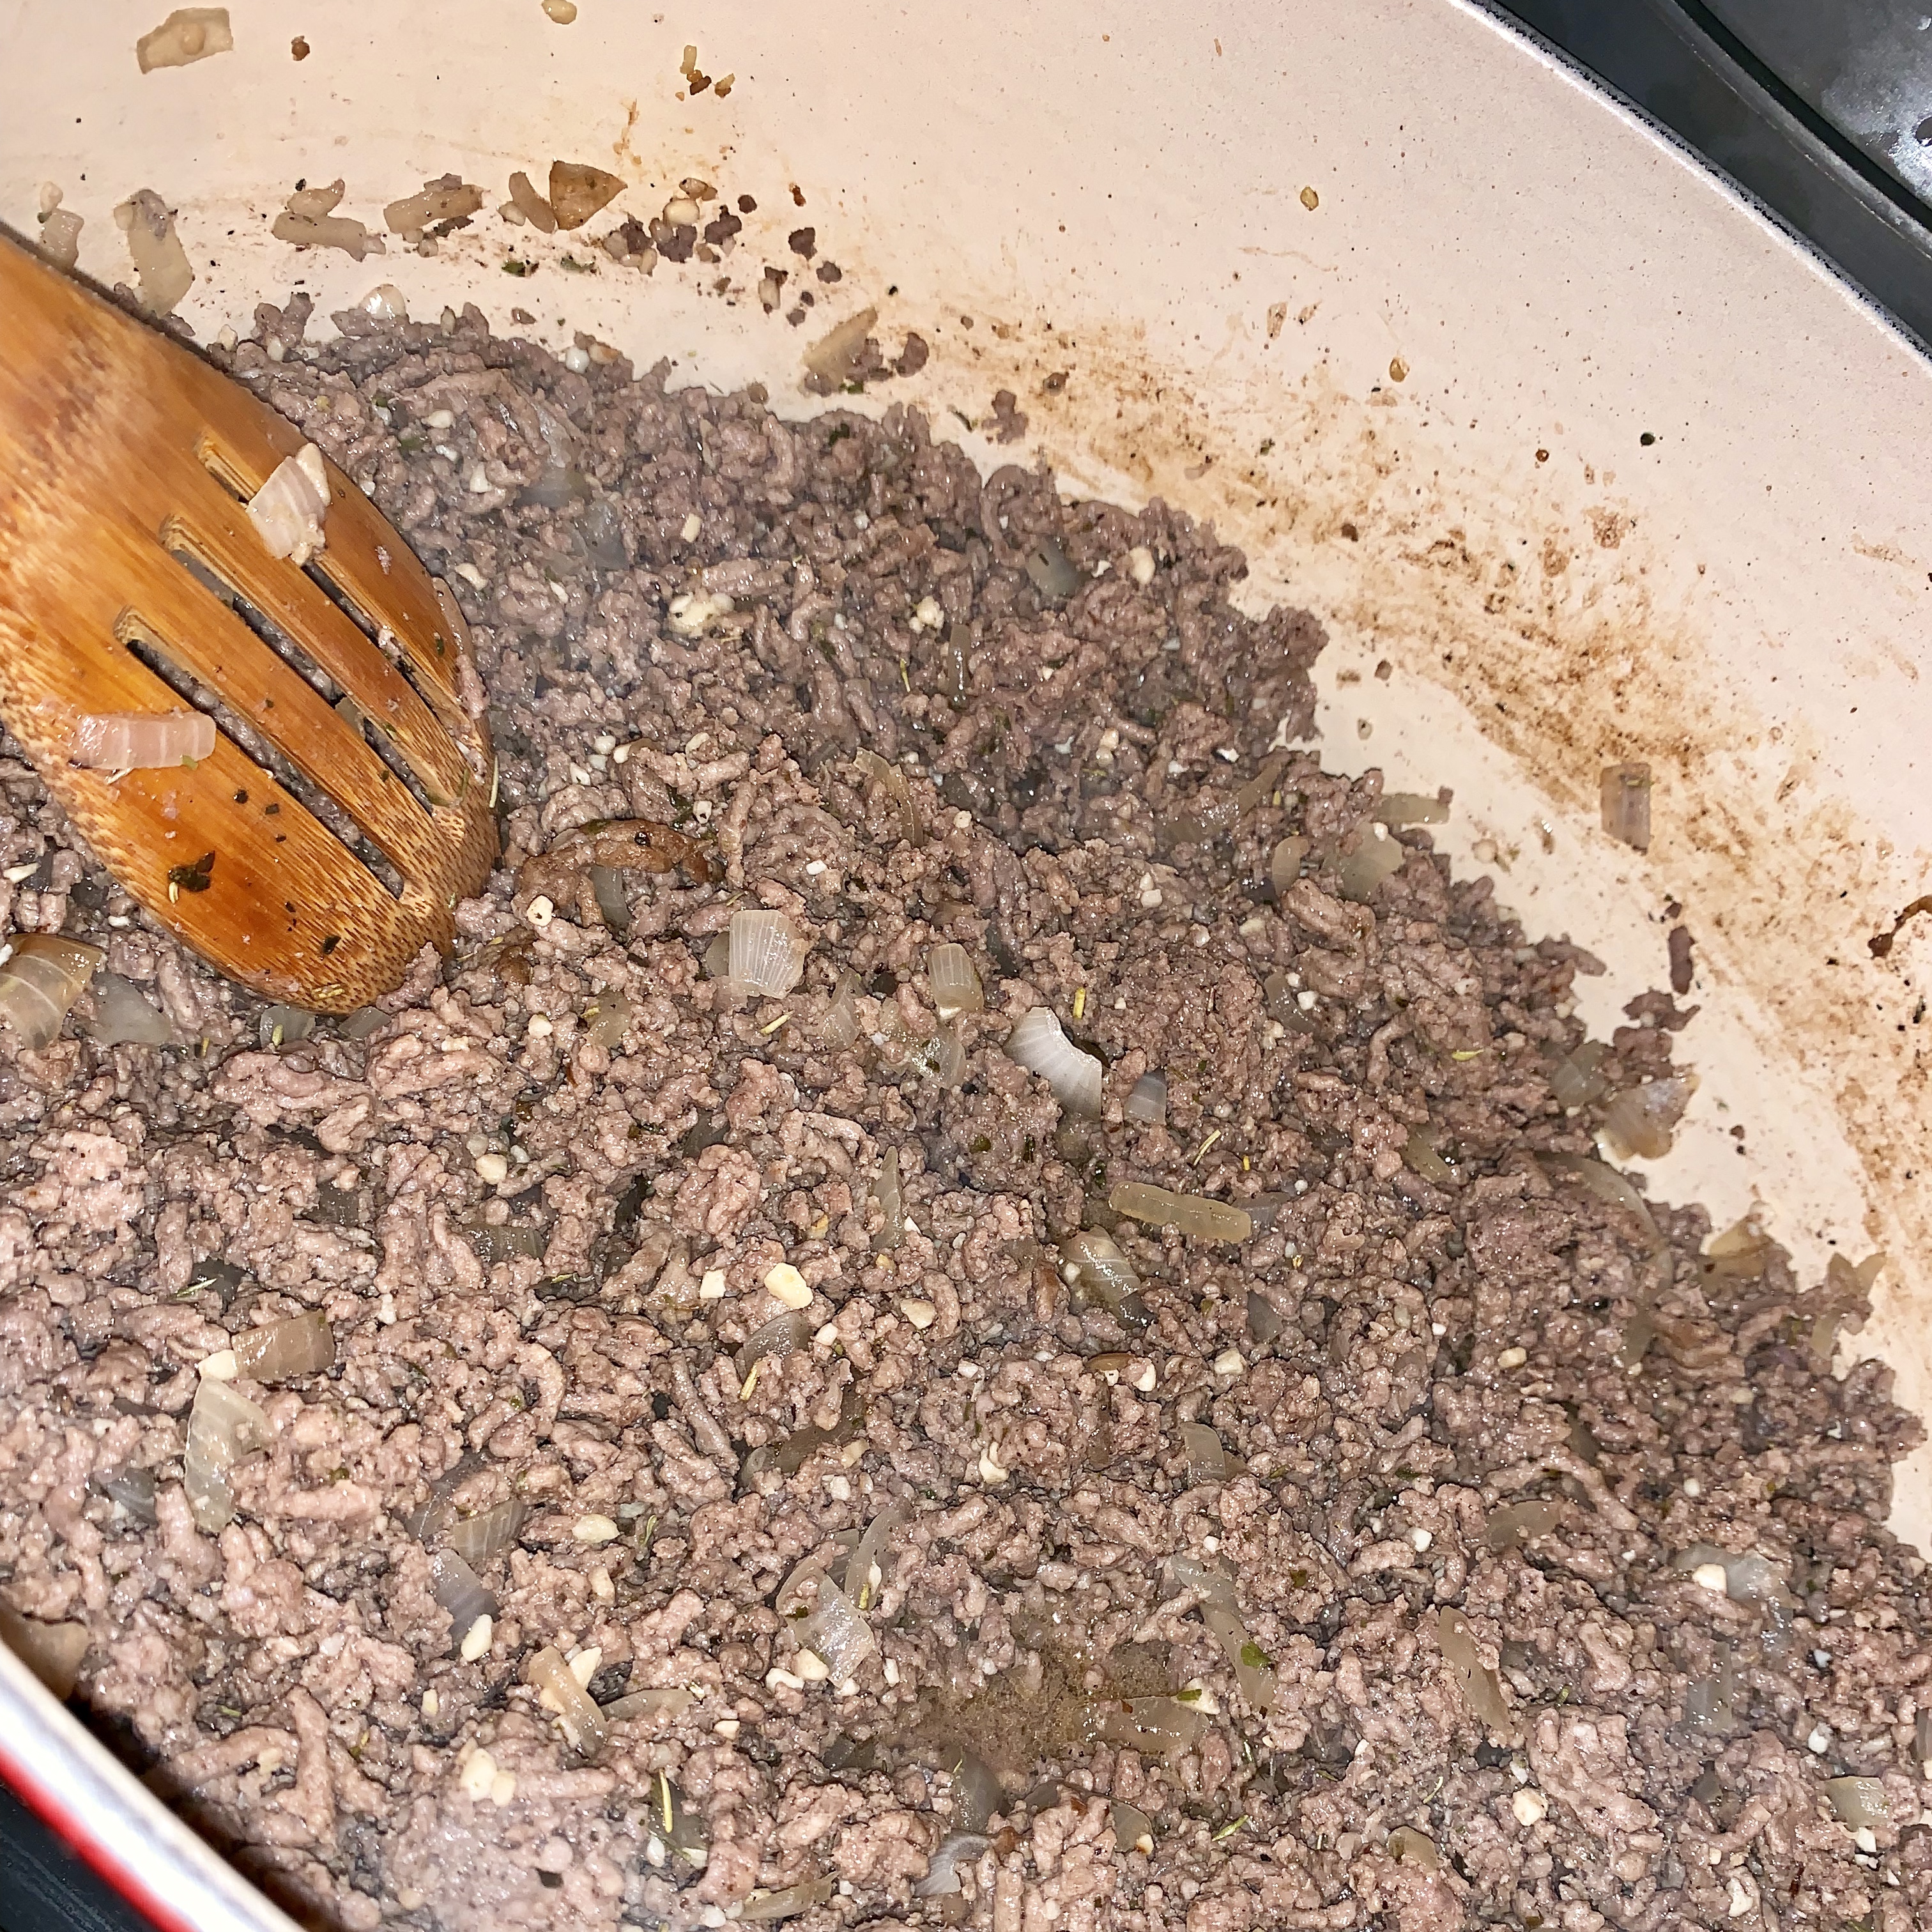
After the onions were translucent, I added in the ground beef and cooked until browned. Then, added in the taco seasoning.

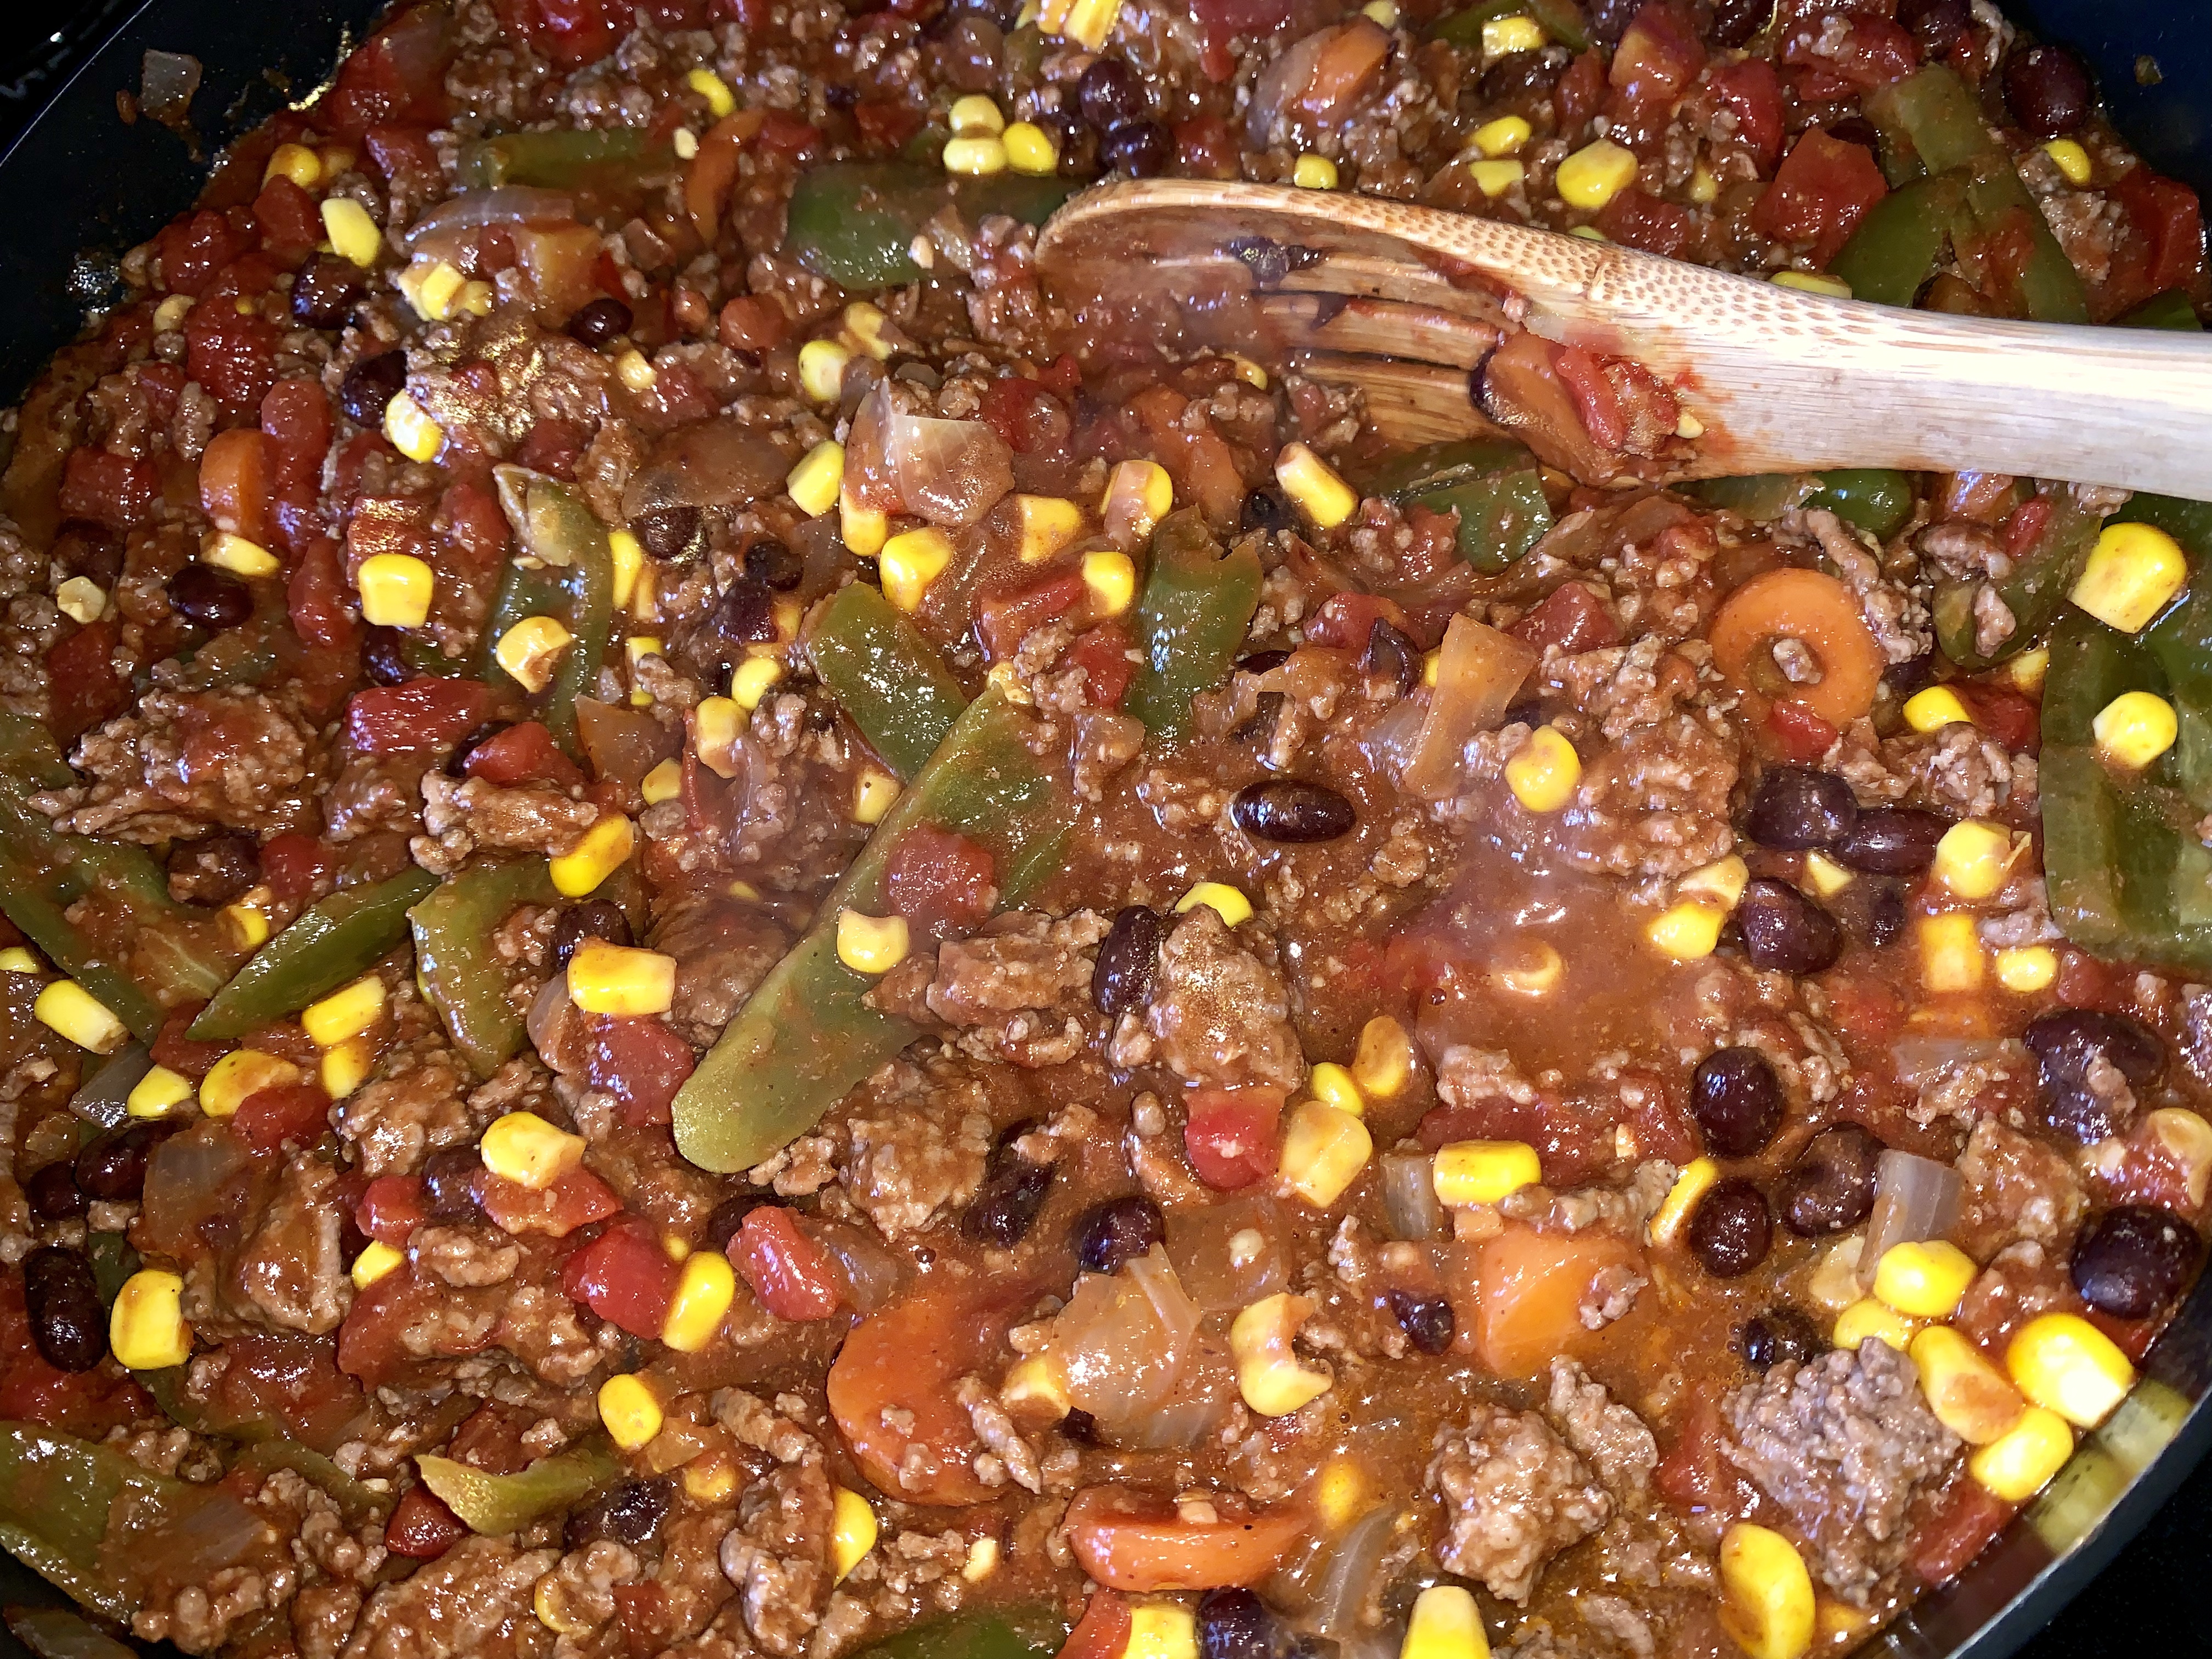
The next step was to add in the corn, black beans, tomatoes, etc. I did hold off on adding the jalapenos, as I wanted to taste the meat mixture first to determine how much to add. Spoiler alert – I added the whole can.

Once everything was well mixed, I allowed it to simmer for 15-20 minutes.

This gave me plenty of time to grate the cheese and pre-heat the oven.

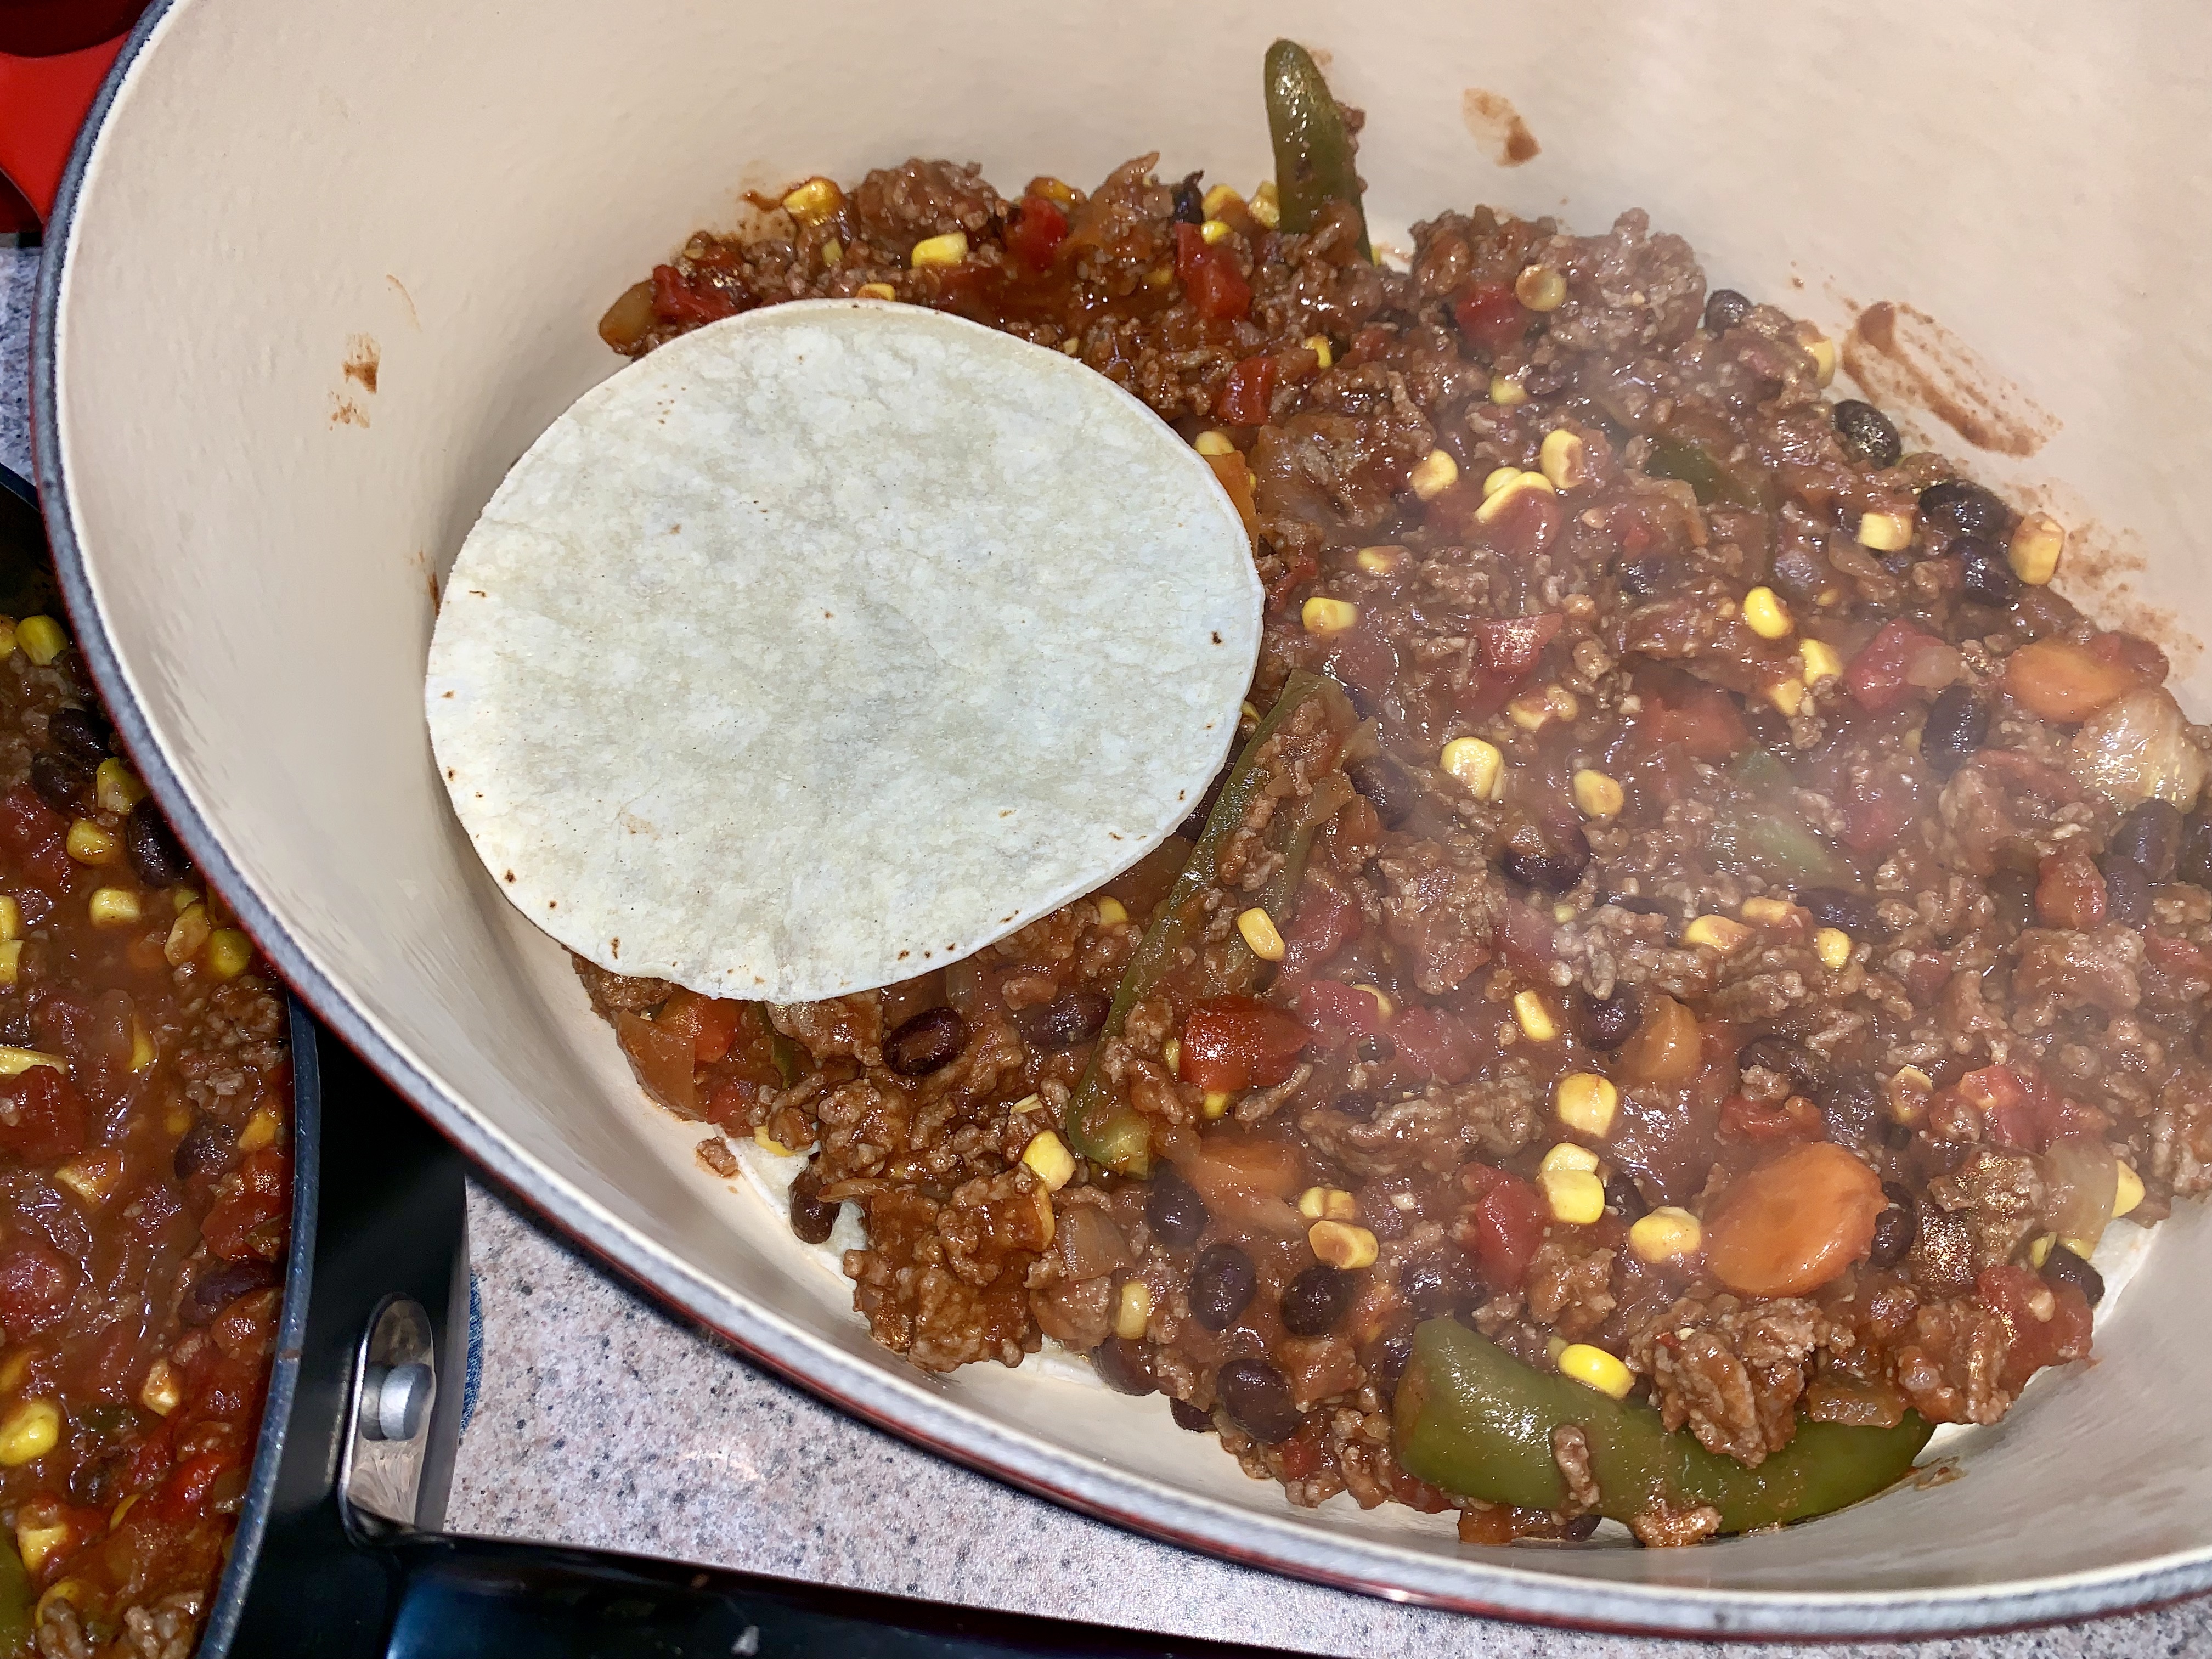
Then I started putting the casserole together – starting with a layer of tortillas. I ended up with 3 layers of tortillas – but, you can do as many layers as you like (next time I make this, I intend to add more of the tortillas, I only used 4 per layer as I prepared this today).

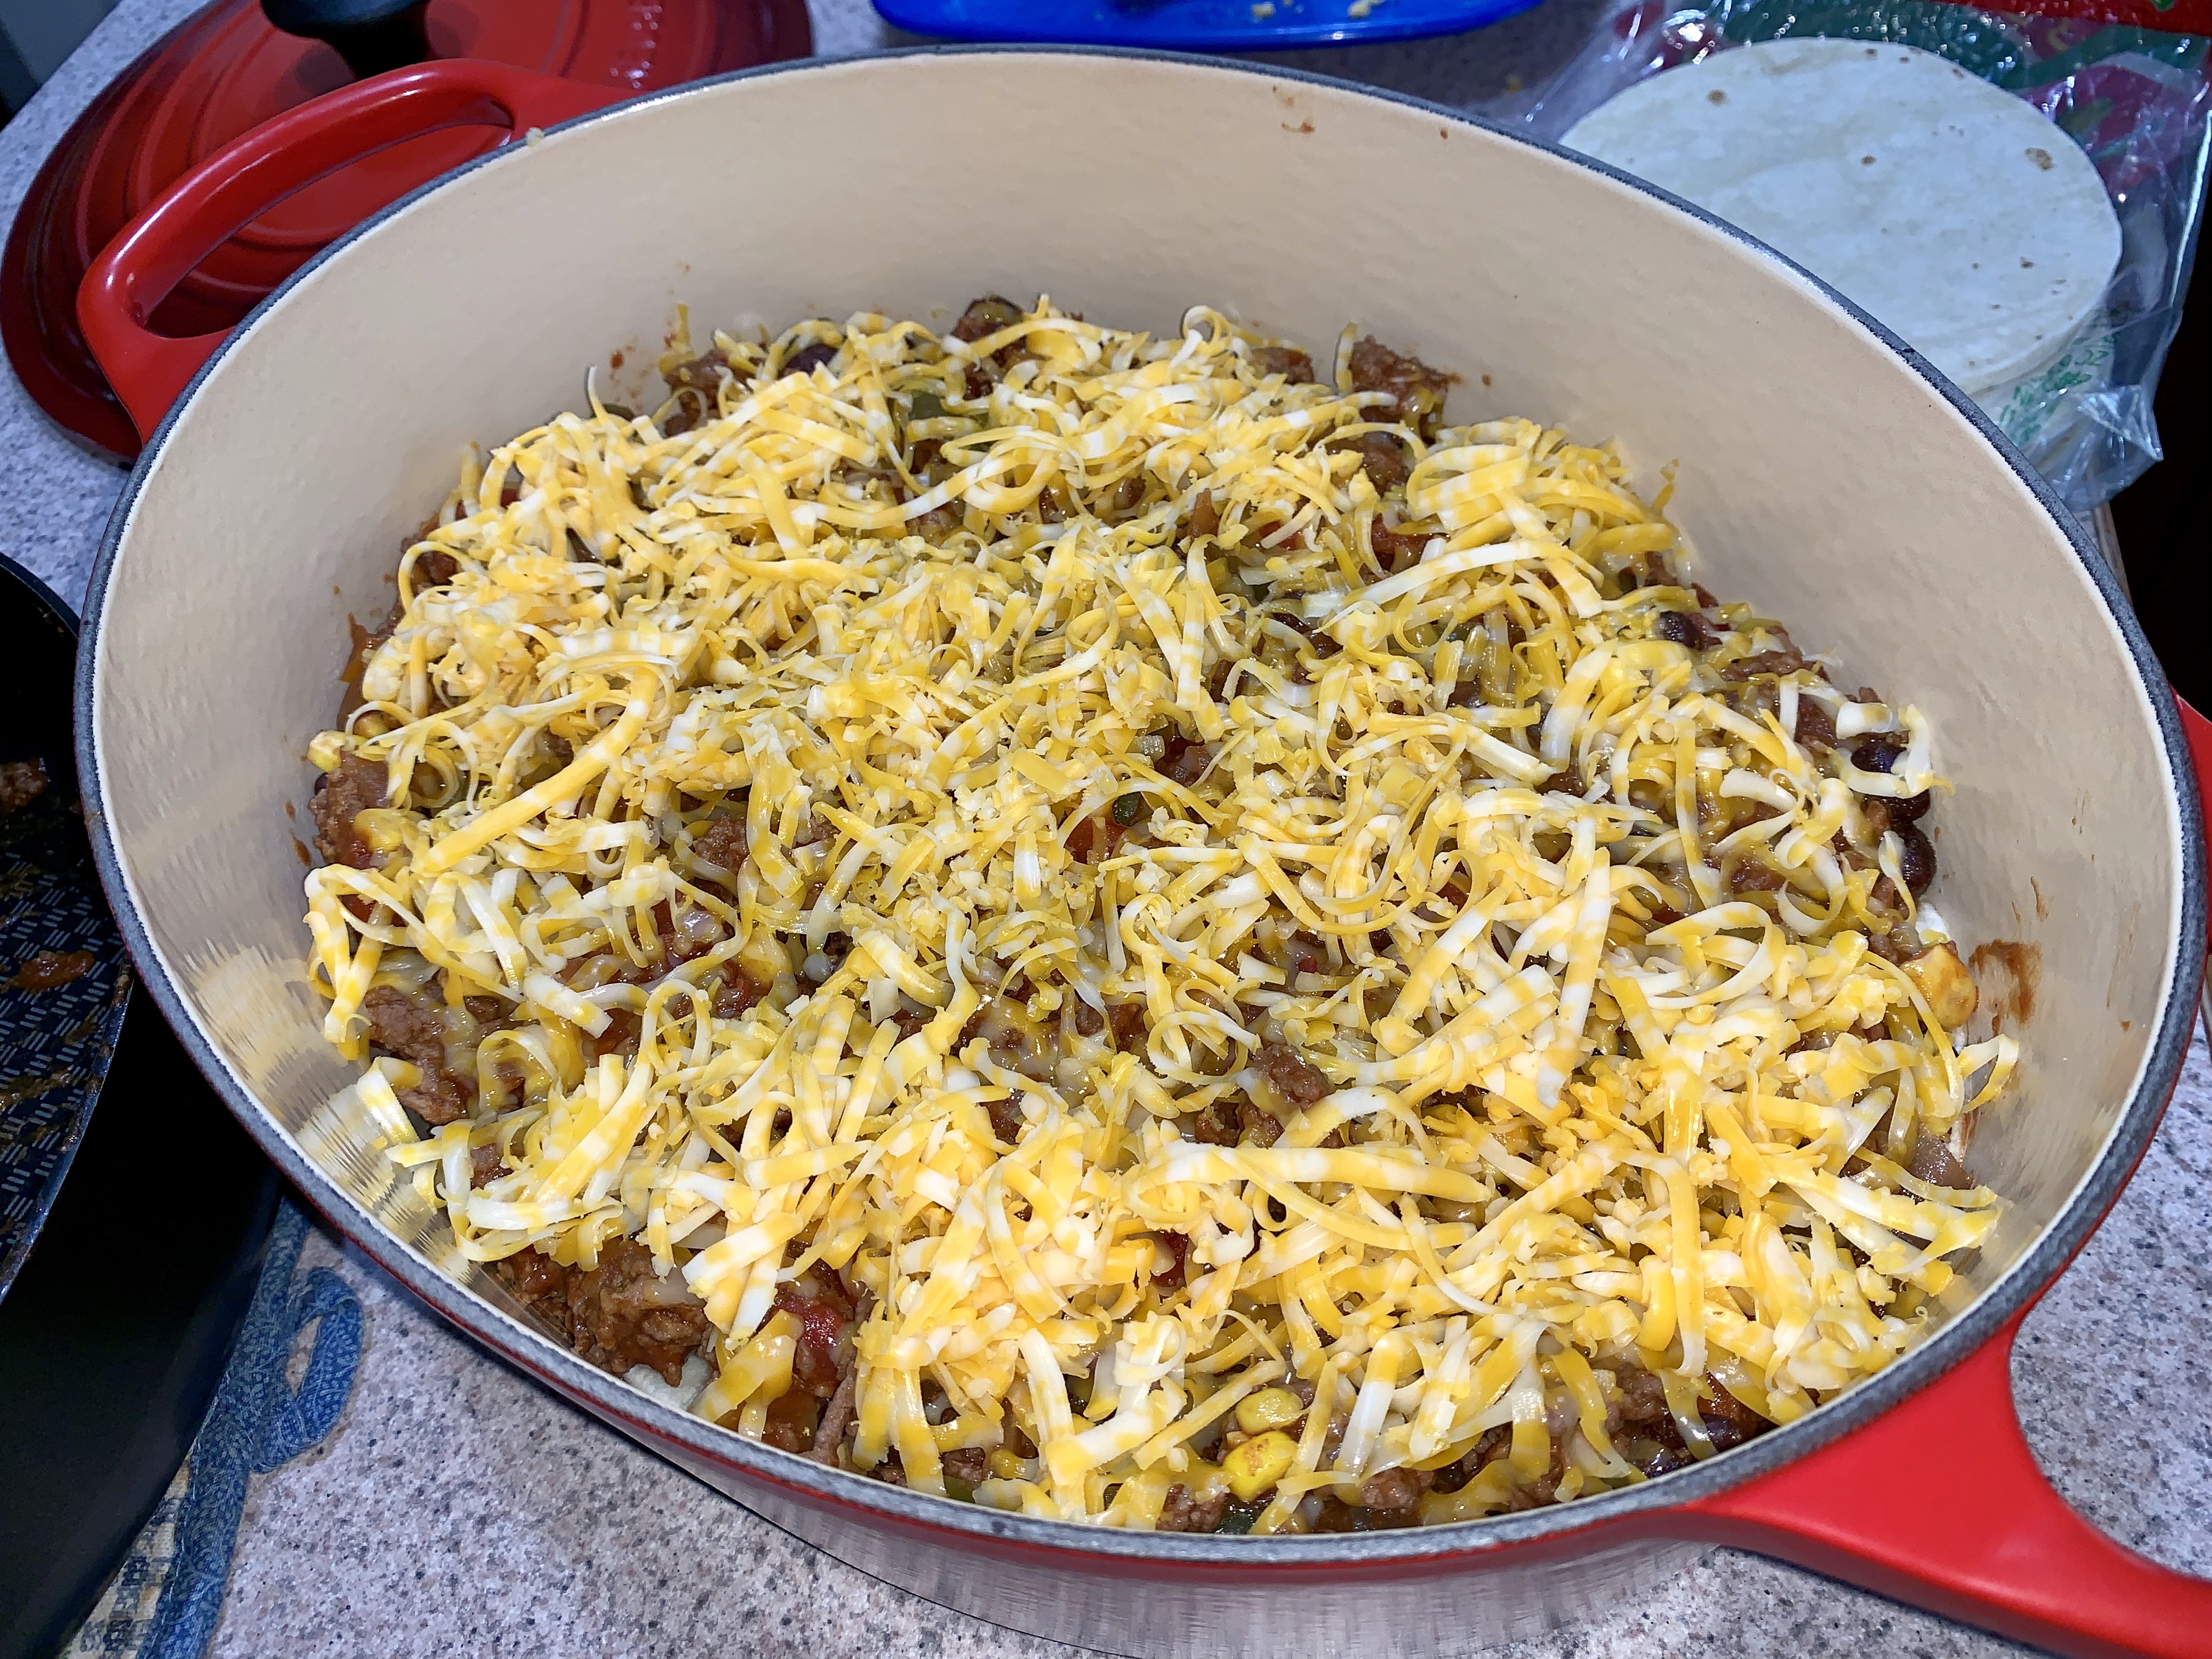
Once all the layers are in (end with the meat mixture on top), top with the grated cheese and put in the oven (400 degrees) for 20-25 minutes. I did turn the broiler on briefly, at the end, to get a little bit of browning on the top.

I topped it with a little bit of sour cream – and it was DELICIOUS! I definitely went back for seconds!

Mexican Casserole

2 lbs lean ground beef
1 can black beans (drained)
1 can corn (drained)
1 large can diced tomatoes (drained)
1 small can tomato paste
1 packet taco seasoning
1 tbsp garlic
1 onion (chopped)
Small corn tortillas (number will depend on size of casserole dish)
1 tsp oil
1 – 1 1/2 cups grated cheese (depends on size of casserole dish)
Salt to taste
1 can jalapeno peppers (optional)
Sour cream for garnish

  • Chop onion
  • Add oil, onion and garlic to hot skillet – cook until onion is translucent
  • Add in ground beef, cook until browned
  • Add taco seasoning and mix completely
  • Add tomatoes, tomato paste, b lack beans and corn, mix well
  • Add salt, as needed, after tasting mixture
  • If desired, add jalapenos (I used a 11 oz can of picked jalapenos with carrots and onions by San Marcos) and mix well
  • Simmer mixture for 15-20 minutes
  • Start with a layer of corn tortillas in the bottom of an oven safe dish
  • Alternate with the meat mixture, until all meat mixture is one – ending with meat mixture on top. For my casserole, this was 3 layers of corn tortillas.
  • Top with cheese and bake @ 400 degrees – for 30 minutes

Chicken Fried Rice

No recipe from dinner last night – but I did want to share what we had. I needed to do something quick, that I could do ahead of time – as we had activities last night. Chicken fried rice was just the thing!

The ingredients were: chicken (only 1 large chicken breast!), jasmine rice, frozen mixed veggies, butter, sesame oil, soy sauce, oyster sauce, sriracha, egg, green onions and sesame seeds

Ready to go in the fridge until we were home from volleyball. And, lunch for today!

Easy, quick meal that could wait in the fridge and still be delicious!

Cheeseburger Pie

This recipe is one that I’ve been cooking for years. Some might even say that it is my ‘signature’ dish. It’s good, comfort food! I can remember having something similar when I was a kid – over the years, I’ve tweaked it and adjusted it to our taste. It’s a layered casserole type dish that makes me so happy (it is PERFECT for leftovers – it just gets better!).

The dish is topped with mashed potatoes, so the first step is to dice up some potatoes and get them on to boil.

Then you will start making the base of the dish – the meat mixture. You’ll add your olive oil to a pan (or dutch oven) and heat it up – then, you add what all good dishes start with – garlic and onion! Cooking the onions until they are translucent.

Next, add the ground beef, salt, pepper and Italian seasoning. Cook until the ground beef is fully cooked.

The next step is to add the tomato paste, tomatoes and green beans.

Once all of the ingredients for the base of the dish have been added – cook for 10-15 minutes, allowing all the flavors to mix. Reduce the temperature to low-medium heat for the 10-15 minutes.

While the meat mixture is cooking – make your mashed potatoes. I’m a very picky about mashed potatoes and I make mine the way I grew up eating them – with Duke’s mayonnaise as part of the mix. This may not be to your liking (but, if you’ve never tried it – you should!!) – so, just make the mashed potatoes that you’d normally make.

After both components (meat mixture and potatoes) are you complete – you’ll add the potatoes on top of the meat mixture and top with grated sharp cheddar cheese (you can certainly use pre-grated cheese, but it will not be a good as if you grate it yourself !)

Put the baking dish or dutch oven in the preheated oven and cook until the cheese is bubbly and starting to brown – change the oven over to broil for the last couple minutes and you’ll have a beautifully browned top to your cheeseburger pie.

If you like, you can top it with fresh basil – but, this is definitely not necessary.

I hope you’ll enjoy this recipe as much as I do – it is, without a doubt, one of my favorite things that I make! And, has always been something that people have loved for me to make!

Cheeseburger Pie

1tbsp olive oil
1 onion, chopped
2 tbsp minced garlic
2 lbs lean ground beef
1 can french style green beans
1 small can (6 oz) tomato paste
1 large can (28 oz) diced tomatoes, drained
1 1/2 tsp salt
1 tsp pepper
1 tsp Italian seasoning
4 oz (1/2 small block) grated sharp cheddar cheese
Mashed Potatoes (my recipe below)

  • In pan (or dutch oven, if you want less to wash 🙂 ), warm up the olive oil
  • Add onion and garlic ad cook until onion is translucent
  • Add ground beef, salt, pepper and Italian seasoning and cook until ground beef is fully cooked (if you use lean enough ground beef, there is no need to drain the meat, otherwise, drain out the excess oil before next step)
  • Add in tomato paste, tomatoes and green beans and combine – allow mixture to cook for 10-15 minutes
  • If you did the meat mixture in a pan, transfer to a large baking dish – other wise, you’ll use the dutch oven for the next step.
  • Top meat mixture with mashed potatoes and cheese
  • Put in 400% oven for 30 minutes (on the last couple minutes, turn oven to broil to help brown the top).

Mashed Potatoes
8-10 potatoes, diced
1/2 cup milk
3/4 cup Duke’s mayonnaise
2 tbsp butter
salt to taste

  • Boil potatoes in salted water, until fork tender. Drain potatoes and return to pot
  • Add butter, milk and mayonnaise
  • Mash with masher to your desired consistency (I don’t like mine too smooth)
  • Salt to taste

Shrimp Fried Rice

While I would much prefer to have fresh shrimp, living inland doesn’t really allow for that very much.

Luckily, you can buy deveined and already peeled shrimp in the freezer section of your grocery store. Not as good as fresh (but cheaper than the ‘just thawed out, because you don’t live at the beach’ shrimp they sell for twice as much at the meat counter, making people think they are getting ‘fresh’ shrimp – you’re really just getting previously frozen, conveniently defrosted, shrimp if you live inland. That said, I will buy the frozen version and thaw it myself – saving at least 50% of the cost of the shrimp!

I try to keep some shrimp in the freezer for nights just like tonight – when I don’t have any other protein already thawed for dinner. Shrimp is easy to defrost at home. I put mine in a colander and just run cool water over it until it is thawed – and it’s ready to go! Enter tonight’s meal of shrimp fried rice!

You can cook your fried rice in a wok or large skillet. It just has to be a pan that can withstand high heat – as one of the keys to a good stir fry is the high temp. Additionally, using cold rice is a way to keep your stir fry from being too mushy. Then, it is just a matter of adding in the vegetables that you like! I cooked the ‘components’ separately for the most part – and then tossed them back together to finish it off.

Shrimp Fried Rice

3 tablespoons of oil (I used sesame oil)
1 lb of shrimp (I used deveined, peeled shrimp from the freezer section)
4 cups cooked, chilled white rice
1 1/2 cups of frozen peas and carrots
1/2 onion, chopped
1 1/2 cups of snow peas
1 tbsp minced garlic
3 eggs
3-4 tbsp (or to taste) low sodium soy sauce
1 tbsp Siracha sauce
1/2 tsp chili powder
salt/pepper to taste
sesame seeds and chopped green onions for garnish

  • Get wok hot and add 1 tbsp of the oil to pan
  • Add shrimp and garlic to the pan
  • Cook shrimp until pink (add chili powder and a little bit of salt and pepper during cooking)
  • Remove shrimp from wok
  • Add 1 tbsp of oil to pan
  • Add vegetables to wok and stir for 3-4 minutes, remove from wok
  • Add remaining oil and crack all 3 eggs into oil – quickly scramble eggs in the wok
  • Add rice to wok – try to keep rice touching as much of the wok as possible (to allow for crispiness of the rice) – letting it sit for 3-4 min before stirring.
  • Quickly stir rice around, picking up the crispy bits from the pan
  • Add the vegetables back into the pan
  • Add soy sauce and Siracha and stir, until well mixed (don’t overwork, as you don’t want the rice to become mushy).
  • Serve with sesame seeds and green onions

Skillet Sausage and Rice

Yesterday, I was looking for something quick, easy and with little clean up for lunch. As I always do, I took a look at the items I had on hand and I ended up with this one skillet dish that turned out delicious.

It all started with a chub of Jimmy Dean sausage, asparagus, mushrooms, garlic, beef stock onion and cilantro.

As I worked through chopping vegetables, I thought of seasoning – and I decided to add a packet of ranch dressing seasoning mix.

I started by browning the sausage (medium high heat), along with the onion and garlic.

Once that was done, I added the other vegetables and cooked until semi-tender.

After the vegetables were somewhat tender, I added in the rice and cooked until the rice was somewhat translucent.

Beef broth (that was just what I had on hand, I’m sure that chicken broth or vegetable broth would work just as nicely) was added next. I added half of the cilantro to the skillet and stirred everything up. I brought the skillet up to a boil. Once it was at a boil, I covered the skillet and reduced the heat to simmer – allowing it to cook for 20 minutes (cook until rice is done).

Add the remaining cilantro and serve! Super easy, delicious, easy clean up and reheats nicely!

Skillet Sausage and Rice

1 chub of Jimmy Dean (or similar) regular sausage
2 cups of long grain rice
3 cups of beef stock
1-1/2 cups of mushrooms
1/2 bunch of asparagus (1-1/2 cups, chopped)
1/2 white onion (diced)
1-2 tbsp of garlic (depending on how much you like garlic, I used 2)
2 tbsp chopped cilantro
1 packet of dry ranch dressing mix
salt and pepper to taste

Crumble sausage in skillet, with diced onions and garlic on medium high heat. Cook until sausge is browned and onions are translucent.

Add asparagus and mushrooms, cook for another 5 min (until vegetables are semi-tender).

Add rice and ranch dressing and stir to mix, cook until rice is translucent.

Add beef stock and 1/2 of the cilantro. Stir and bring to boil.

Reduce heat to simmer, cover and cook for 20 minutes (until rice is done).

Add remaining cilantro and serve.