Three Cheese Chicken and Pasta Bake

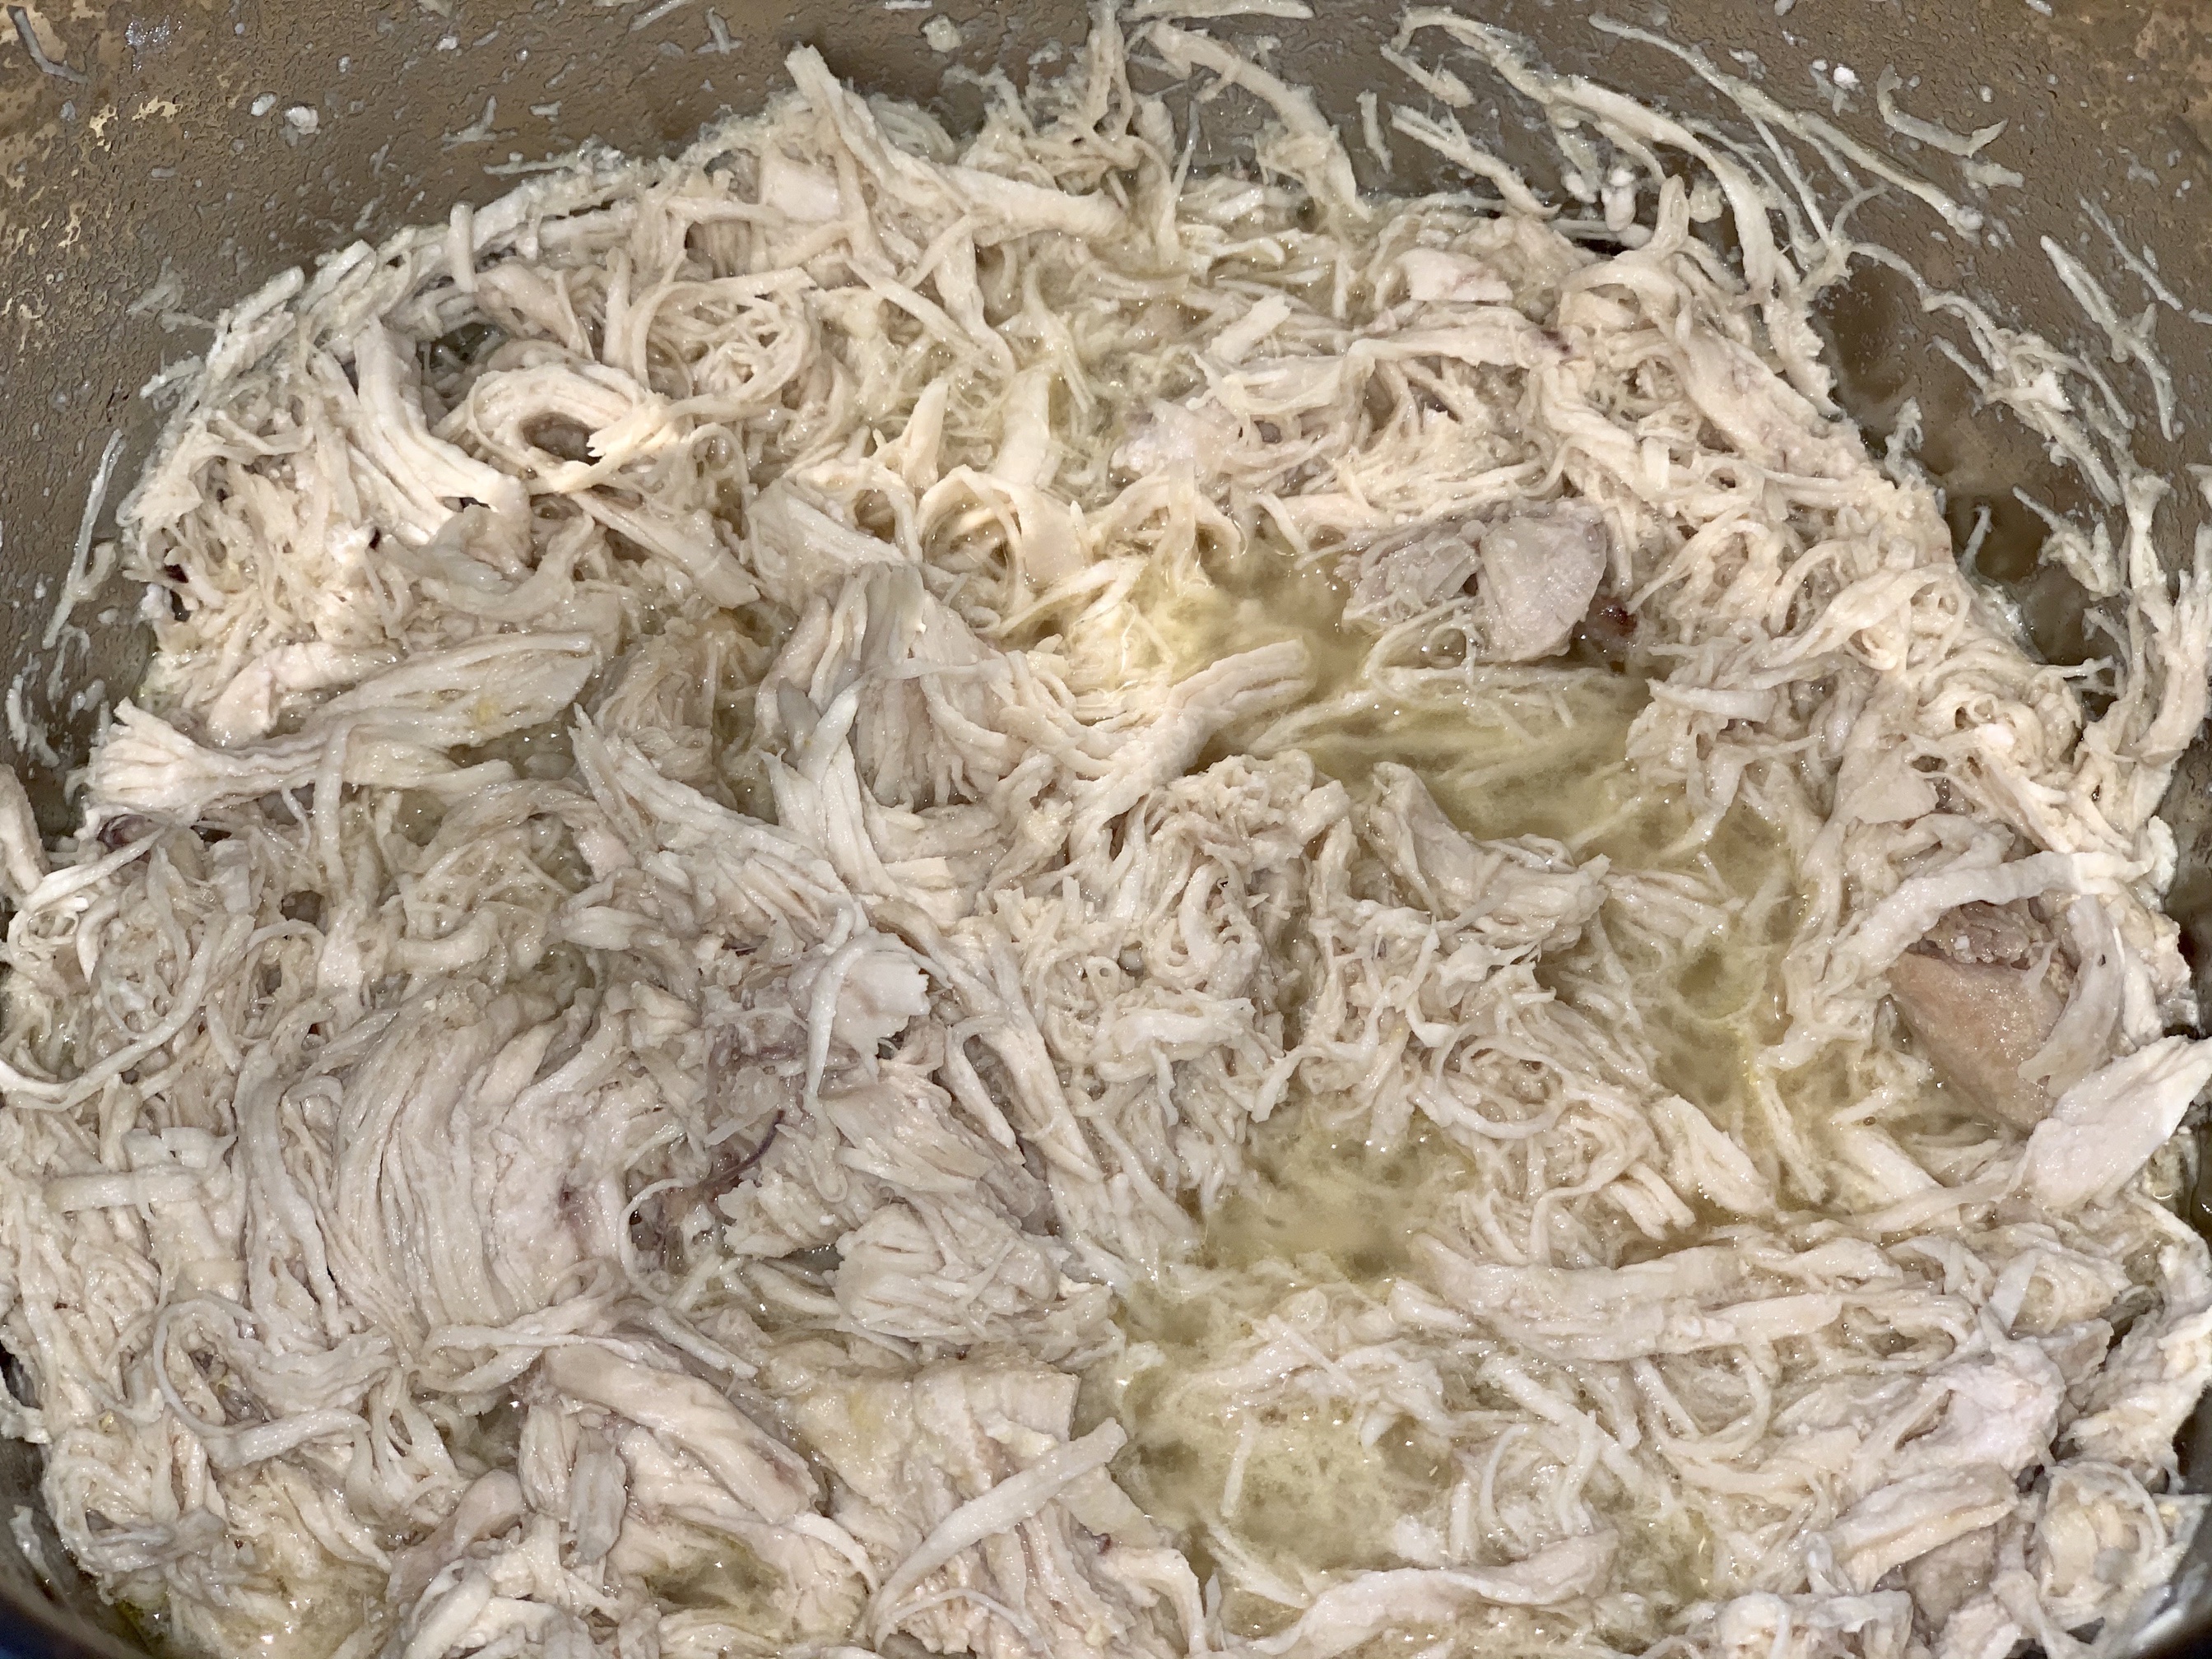
I found myself with no protein thawed out, so I tried to think of things to make with shredded chicken (since it is so easy to do, from frozen, in the instant pot!). And, I do love a casserole – so this is what I came up with!

I decided I wanted to use pasta – I chose penne (but, any pasta would do). I also had an unused container of ricotta cheese on hand, some mozzarella and parmesan cheese.

I decided to boil my pasta separate. I boiled it to al dente. Be sure not to overboil it, or it will be too chewy in the casserole. While the pasta was boiling, I started to work on the sauce (I guess that is the appropriate term when you’re going to add it to something and make a casserole? I will call it that). I started by grating 2 cups of mozzarella cheese.

Then I cooked some garlic in a large skillet, with a little bit of butter.

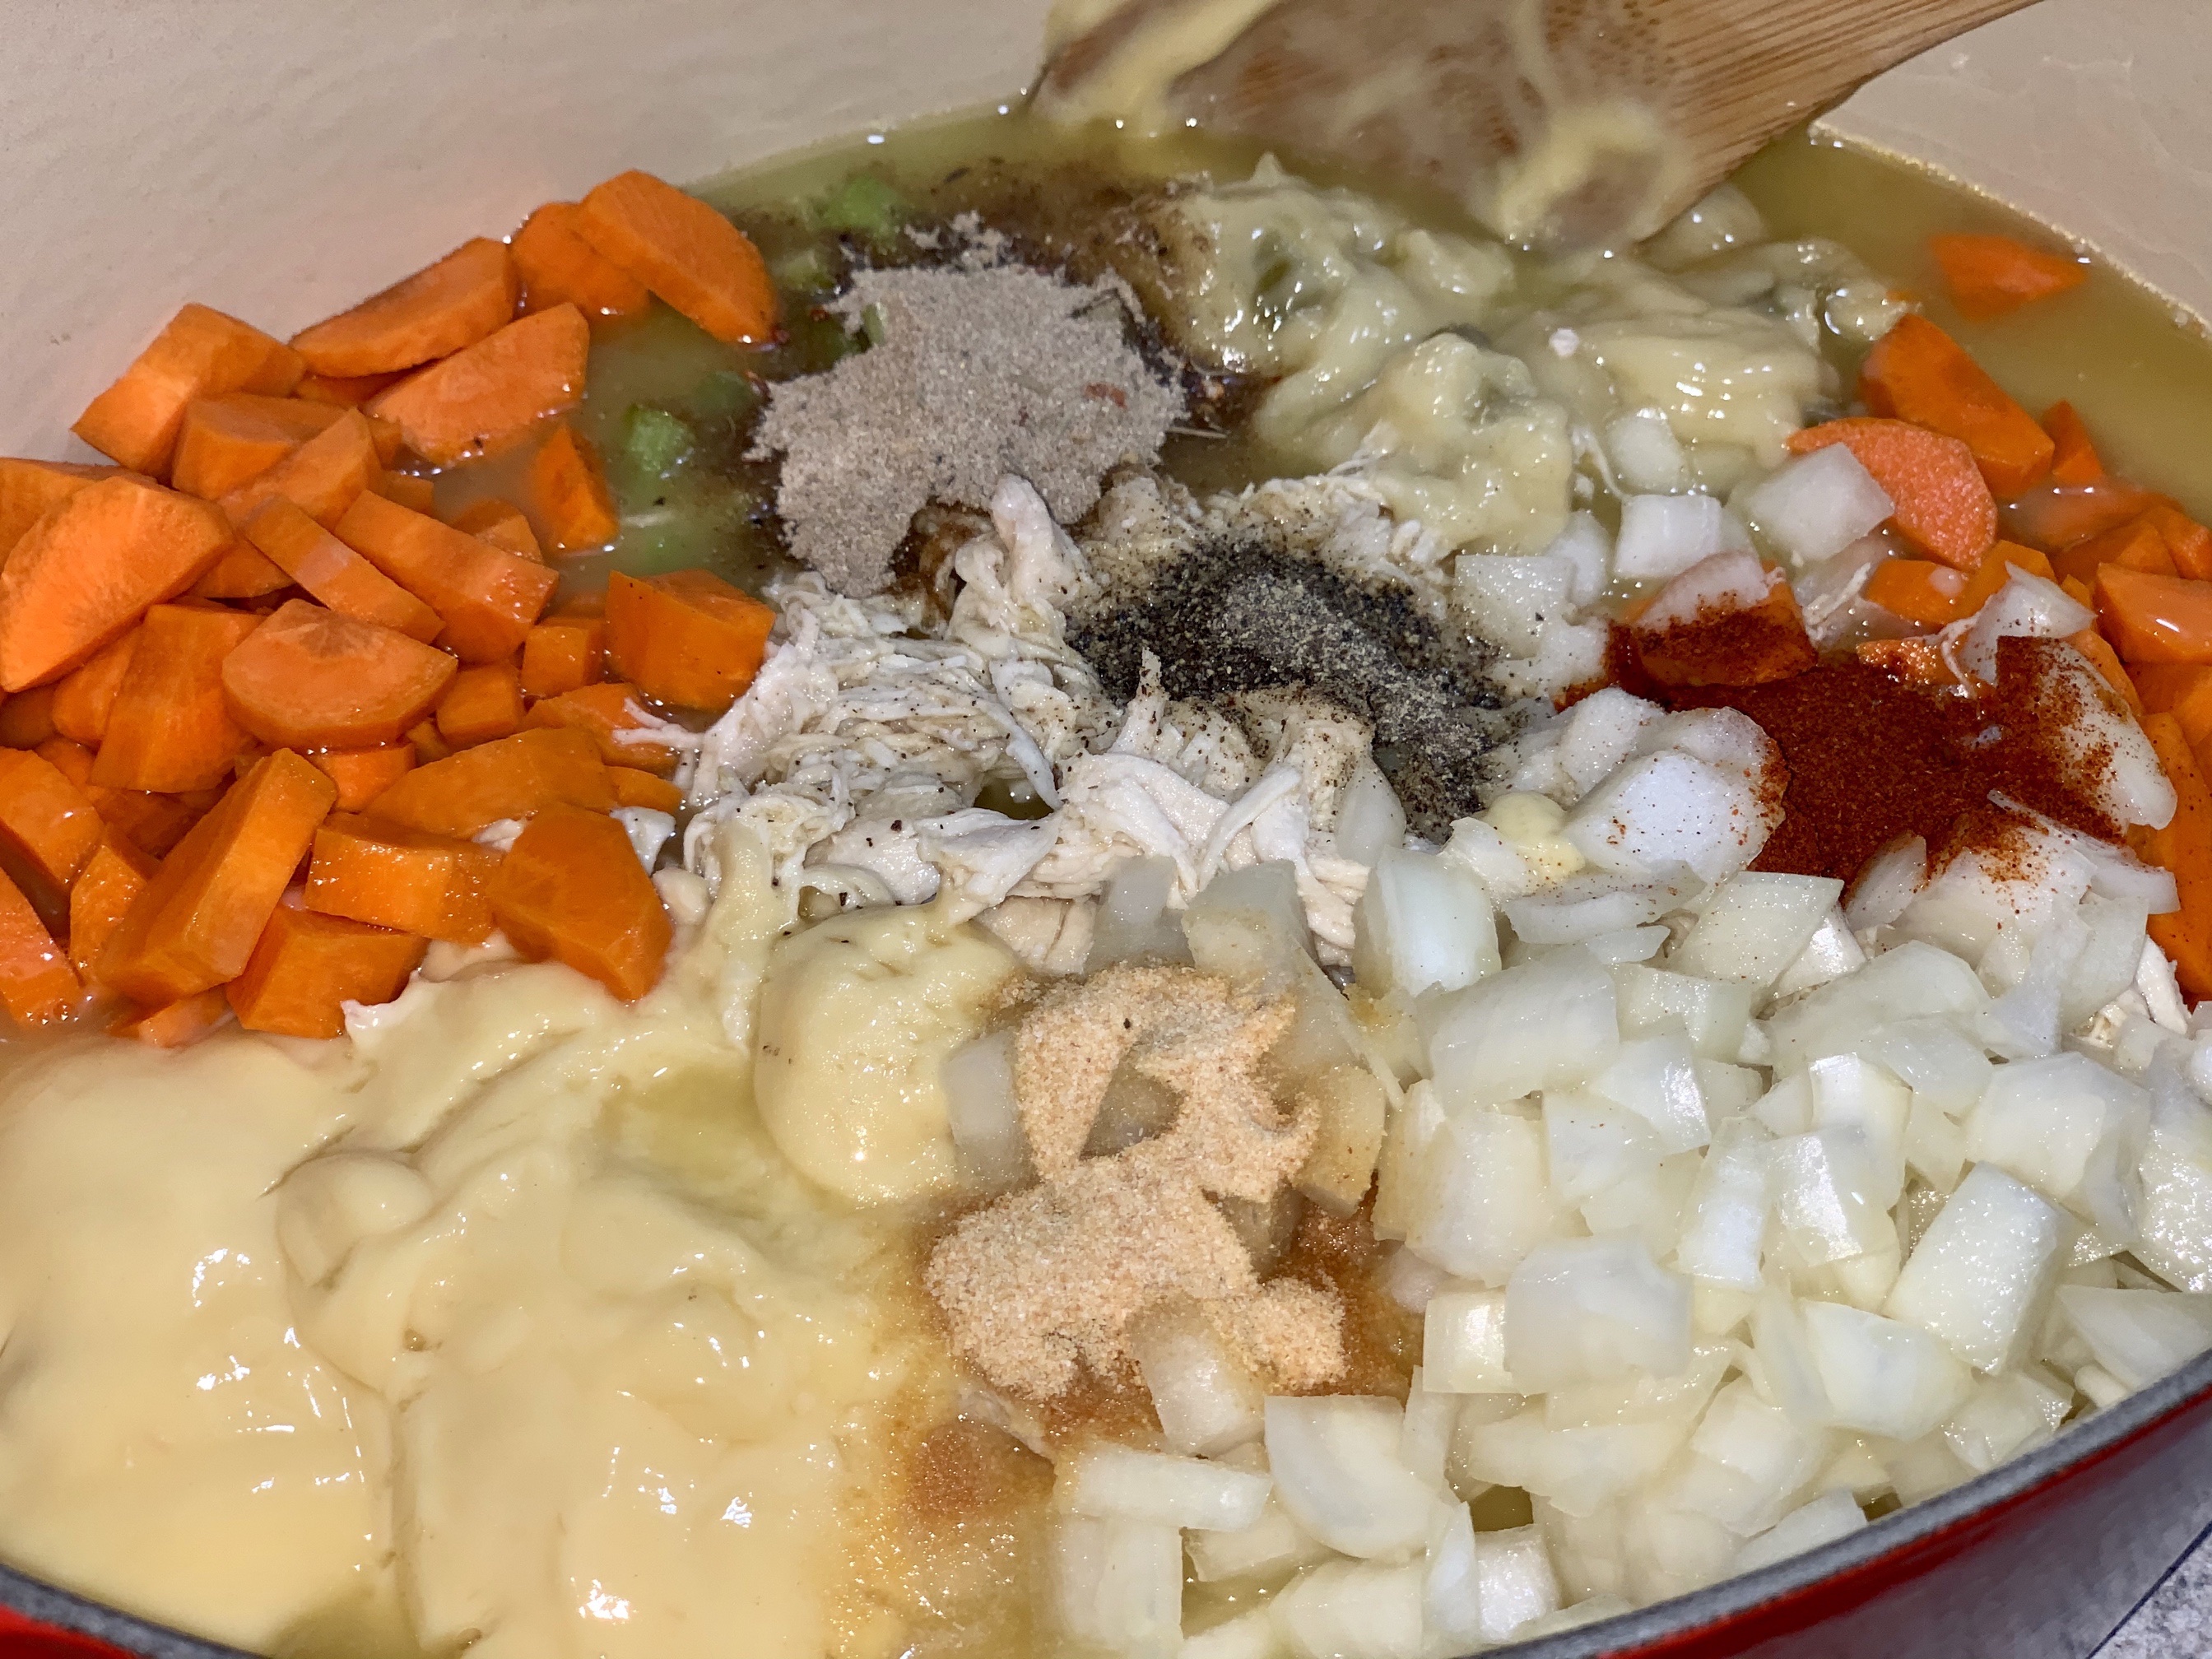
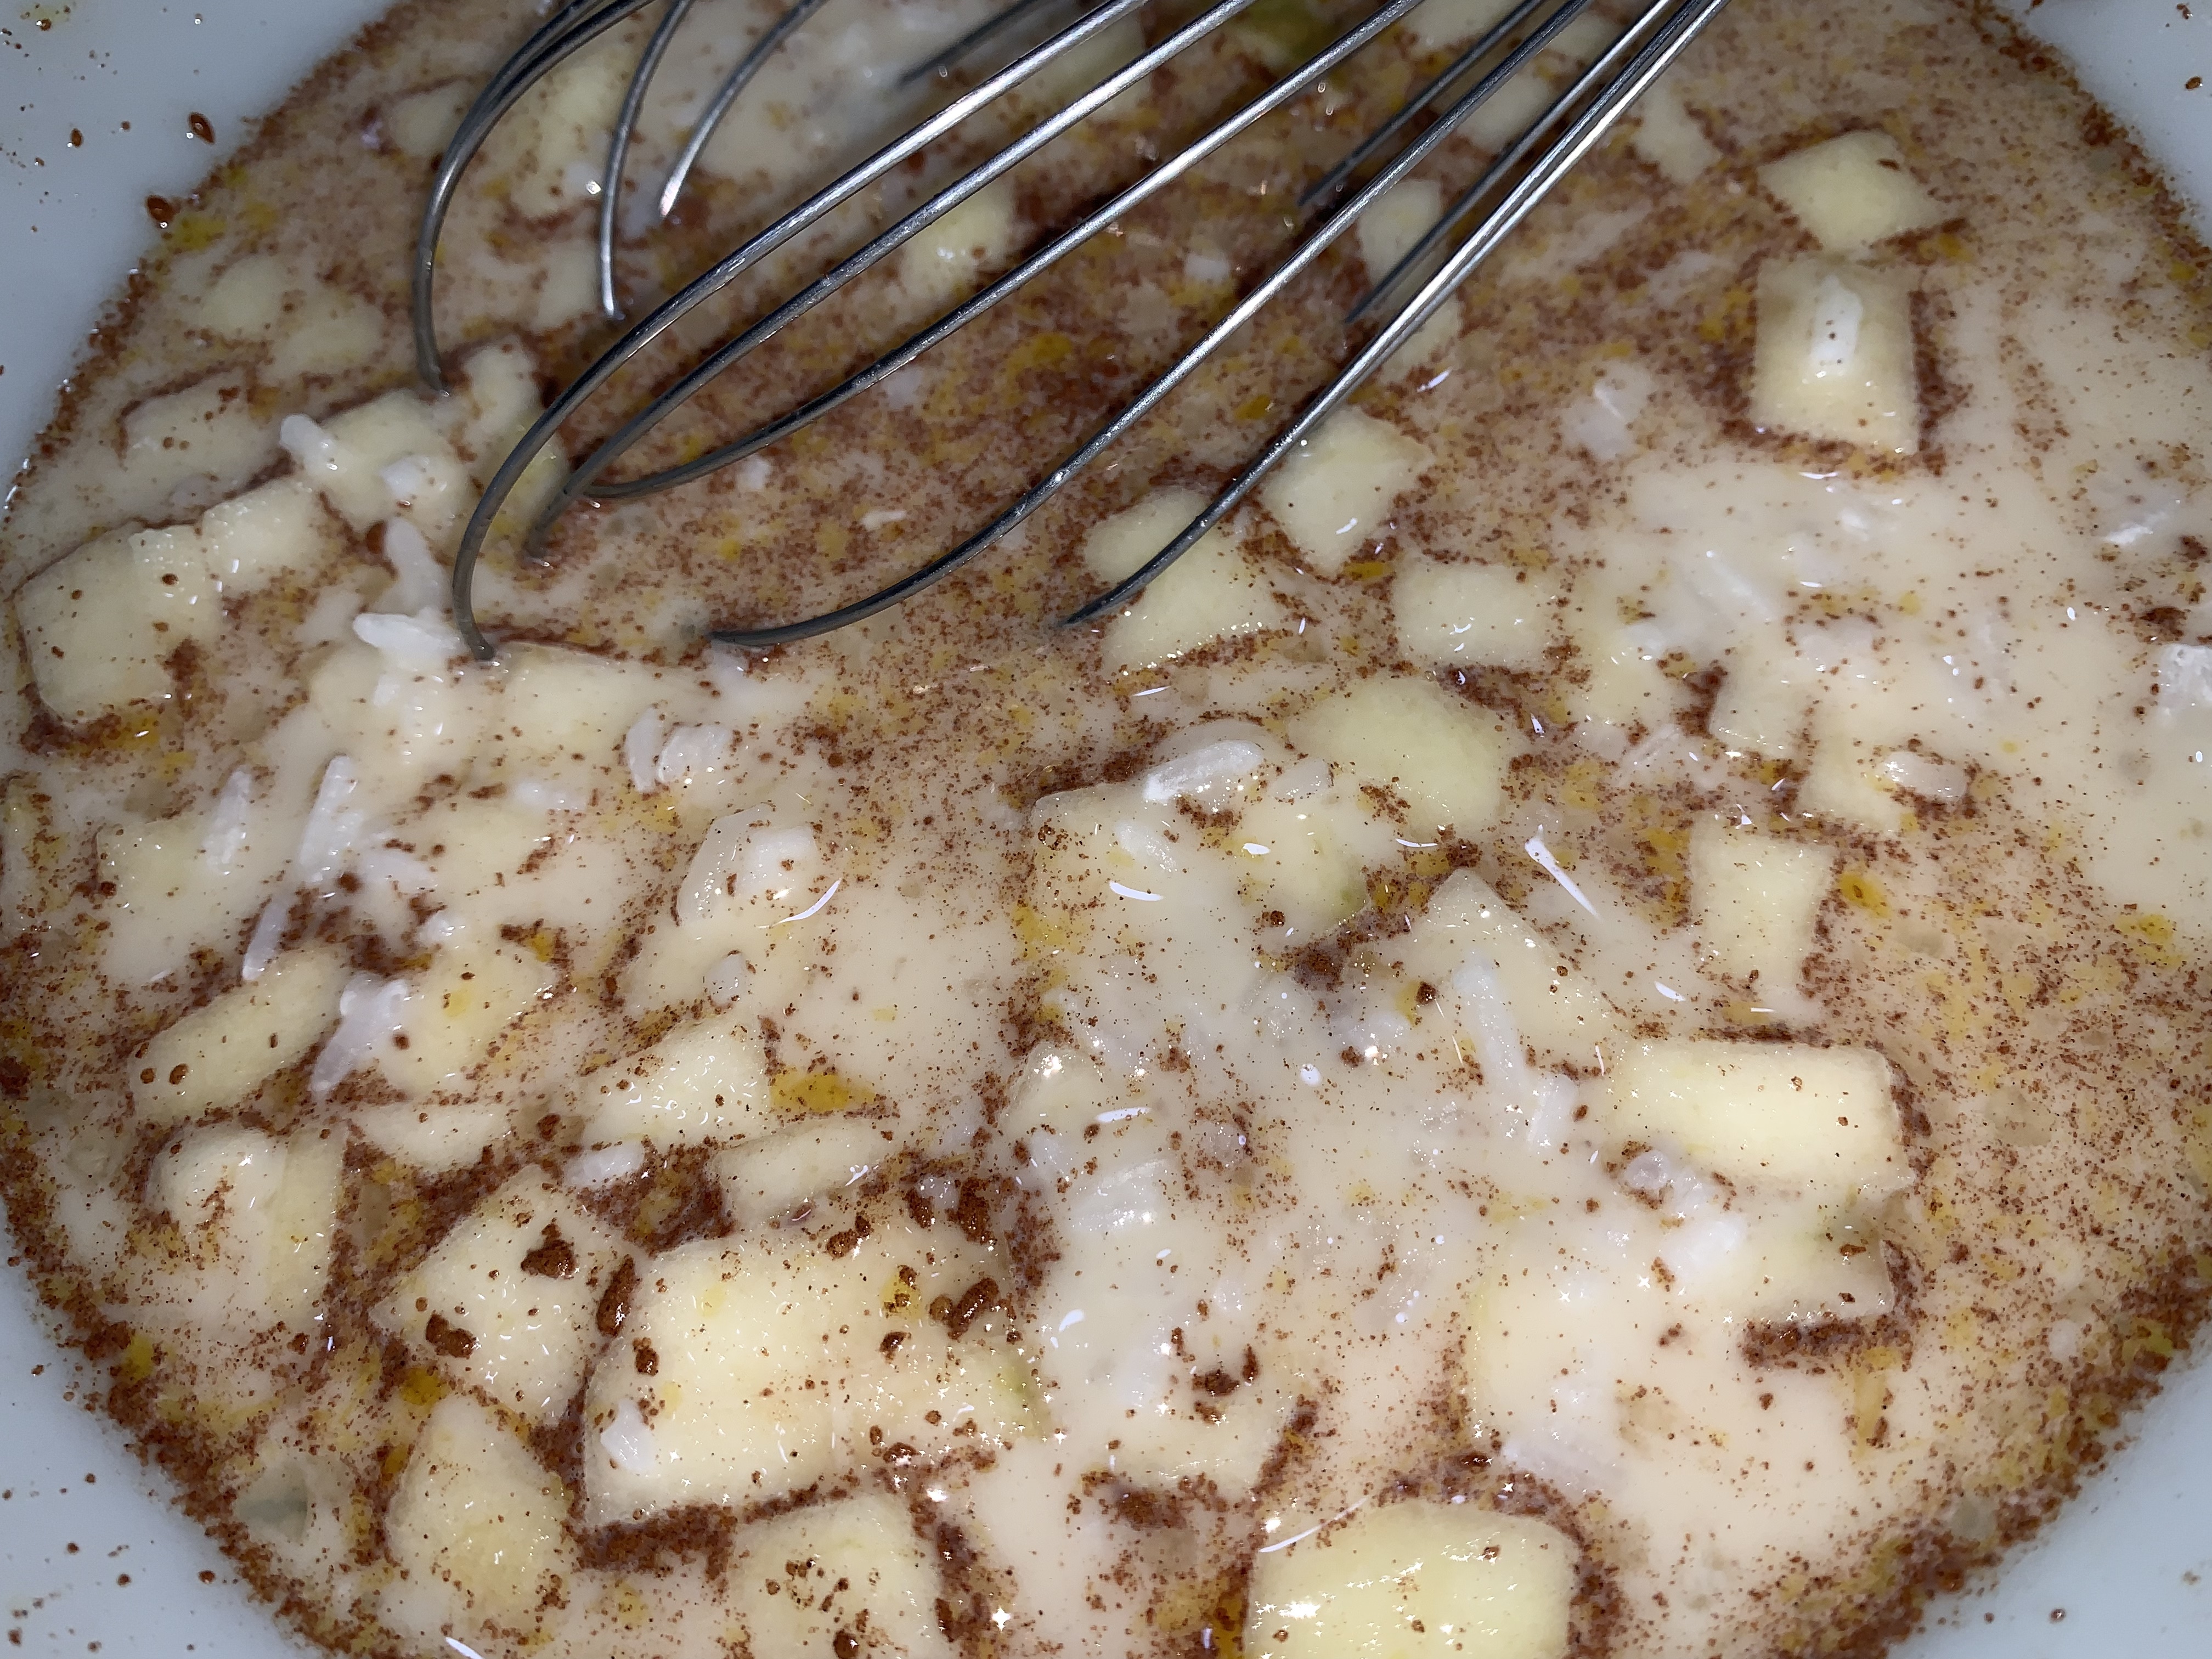
Once the garlic was done, I added in a little bit of water and the milk. I only had skim milk on hand, but certainly, this would be so much better with a whole milk or even a bit of heavy cream! I brought the liquids up to a boil. I added in my seasonings at this time.

I then started adding in the cheeses. I started with the ricotta first and let it get mostly melted. I then added in the mozzarella and parmesan. I brought the cheese sauce up to a boil.

I then added in the shredded chicken and stirred through.

In a greased dutch oven, I poured in the al dente pasta.

Then I poured the sauce over top and stirred everything together. ** Note, I had forgotten to add my spinach to the sauce, so I just stirred it in at this point.

I, then, topped it with the remaining mozzarella and parmesan cheese, as well as the panko bread crumbs.

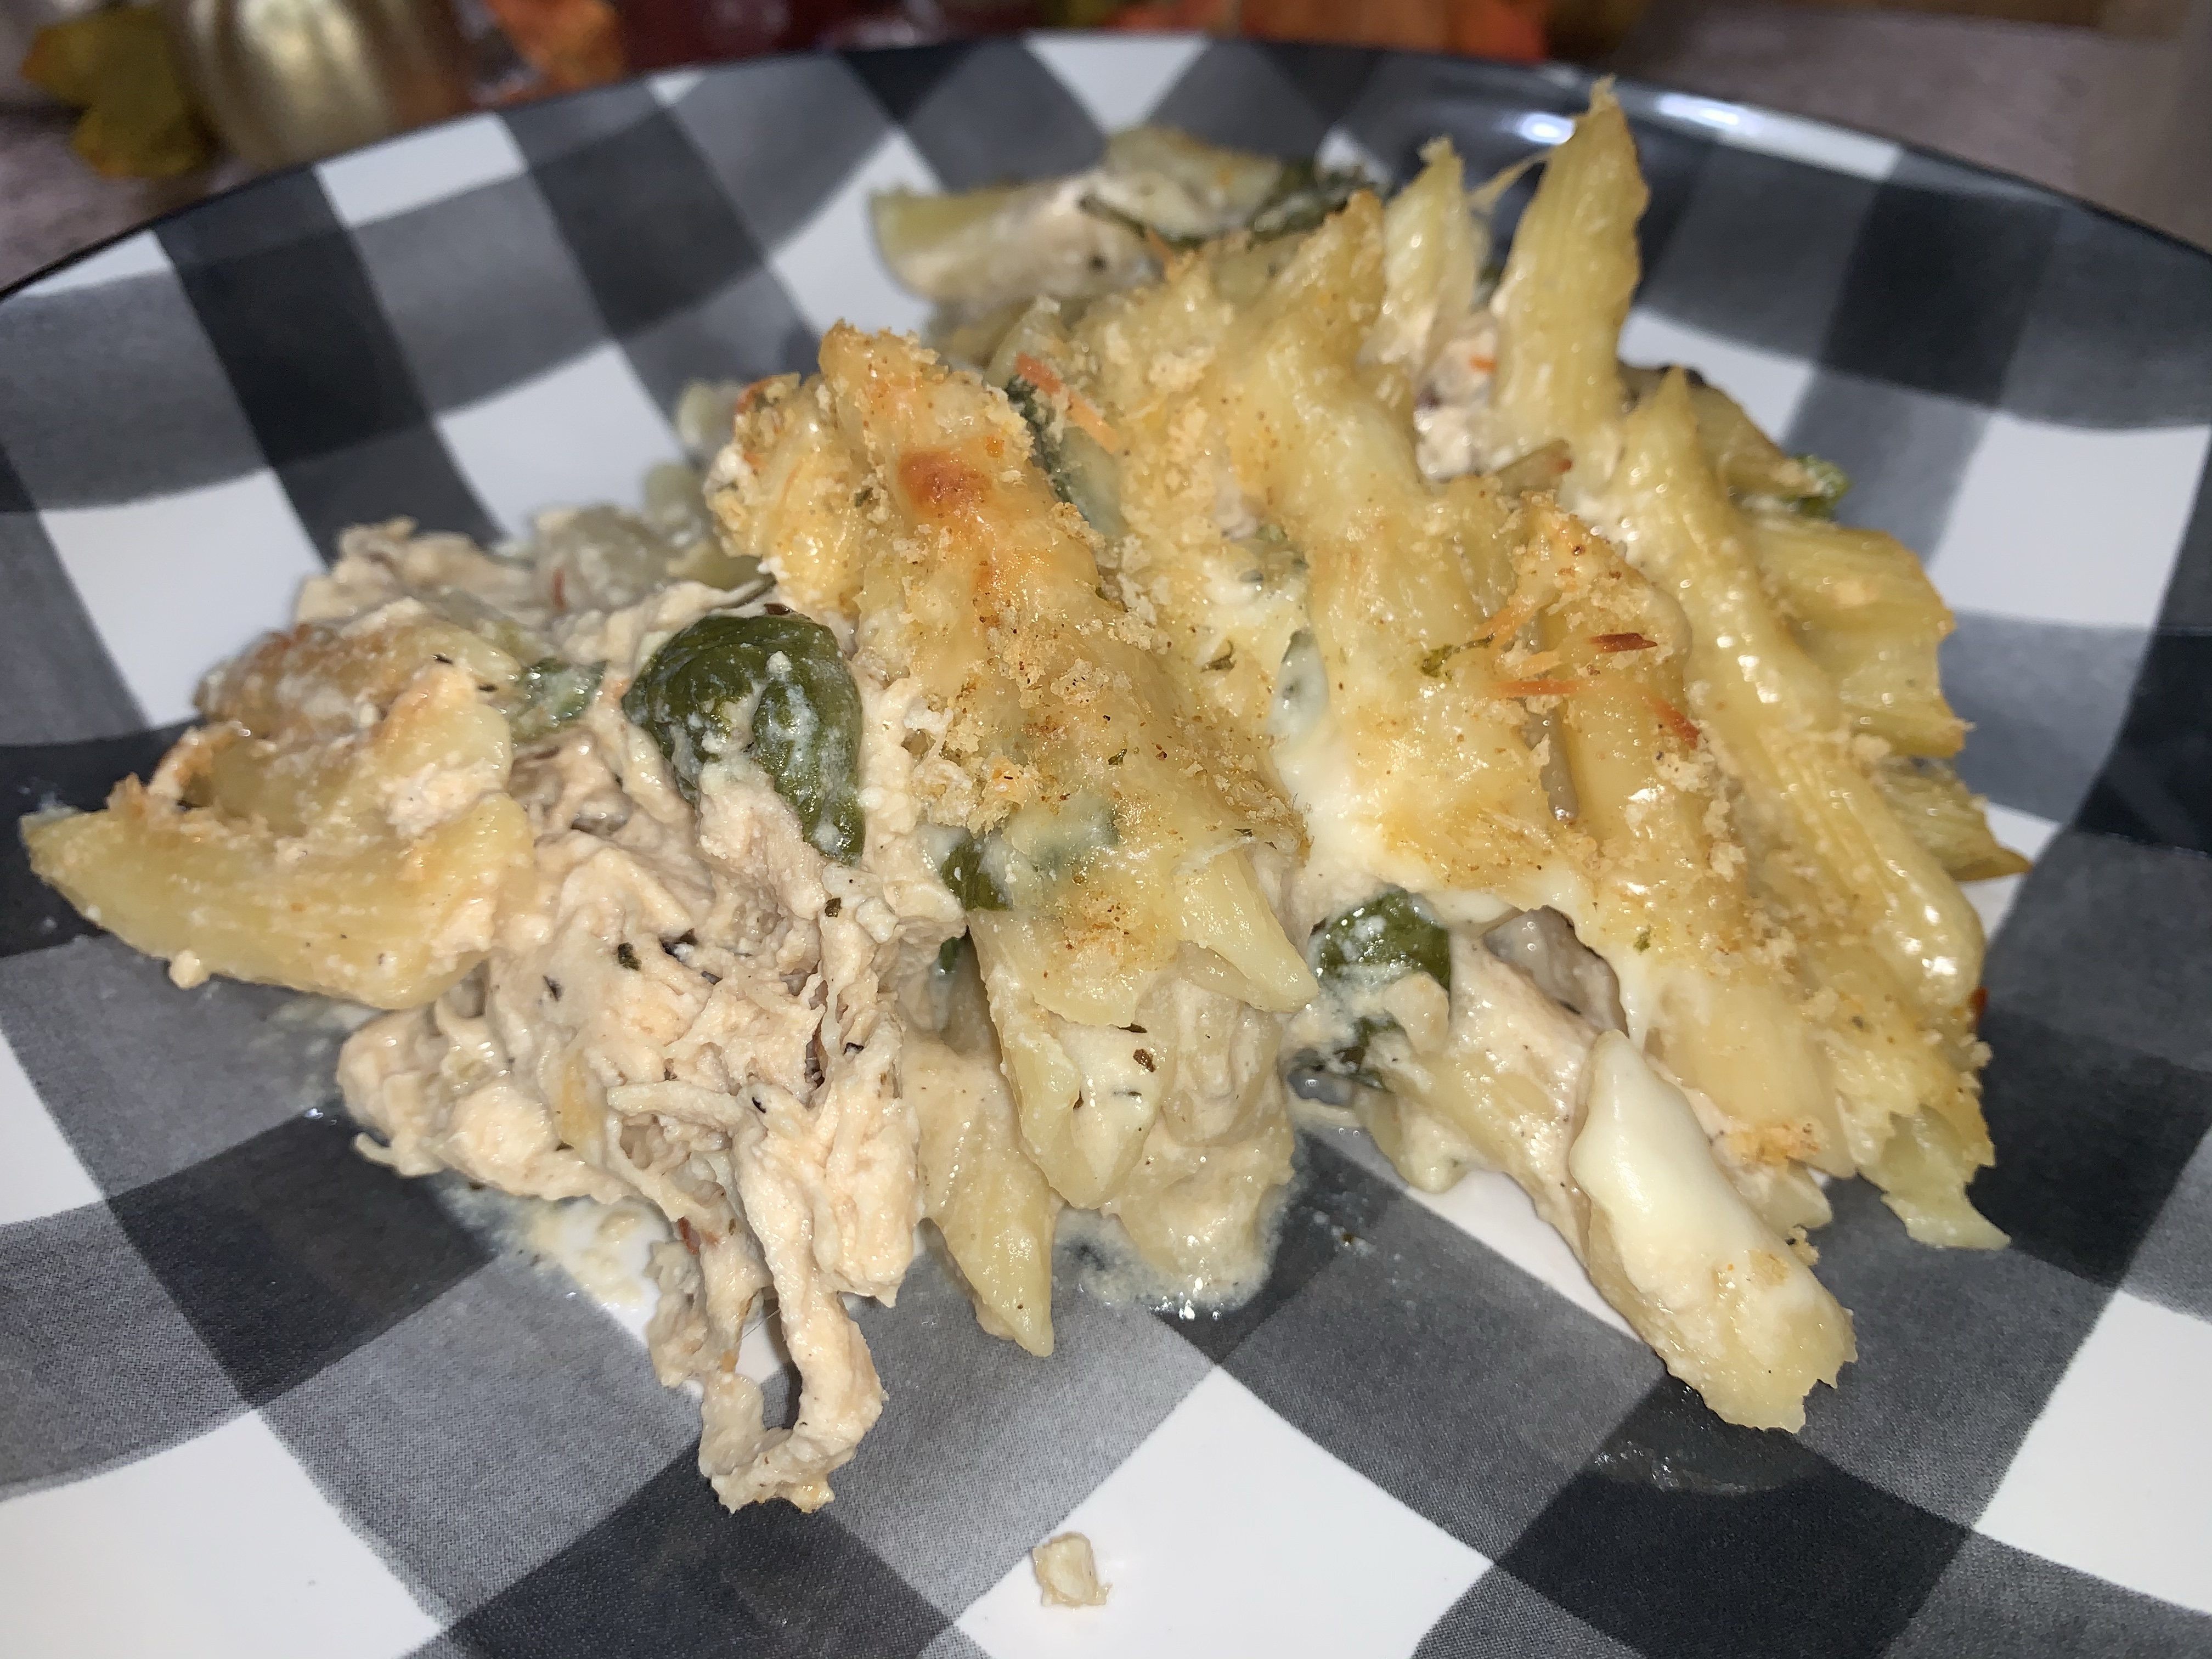
The casserole was cooked in a 400 degree oven (I think I’ve mentioned this before, but my oven tends to run a little cooler – that said, feel free to drop the temperature if 400 seems a little high) for 30 minutes. I did turn the broiler on for a couple min, at the end just to brown the top a little more.

Three Cheese Chicken and Pasta Bake

1 box pasta of choice
2 chicken breasts, shredded
1 cup water or chicken stock
2 cups milk
1- 15 oz container of Ricotta cheese
2 cups grated mozzarella (reserve 1 cup)
1 cup grated parmesan (reserve 1/4 cup)
2 tbsp garlic
1/2 tbsp butter
4 cups fresh spinach
1/2 to 1 tsp salt, depending on your tastes
1/2 tsp pepper
1/2 tsp dried basil
1/2 tsp red pepper flakes
1/3 cup panko bread crumbs

  • Boil pasta to al dente (do not overcook)
  • In large skillet, saute garlic in butter
  • Add in water or chicken stock and then milk
  • Bring up to a boil
  • Add in pepper, basil and pepper flakes
  • Add in cheese – ricotta, mozarella and parmesan
  • Pour pasta into a greased dutch oven or casserole dish
  • Pour the cheese sauce over top and add in spinach, stir everything through
  • Top with remaining mozarella, paremesan cheese and bread crumbs
  • Cook, uncovered, in a 400 degree oven for 30 minutes
  • Put under broiler for 1-2 minutes if your cheese ins’t browned after 30 minutes

Easy Chicken and Rice Casserole

I was looking for something easy to make tonight – and I knew I wanted to use chicken. So, I decided to make an easy chicken and rice casserole – that I could just throw together, put in the oven and forget about it (for the most part). Is it just me or should a casserole be comfort food? Maybe it is because I love casseroles, but I tend to associate them with comfort food. After a night of not sleeping well, and feeling poorly as a result of that, comfort food sounded just like what I needed.

Comfort food, at least in my house, tends to be creamy! And, what could make a casserole more creamy than Campbell’s ‘cream of whatever’ soup? For this recipe, I decided to use a cream of chicken and a cream of celery. To that, I added some celery, carrots and onion – to go with the rice and chicken.

As far as seasonings, I used salt, pepper, garlic powder, paprika and umami seasoning.

For the chicken, I used my instant pot to cook it (in 1 cup of stock, which I also added to the casserole). I cooked 2 very large chicken breasts, from frozen in 20 minutes – and used my hand mixer to shred it. I’ve blogged about this before – and, I still stand by the fact that I’ll never do shredded chicken any other way!

I chose to make the casserole in my large dutch oven. Once all the vegetables were chopped and the chicken was shredded, I just dumped everything into the dutch oven.

And stirred… Yes, it is really that simple! Dump the ingredients and stir!

I then put the lid on, and put the dutch oven in a 400 degree oven for 45 minutes. After 45 minutes, I removed it from the oven, uncovered, topped with bread crumbs. You don’t want to add the bread crumbs until some of the liquid from the casserole have been absorbed – otherwise, it will just get mushy, instead of adding a little crispiness to the top of the casserole.

And back into the oven it went, uncovered – for another 20 minutes.

There are vegetables in the casserole, but if you want – you can serve alongside another vegetable or side. I had some field peas with mine.

Easy Chicken and Rice Casserole

2 – 3 large chicken breasts, cooked and shredded (along with stock from cooking the chicken breasts)
2 1/2 cups rice
1 can cream of chicken soup
1 can cream of celery (or mushroom) soup
2 1/2 ‘cans’ (using soup can to measure) chicken stock
1 stalk celery, chopped
2 carrots, chopped
1 onion, diced
1 tsp salt
1 tsp garlic powder
1/2 tsp pepper
3/4 tsp paprika
2 tsp Umami seasoning
2/3 cup panko bread crumbs

  • In a large dutch oven, mix all ingredients (yes, it is really that easy – dump it all in!)
  • Cover dutch oven and cook for 45 minutes, at 400 degrees
  • Uncover – top with Panko bread crumbs – and bake for another 20 minutes, uncovered

Oven Baked Apple and Cinnamon Rice Pudding

I don’t have much of a sweet tooth, but every now and again, I do. I thought I would do a small rice pudding to see if that satisfied the sweet craing I was having. I didn’t have any raisins, but I did have some honeycrisp apples, so I decided to do an apple rice pudding.

I used basic ingredients, with the addition of the apple.

In a large bowl, I whisked the eggs, milk, cinnamon, salt, sugar and vanilla together.

After that, I stirred in the rice and apples.

The mixture was added to a 5×5, buttered, baking dish and placed in a water bath and cooked in a, preheated, 350 degree oven for 1 hour.

When the rice pudding was one, I removed it from the oven and stirred it up to ensure that the apples were well distributed.

Oven Baked Apple and Cinnamon Rice Pudding

1 – 1 1/2 cup cooked rice (depending on how wet/dry you like your rice pudding)
3/4 cup milk
1/4 tsp cinnamon
1/4 tsp salt
3 tbsp sugar
1/4 tsp vanilla extract
1 small honeycrisp apple, diced

  • In bowl, whisk eggs, milk, cinnamon, salt, sugar and vanilla extract
  • Add in Rice and apples and mix
  • Butter small baking dish (I used a 5X5 baking dish)
  • Pour mixture into baking dish
  • Bake for 1 hours, in a water bath, at 350 degrees
  • Fluff rice pudding when it comes out of the oven, add a little more cinnamon to each serving if you like

Weekday Chicken Pot Pie

As I didn’t make a homemade crust, I guess this is a cheater chicken pot pie – or, I like Weekday Chicken Pot Pie better, since using a prepared pie crust makes it super easy!

While I didn’t make a homemade pie crust, I did use fresh veggies – carrots, celery, onion and potatoes to be exact. All chopped similar size. I also cooked 2 large chicken breasts, in my instant pot, and shredded them. To make this recipe even easier – you could use frozen veggies and rotisserie chicken!

In a pan, with some butter, I softened the onions – then added the remaining vegetables and seasonings, to cook a bit on the stove.

After cooking for 5-10 minutes, I added in some flour (which will help to thicken the filling as it cooks). I stirred the mixture well, allowing the flour to get well distributed in the pan. Finally, I added in chicken (along with the stock from when I cooked it and shredded it in the instant pot – you can see how I do this, on this post. I will never do shredded chicken any way but this way, ever again! It is so easy and I can start with frozen chicken!!) – and mixed through.

I added in the additional stock and the milk, and mixed well. I allowed the filling to cook until it was the thickness I like for my chicken pot pie.

While the filling was thickening, I prepared my casserole by adding one of the pie crusts to the bottom. I, ultimately, needed to cut a bit off of the other pie crust to ensure that the full casserole was covered.

Once the filling was the appropriate thickness, I removed it from the stove and spooned it into the casserole dish.

Finally, I topped the mixture with the remaining pie crust. I cut a few vents and crimped the edges to create a good seal.

The pot pie is baked for a little more than hour in a 400 degree oven. After 40 minutes, I did end up putting a little bit of melted butter on top – cooking for 10 more minutes, uncovered. Then, for the remaining time, I covered it with tin foil (to avoid too much browning of the crust).

After removing from the oven, I allowed it to sit for about 10 minutes and it was ready to go! Fairly quick, super easy, very delicious Weekday Chicken Pot Pie!

Weekday Chicken Pot Pie

1 box refrigerated pie crusts (for top and bottom) – or make your own pie crust
2 chicken breasts, shredded (reserve stock from cooking)
2 1/2 carrots, chopped
1 stalk celery, chopped
2 potatoes, chopped
1 onion, chopped
2 tbsp butter
1/4 flour
1/2 cup milk (I used 1/4 cup skim and 1/4 cup heavy cream)
1/2 cup chicken stock (in addition to the stock from when you cooked chicken)
2 tsp salt
1 tsp pepper
1 tbsp Umami seasoning

  • Cook and shred chicken breasts, set aside
  • Chop vegetables to similar size
  • In large skillet, melt butter and add onions and cook 2-3 minutes
  • Add in remaining vegetables, along with seasonings and cook until they start to soften (probably 5-10 minutes)
  • Add in flour and mix well
  • Add chicken (with stock from cooking chicken) into pan
  • Add in additonal stock and stir well
  • Add in milk and allow filling to thicken, slightly
  • Once filling is desired thickness, add into a casserole dish, which has been lined with one of the pie crusts
  • Top with remaining pie crust
  • Vent top of crust and cook for 1 hour (you may want to top with foil after 40 minutes or so, so your crust doesn’t get too brown) @ 400 degrees.

Mexican Casserole (Taco bake?! What should I call this, really?)

This dish was a huge hit! It will definitely go into our regular rotation.

It really started as a result of having lean ground beef in the refrigerator and a package of corn tortillas, which I accidentally bought (thinking I grabbed flour). What a happy, happy surprise! It was loved by all!!

As already noted, it has lean ground beef, corn tortillas, black beans (which I always have on hand!), corn and tomatoes (and the requisite onions and garlic). Luckily, I had a packet of taco seasoning in the pantry (otherwise, you could certainly use chili powder, garlic powder, onion powder, paprika, cumin, salt and pepper that you have on hand – or whatever combination of those spices you like!).

I started by rough chopping the onions and then I cooked the onions and garlic, in a small amount of oil in a hot skillet.

After the onions were translucent, I added in the ground beef and cooked until browned. Then, added in the taco seasoning.

The next step was to add in the corn, black beans, tomatoes, etc. I did hold off on adding the jalapenos, as I wanted to taste the meat mixture first to determine how much to add. Spoiler alert – I added the whole can.

Once everything was well mixed, I allowed it to simmer for 15-20 minutes.

This gave me plenty of time to grate the cheese and pre-heat the oven.

Then I started putting the casserole together – starting with a layer of tortillas. I ended up with 3 layers of tortillas – but, you can do as many layers as you like (next time I make this, I intend to add more of the tortillas, I only used 4 per layer as I prepared this today).

Once all the layers are in (end with the meat mixture on top), top with the grated cheese and put in the oven (400 degrees) for 20-25 minutes. I did turn the broiler on briefly, at the end, to get a little bit of browning on the top.

I topped it with a little bit of sour cream – and it was DELICIOUS! I definitely went back for seconds!

Mexican Casserole

2 lbs lean ground beef
1 can black beans (drained)
1 can corn (drained)
1 large can diced tomatoes (drained)
1 small can tomato paste
1 packet taco seasoning
1 tbsp garlic
1 onion (chopped)
Small corn tortillas (number will depend on size of casserole dish)
1 tsp oil
1 – 1 1/2 cups grated cheese (depends on size of casserole dish)
Salt to taste
1 can jalapeno peppers (optional)
Sour cream for garnish

  • Chop onion
  • Add oil, onion and garlic to hot skillet – cook until onion is translucent
  • Add in ground beef, cook until browned
  • Add taco seasoning and mix completely
  • Add tomatoes, tomato paste, b lack beans and corn, mix well
  • Add salt, as needed, after tasting mixture
  • If desired, add jalapenos (I used a 11 oz can of picked jalapenos with carrots and onions by San Marcos) and mix well
  • Simmer mixture for 15-20 minutes
  • Start with a layer of corn tortillas in the bottom of an oven safe dish
  • Alternate with the meat mixture, until all meat mixture is one – ending with meat mixture on top. For my casserole, this was 3 layers of corn tortillas.
  • Top with cheese and bake @ 400 degrees – for 30 minutes